News:

Please read the Forum Code of Conduct   >>Click Here <<

Main Menu
Menu

Show posts

This section allows you to view all posts made by this member. Note that you can only see posts made in areas you currently have access to.

Show posts Menu

Messages - smcgill

#16
Large / Re: Loco Bill's new indoor layout construction.
February 04, 2016, 11:15:08 AM
WOW Bill   :o
You have been very busy for sure!
The layout looks great!
How are you enjoying the new track plan ?
Keep these great pics and updates coming.
#17
Large / Re: ... Rail Truck .. gears split
December 22, 2015, 10:39:36 AM
Gave it a bath in simple green ... washed it off .. set it over night to dry.
Gorilla glue was applied .. working great on my bench .. hopefully it's fixed.
Bill ...  thanks for the link : http://girr.org/girr/tips/tips8/bachmann_railtruck_tips.html
This was very helpfull.
Sean
#18
Large / Re: ... Rail Truck .. gears split
December 21, 2015, 10:00:50 AM
Ok now we're rolling ! Ha!
I installed the fixed gear ... Funny no improvement ...
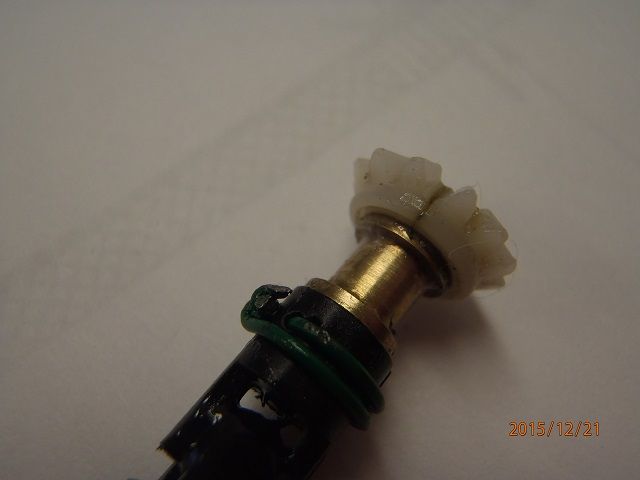
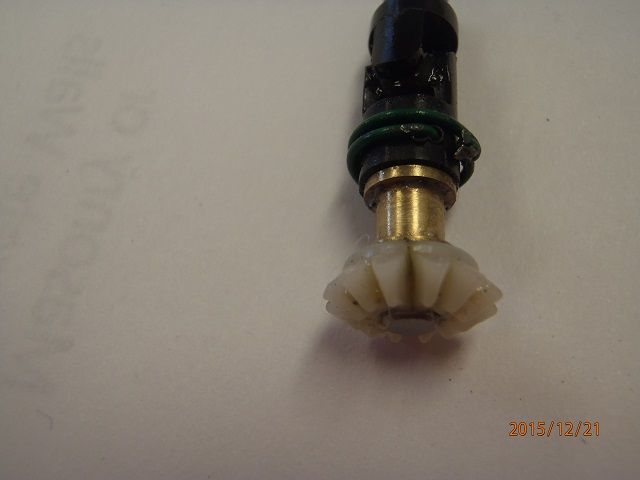
Hmmmm Lets look @ this a little closer .. Ha Ha .. Cracked , not slipping on the shaft as thought !


Sigh .. I will try to clean it very well, them try some glue and cross my fingers! :-[
#19
Large / Re: ... Rail Truck .. gears split
December 21, 2015, 06:52:13 AM
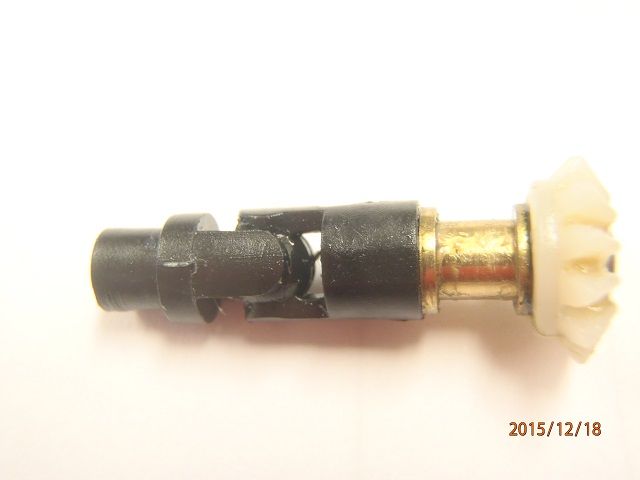
Ok this is how I found it.


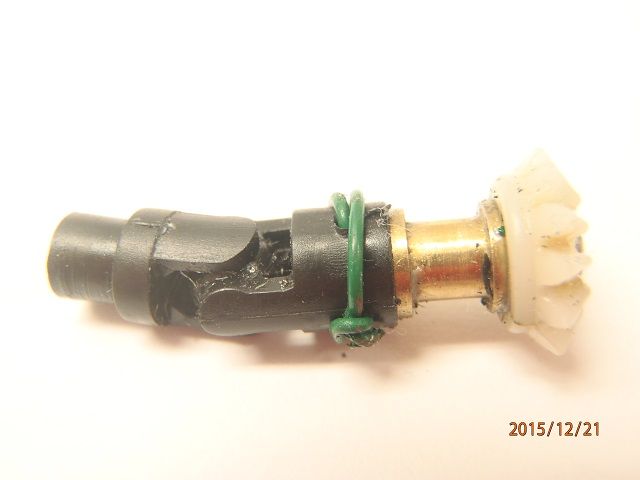
This is it fixed.

We should be good to go.
I will report back as to how well it worked.  :)
#20
Large / Re: ... Rail Truck .. gears split
December 18, 2015, 10:49:09 AM
I will post a pic , when I get time to fix this.

The black plastic just spins on the shaft.
I will drill and pass some wire thru the hole and wrap it a couple of times and end it with a small twist.
#21
Large / Re: ... Rail Truck .. gears split
December 18, 2015, 09:58:45 AM
Bill
There is something there .. I  can feel it when I spin it by hand .. It's snug so I'm not going to try to remove it ... Grease and oil are a given so that's why the wire idea.
Sean
#22
Large / Re: ... Rail Truck .. gears split
December 18, 2015, 09:10:07 AM
Bill
What I did find is that the beginning of the drive shaft assembly (pic below), is spinning on the shaft of the gear assembly that is located under the black metal strap , were we replaced the long screws with the shorter one as described by Dave.
The Motor and all the gearing up to that point works great.
I'm thinking of trying to drill thru the black plastic then thru the brass shaft on thru and installing a wire as a pin.

Do you have a better fix?

Sean
#23
Large / ... Rail Truck .. gears split
December 17, 2015, 10:00:22 AM
Hello one and all.
I set my rail truck on the track to give it a run ... whining noise .... tried to move .. gave it a push .. I'm thinking split gears.. >:(
Note: the rail truck has been sitting for a while .. could the gear split from age?  ???
How do I tell which production I have?
Thanks
#24
Large / Re: 2 truck shay replacement trucks
August 21, 2014, 08:07:09 PM
Not too bad.
When I did mine it said red wires goes to red and black go to black.
So I open up the truck and I have two black wires ???
I had  friend with a meter help.
Worth the trouble!
#25
Large / Re: Replacing the Cylinder Ass.
July 04, 2014, 07:09:50 AM
Mr.Bachmann this should go into the FAQ area. ;)
#26
Large / Re: Replacing the Cylinder Ass.
July 04, 2014, 07:08:32 AM
Chris and all
I looked at the new piece and piece on the engine.
I laid the engine on it's side.
I had to take the cover of the ash pan off. 2 screws.
I then backed out and set aside the two screws you see between the cylinders.
In the ash pan next to the pc board are the plastic mounts of the cylinder with screws
on the ends. Don't touch the screws but..
Turn the mounts until they line up with the slots. now gently wiggle
to remove the  cylinder, notice the small thing that goes or comes
out on the bottom of cab. Pull this out(it sticks into the and of the shaft on cylinder)
Turn or lay the cylinder so you can unsolder the wires.
To install the new cylinder you just reverse  these steps.
Hook up the drive shafts and you should be good to go.
Hope this helps.
Sean
#27
Large / Re: Shay and it's smoke unit.
July 01, 2014, 04:36:33 PM
OK great!
I just hook up the wires to the two screws!
#28
Large / Re: Replacing the Cylinder Ass.
June 30, 2014, 05:58:44 PM
Thank You Chris.
When I get a chance I'll tackle it!
#29
Large / Shay and it's smoke unit.
June 26, 2014, 07:30:05 PM
Old age! >:(
I took out the smoke unit from my Large Scale Shay a while ago.
For the life of me I can't remember how to hook it back up.
Can some one gently pull there smoke unit out, and take a quick pic of it's connections.
I know were the wires come from and go , but not were they go on the unit.
Thanks!
Sean
#30
Large / Re: Replacing the Cylinder Ass.
June 26, 2014, 07:25:03 PM
The Cylinder Ass. on the Large Scale Shay looks like it's held on with two screws. :-[