News:

Please read the Forum Code of Conduct   >>Click Here <<

Main Menu
Menu

Show posts

This section allows you to view all posts made by this member. Note that you can only see posts made in areas you currently have access to.

Show posts Menu

Messages - OldStone

#31
On30 / Re: Spacing of parallel roads
July 07, 2007, 11:17:45 AM
Pajoma:

I use 3" spacing in yards and 3 1/2" or more on curves.  Works well with my 0n30 passenger (and other) cars.

Cheers,
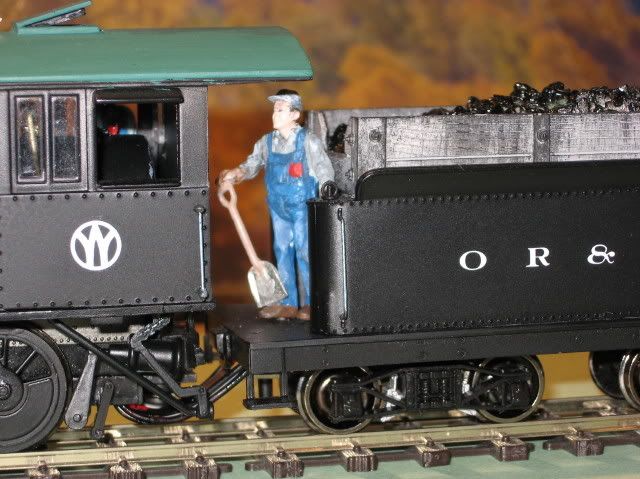
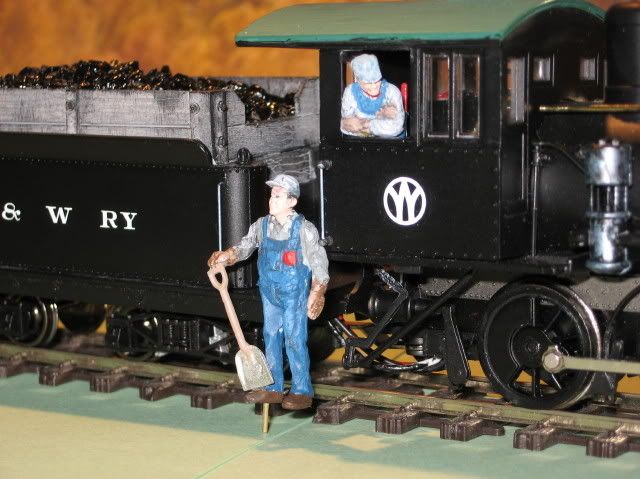
OldStone, Chief Cook and Bottle-washer, O & W Rwy
#32
On30 / Installing Fireman Fred
July 04, 2007, 01:36:28 PM
Happy 4th To All!
I wanted Fireman Fred (Arttista #1407) to ride on the tender and be removeable....to aid future access to Tsunami, wiring, etc..  First - I held him upside-down against a block of wood while drilling #60 hole 3/16" deep in leg.  Small drop of ACC to fasten .035 brass wire in hole....trim to 1/4".  Glue shovel to hand & foot with gap-filling ACC.  Locate spot where Fred is to stand and drill #60 hole thru tender floor.  Not absolutely necessary but I added a small piece of .125 styrene under the floor to deepen the hole.  "Plant" Fred.  Bend wire if needed to adjust posture.  Can now stand Fred anywhere on the layout that I can drill a #60 hole.


Fireman Fred on his "peg".  The engineer is Arttista #1403.

#33
On30 / Re: Installing Front Coupler on 2-6-0
July 03, 2007, 09:04:09 AM
Bob:

I could cut it off, easily....probably will.  But in "real life", being black, the threads don't show unless you look very closely and it came out to just the right height to appear to be holding up the lifter.  Your observation is valid....thanks.

 
#34
On30 / Installing Front Coupler on 2-6-0
July 02, 2007, 03:46:51 PM
A useful mogul needs a working front coupler.  I also wanted to keep the "cowcatcher look"....see photo below.  Removed the dummy coupler and the point-section of the pilot.  A block of wood the same height as the bottom of the coupler-box opening let me deepen it with a sanding stick while keeping everything square.  Made snug fit for Kadee #13 kit  "universal adapter plate (a box with no ears) and centering spring.  Drilled and tapped up from the bottom for 2-56 black nylon screw from Kadee 32 kit which also provided the medium-overset-shank 9/32" coupler. The ugly, long 25/64" coupler proved unnecessary.  Coupler box needs a shim on each side or in the rear to keep it from pivoting...being VERY CAREFUL NOT to glue it in place (for future coupler removal).  Now to paint the exposed portion of the spring black.  It works well.   

#35
On30 / Re: Red Letter Day
July 02, 2007, 10:59:01 AM
Bob:
Send me the spike...I'll gild it for you.  Just to impress your "within 50 miles friends" of course.  On my budget, solid gold is out, but gilding is quite possible.

Chief Engineer, O & W Rwy
#36
On30 / Re: Red Letter Day
July 01, 2007, 03:16:30 PM
Way to go, Bob:

Is a great feeling when you can finally let em RUN!  I know what you mean re the Climax...takes mine awhile to get up there, but on my eye-level logging line (almost 6 feet above the floor) the spoked wheels and all that "thrashing gear" are sure fascinating.
Congratulations and thanks for letting us share your big day.
ED
#37
On30 / Crossover Short Circuits
March 06, 2007, 09:05:06 PM
Good Evening All:
Finally got the O & W Rwy to the point I can use it.  NCE PowerCab, 250 feet of track, 41 Peco Insulfrog ("dead" frog) turnouts and 3 Insulfrog crossovers.  No problems with the turnouts at all....but the crossovers were causing my three-color LED on the NCE Smart Booster and the #1156 taillight bulb on that power district to wink and sometimes light up.  When the #1156 lit up the train stopped - the booster had obviously tripped its breaker.  In 2 or 3 seconds when the booster restarted, the train took off as if nothing had happened.  It occurred going South but not when going North.

I finally determined that a couple boxcars were the culprits.  Further checking determined that their wheels would not quite fall into the notches on my NMRA HO Standards Gauge.  Close, but no cigar.  A few thousandths, maybe.  Once I had twisted, pushed and pulled to get them perfectly in gauge....no more shorts....none, zip, nada!  I was amazed (still am) that so small a change could have such a significant effect.  Henceforth, all new cars will have their gauge checked before being allowed on O & W rails.  I suppose a lot of modelers have been doing this for decades...but I'm new at it.  Incidentally, my new "hunkerdown" high-side gondola came with its wheels nicely "in gauge"....a good omen?
#38
On30 / Re: Frames for Freight cars
February 04, 2007, 10:23:23 AM
Goodmorning all:

Looking at my new (?) and old (?) high-side gondolas......the frames have not changed except that the bolsters are flush with the bottom of the frame on the "hunker-down" (new) types. It appears that the two frames  would be quite interchangeable.  They keep the couplers at the same height by using center-set shanks on the "hunker-downs" versus the over-set on the old cars.

The "hunker-downs" have no light showing between the wheels and the bottom of the car.....looks neat!....prototypical or not?

Cheers