News:

Please read the Forum Code of Conduct   >>Click Here <<

Main Menu
Menu

Show posts

This section allows you to view all posts made by this member. Note that you can only see posts made in areas you currently have access to.

Show posts Menu

Topics - jonathan

#81
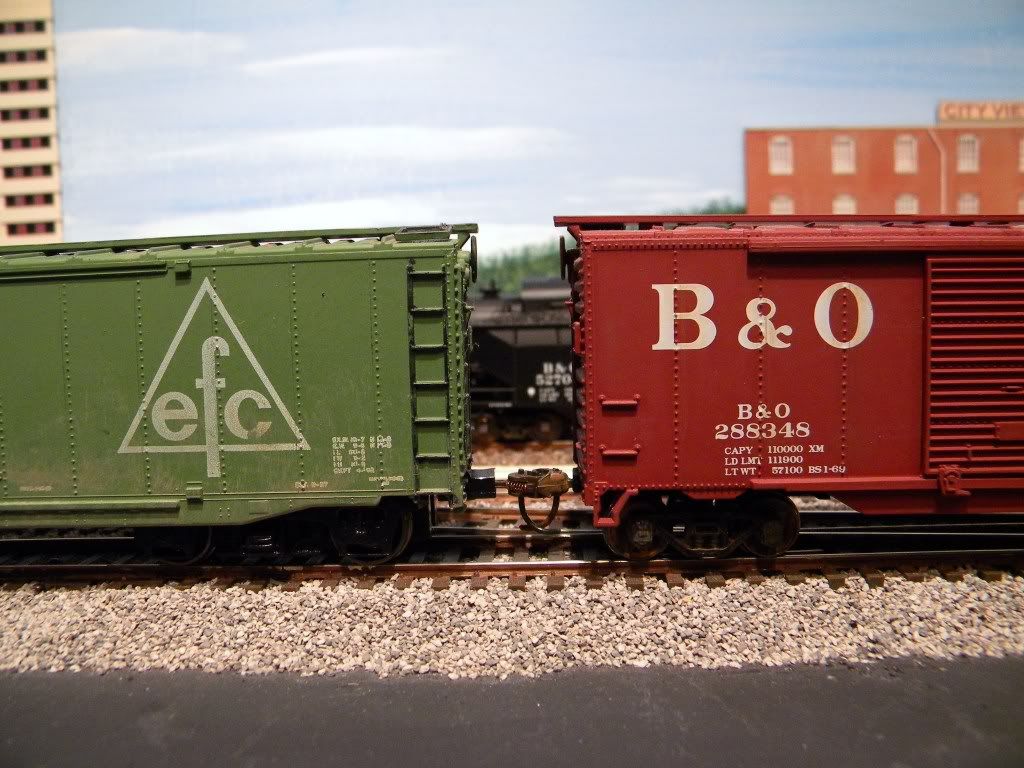
Now is the unofficial beginning of Model Railroading Season.  To celebrate this month, one is suppose to head down to the basement, garage, dining room table, backyard--wherever you do your creating.  Now work on something train related and show it off.  Help increase awareness of the world's greatest hobby.

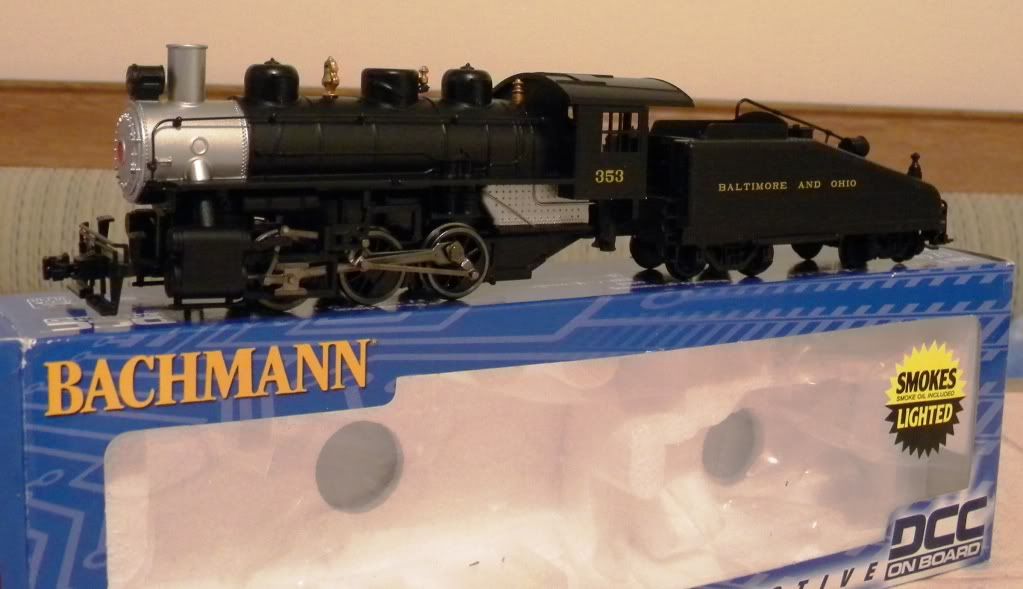
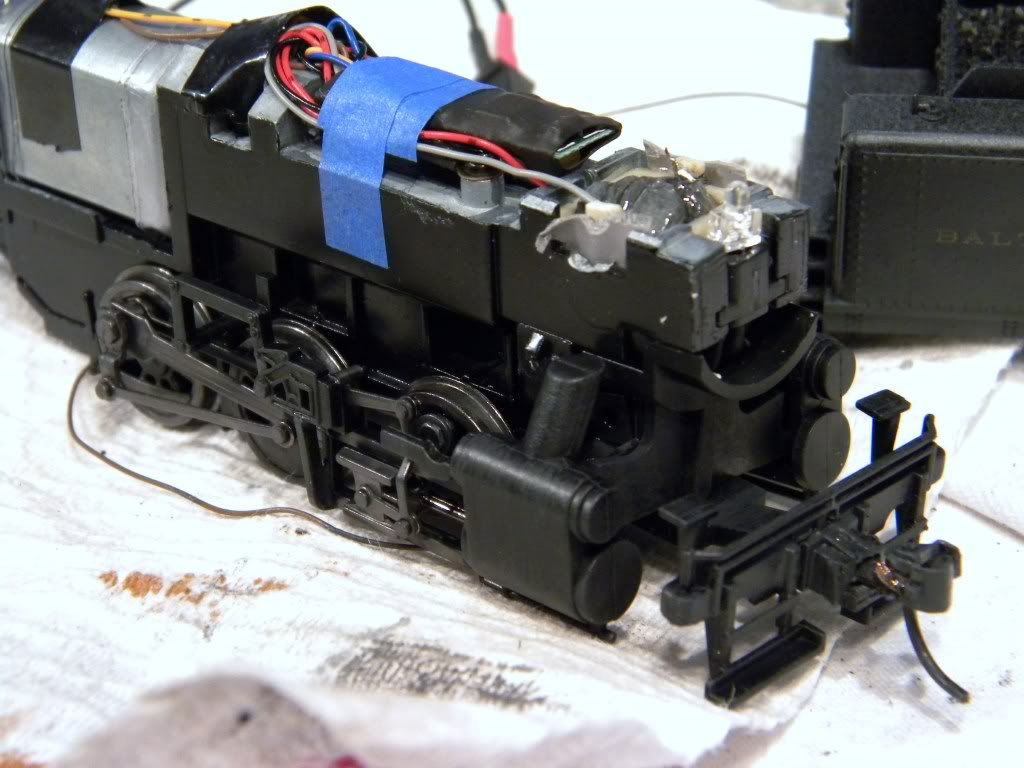
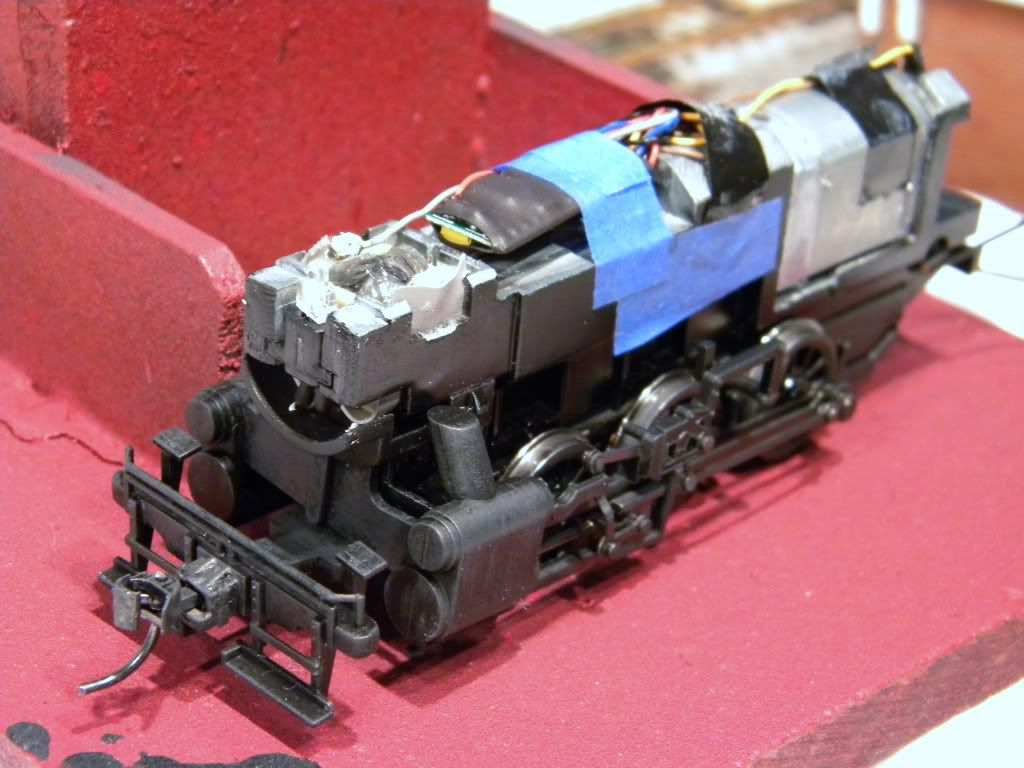
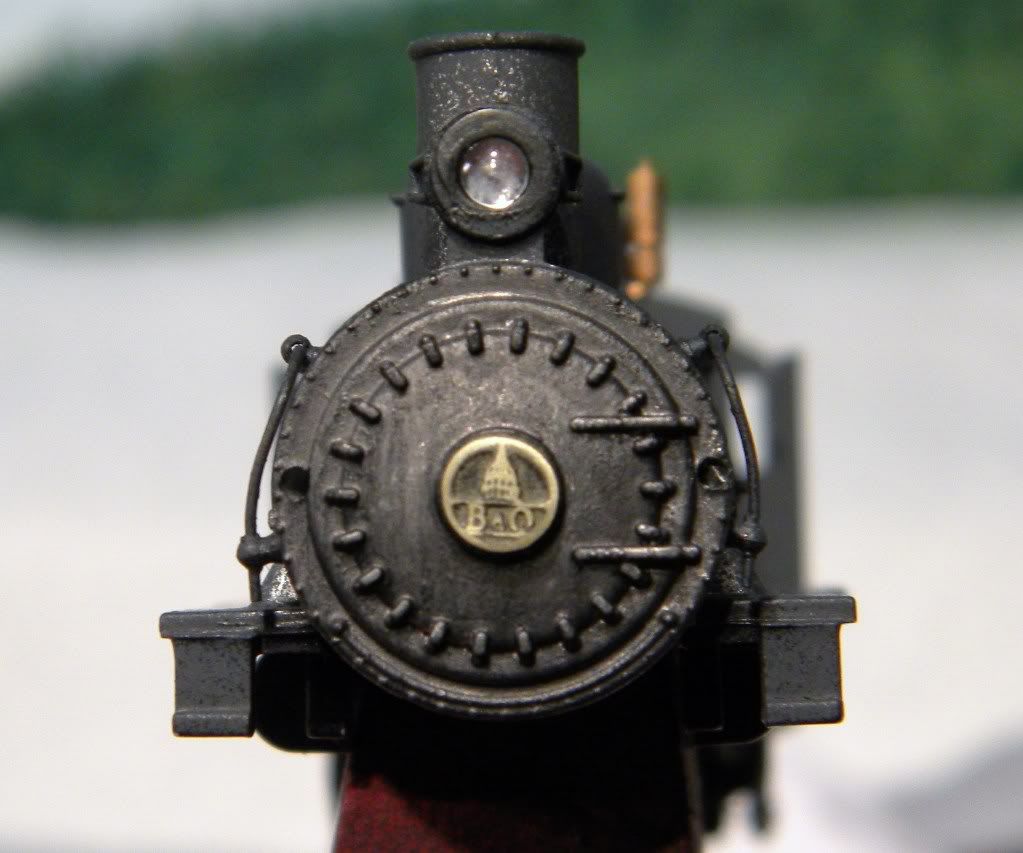
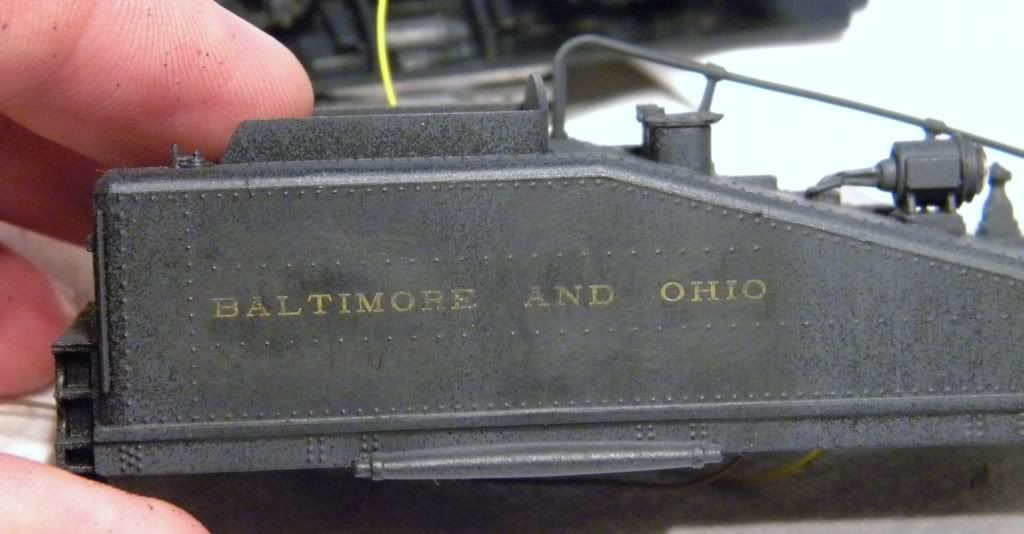
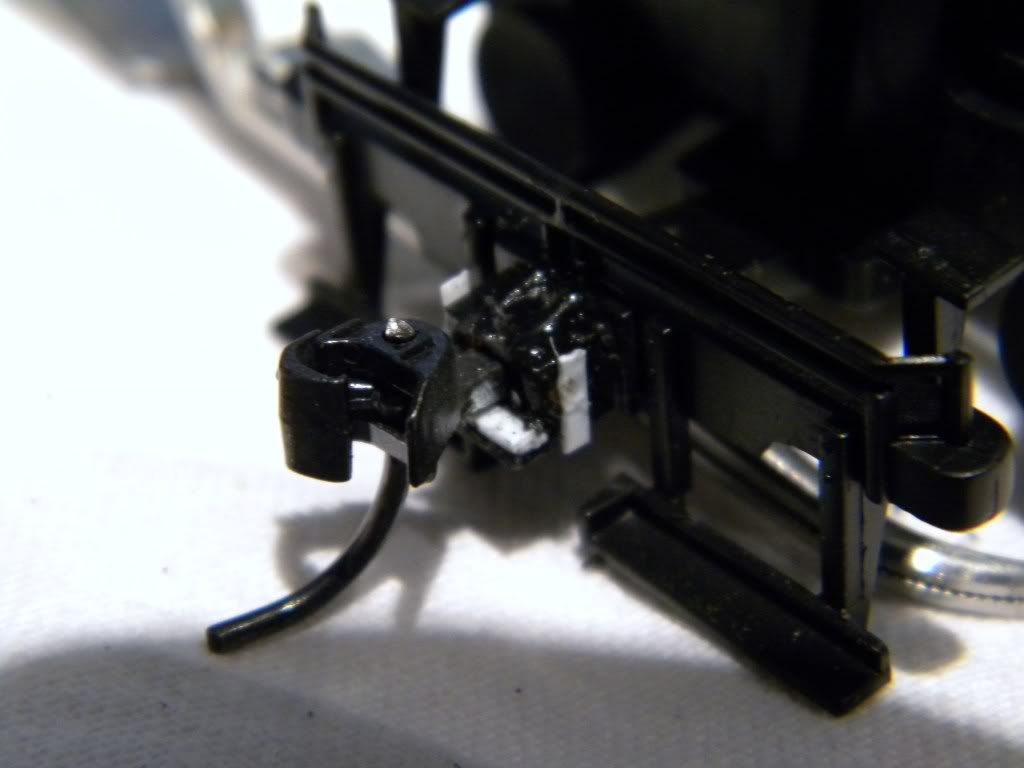
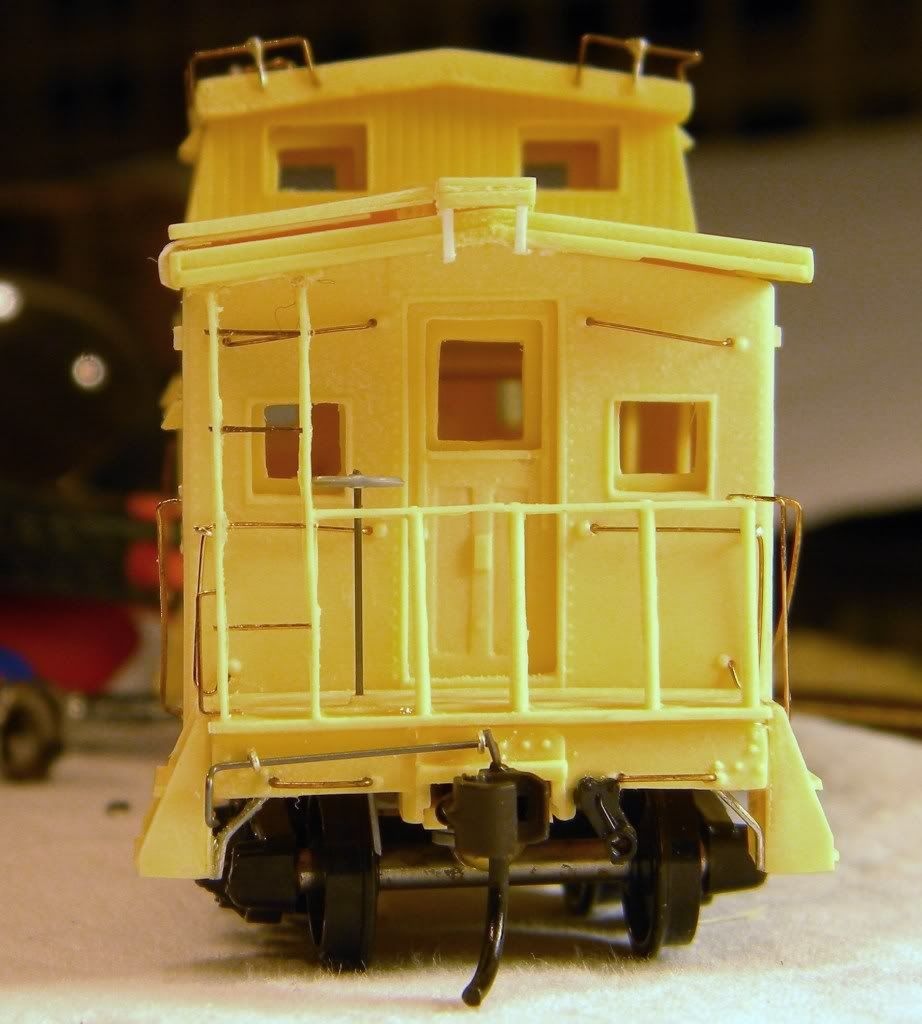
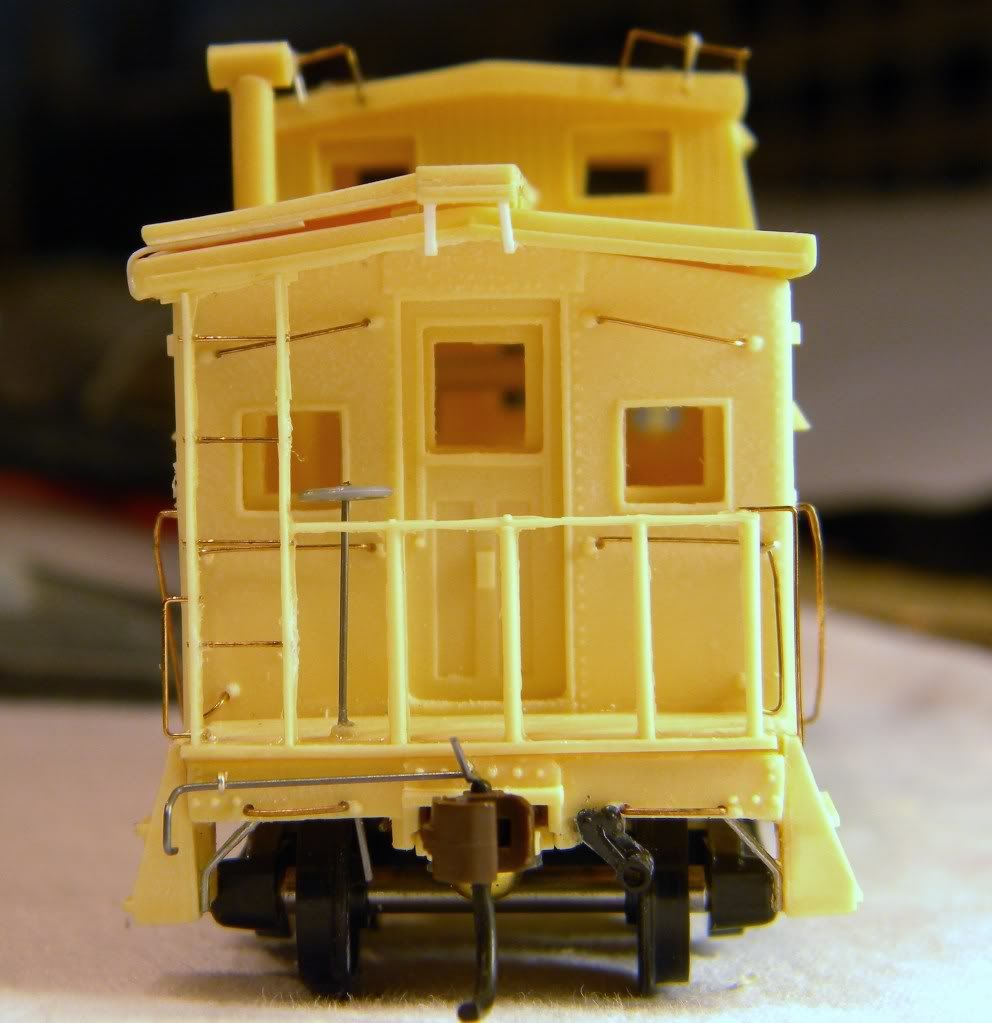
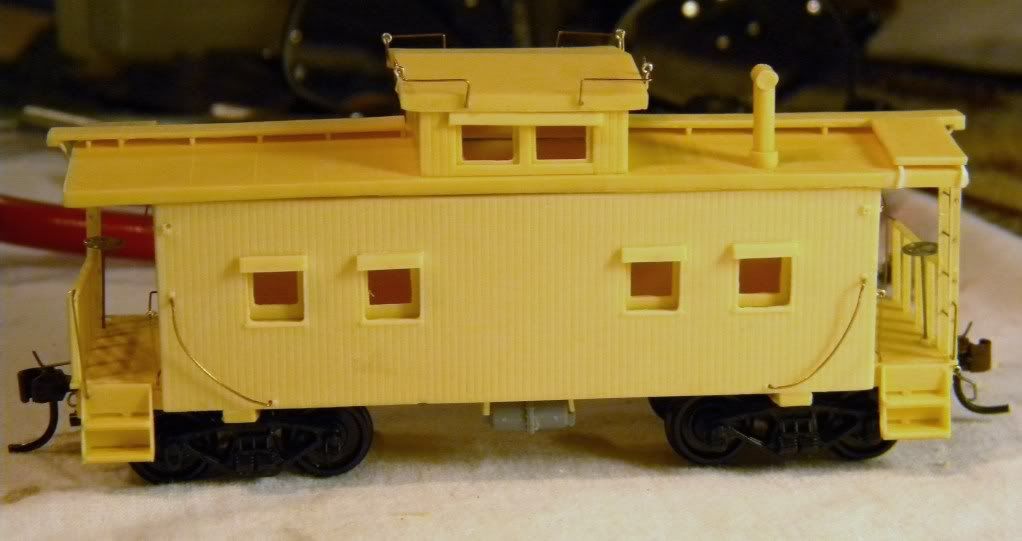
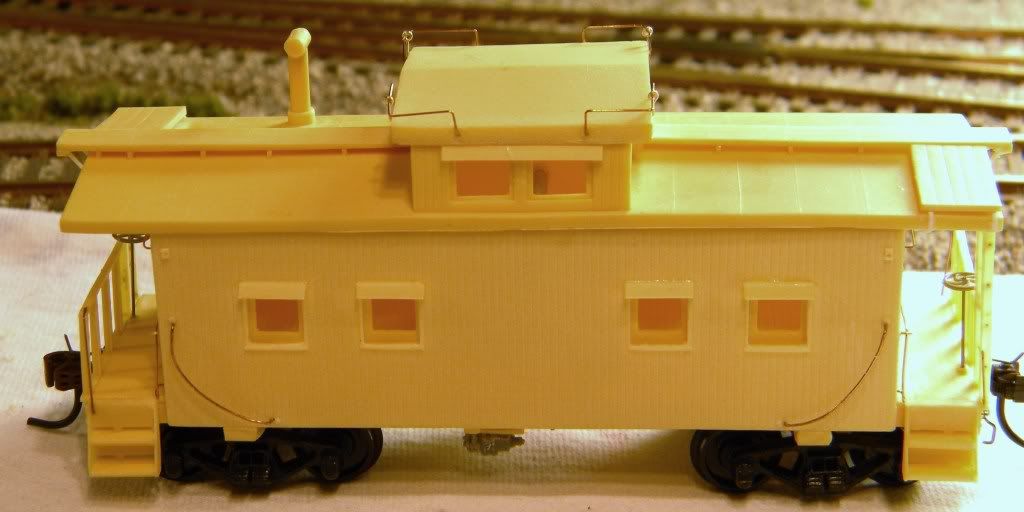
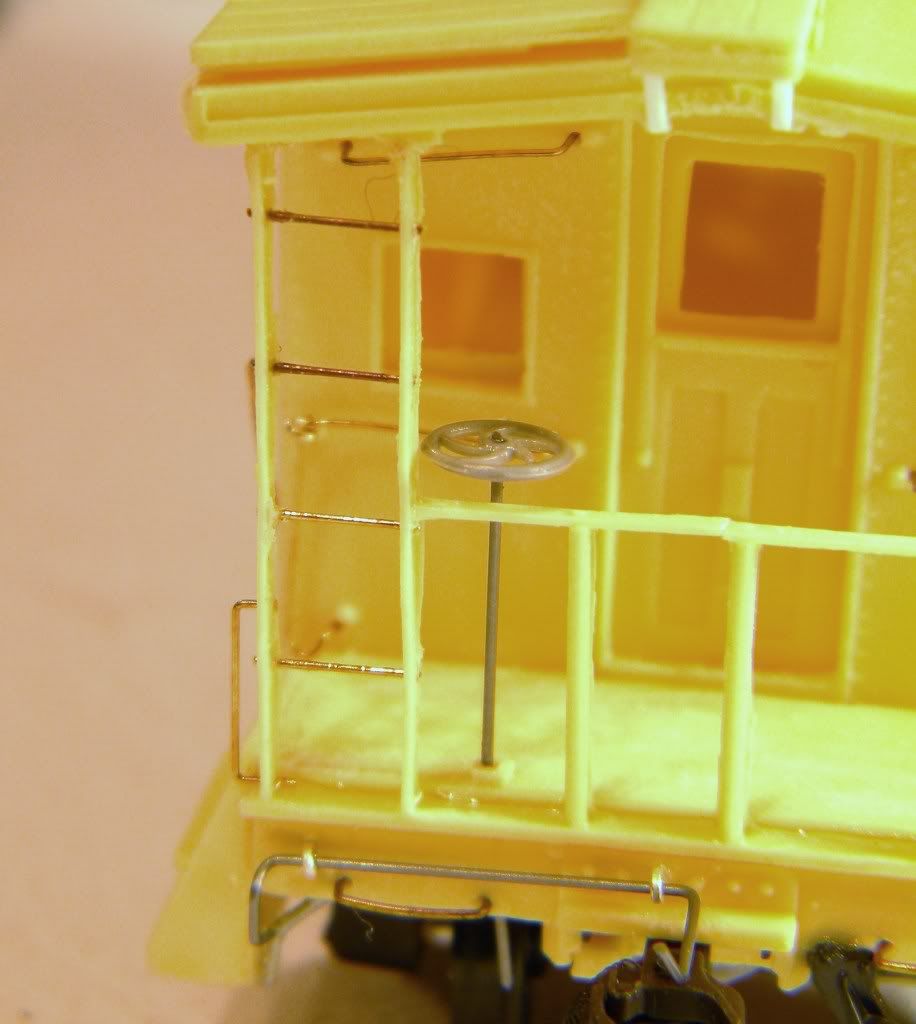
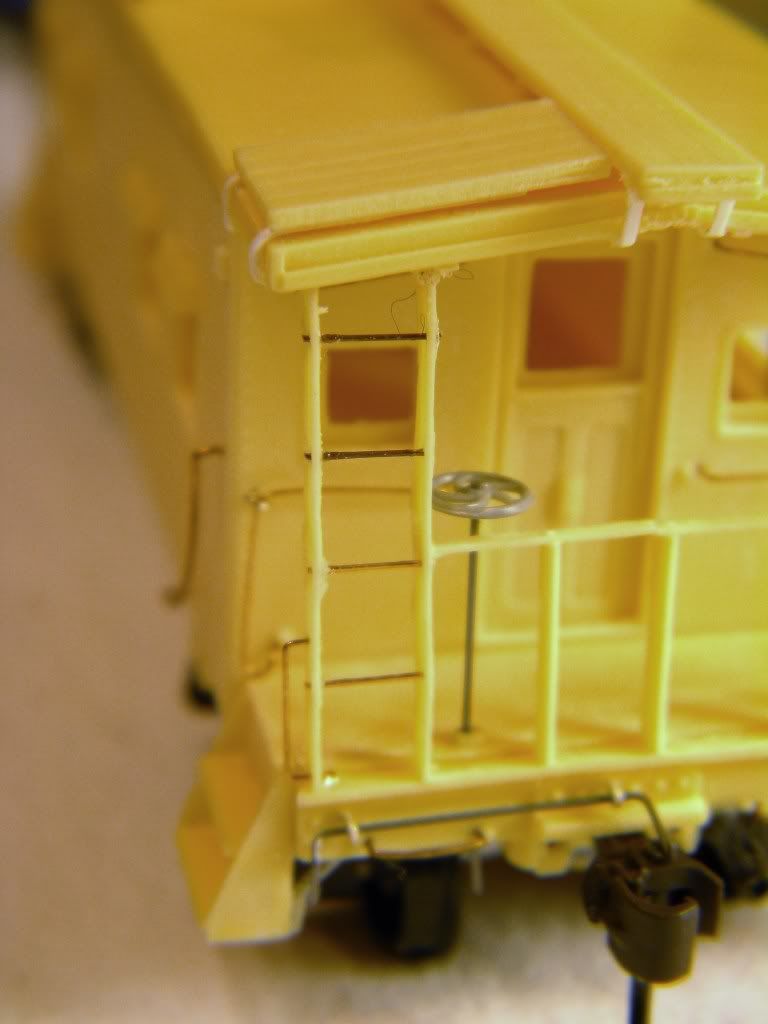
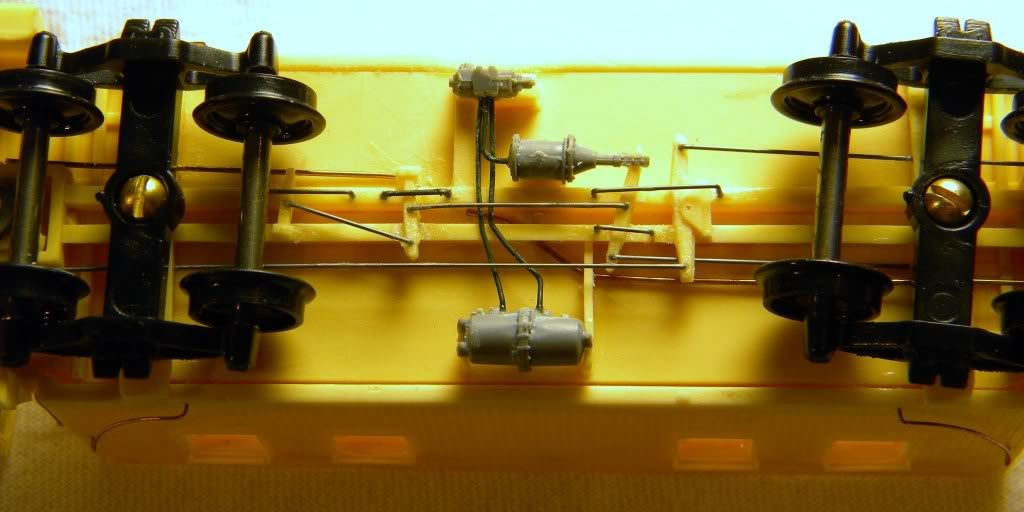
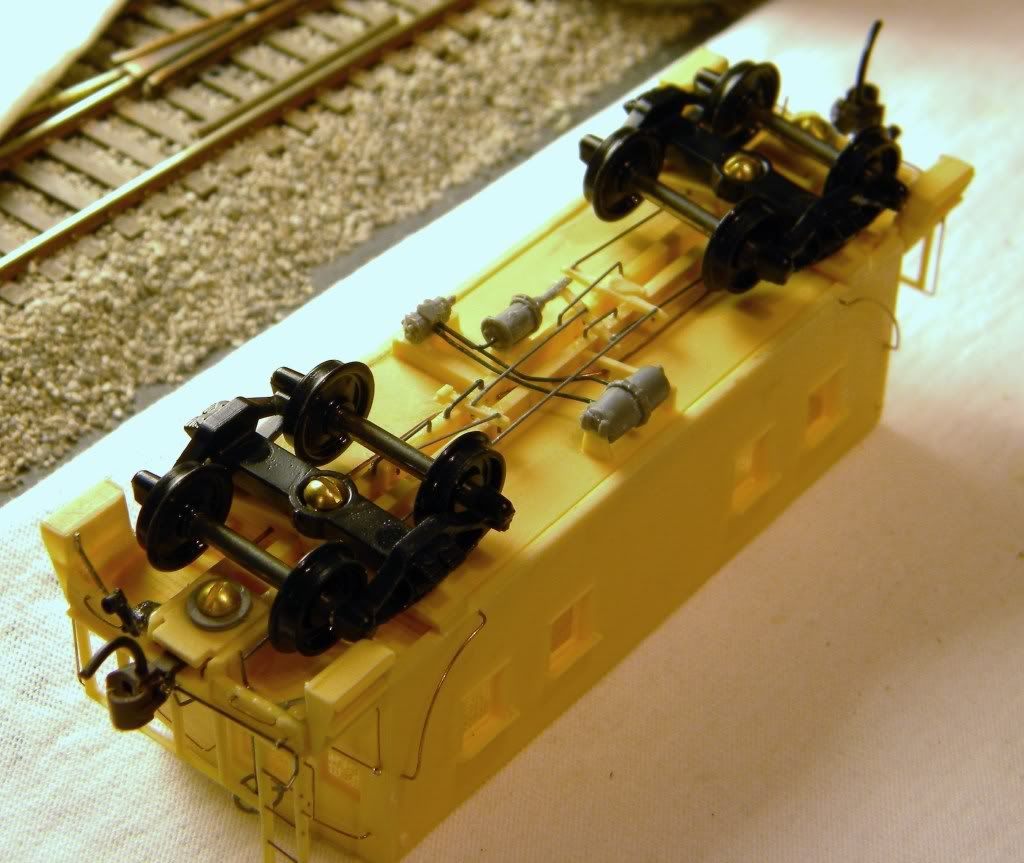
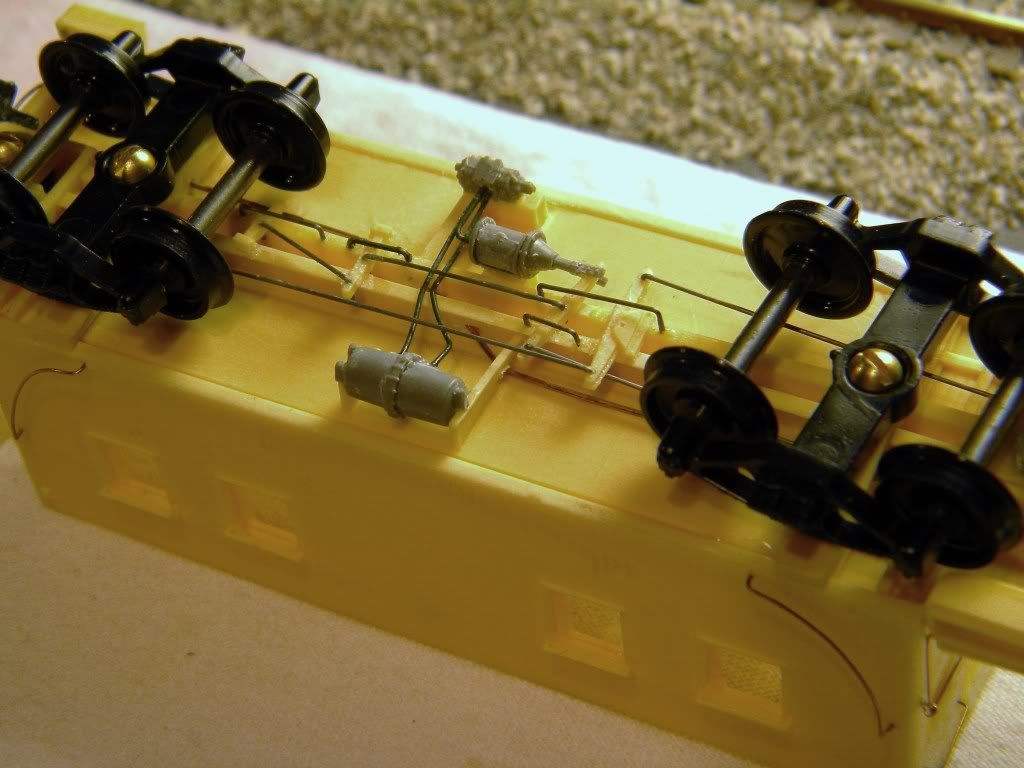
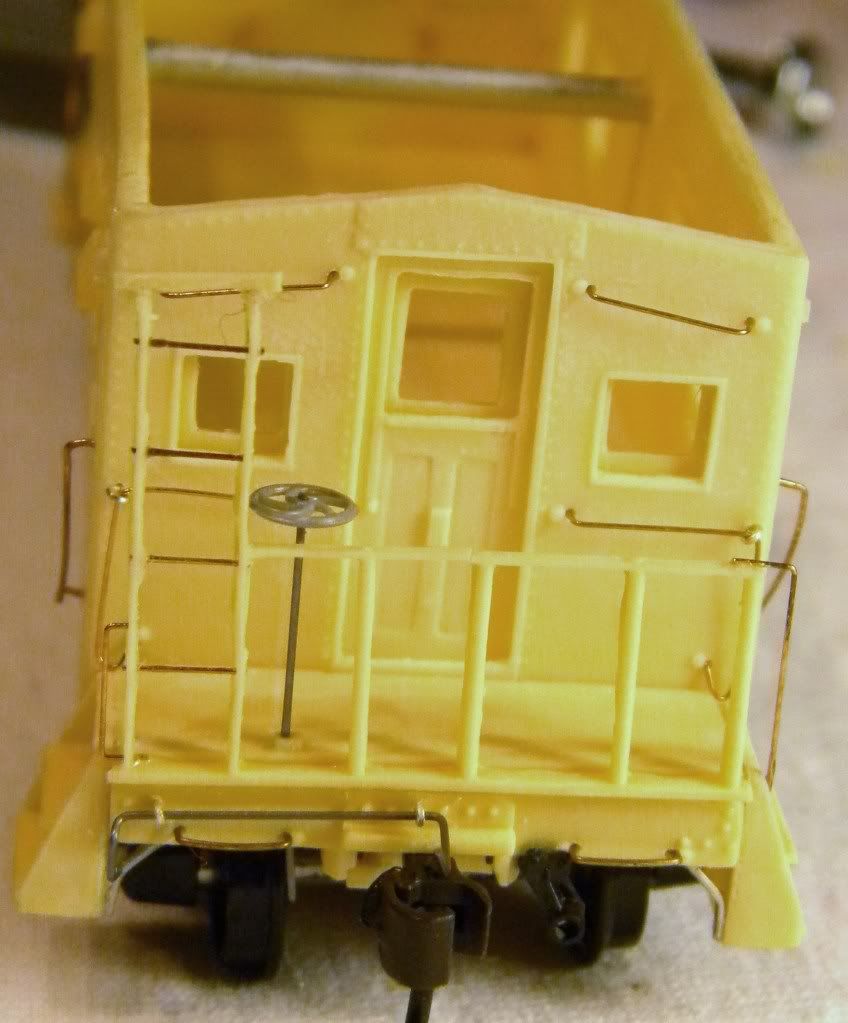
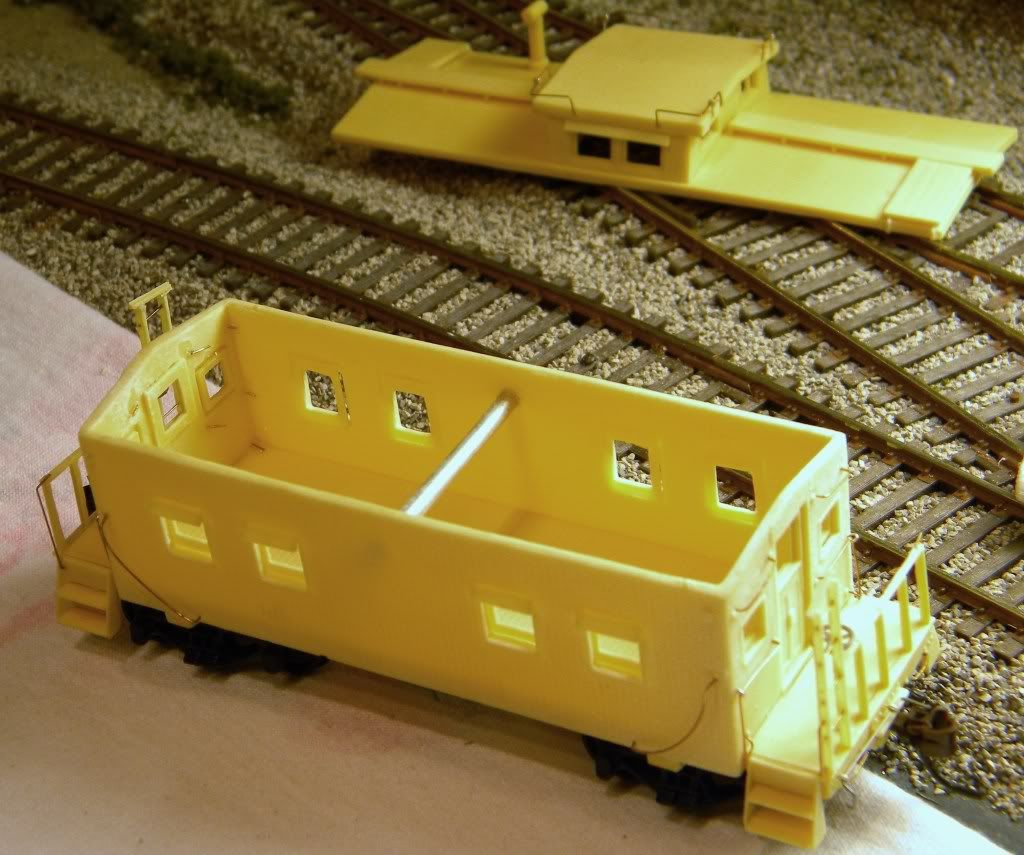
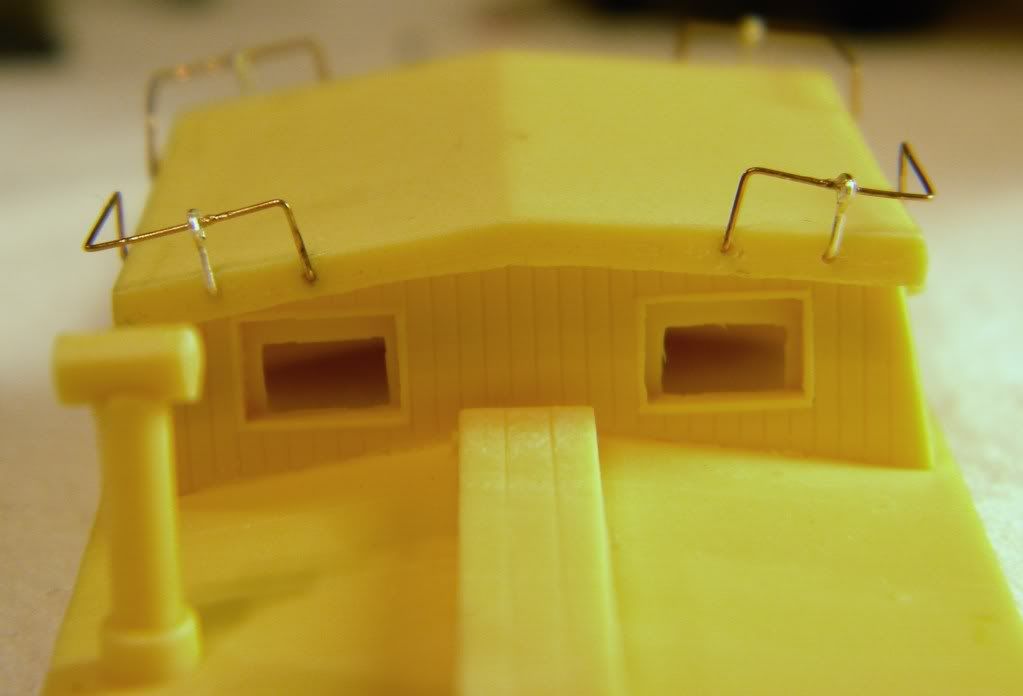
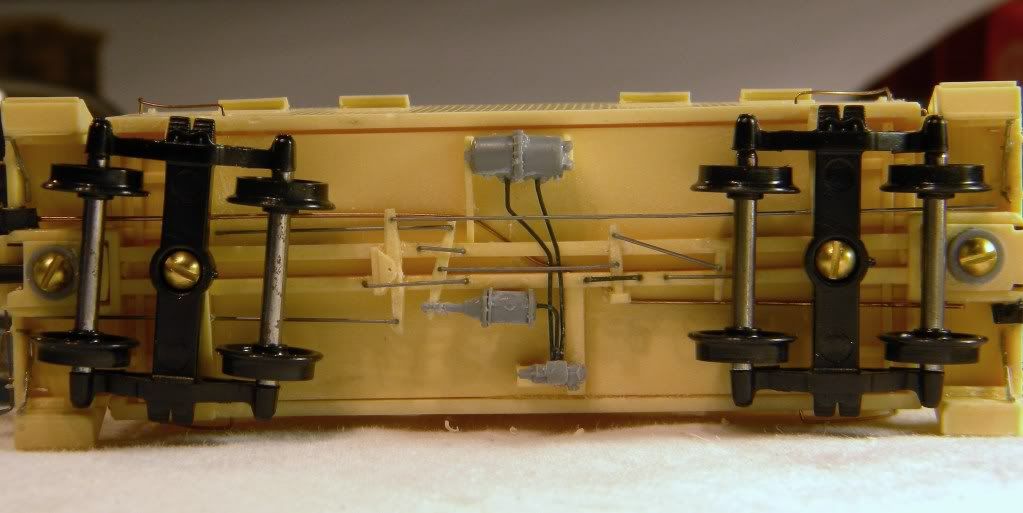
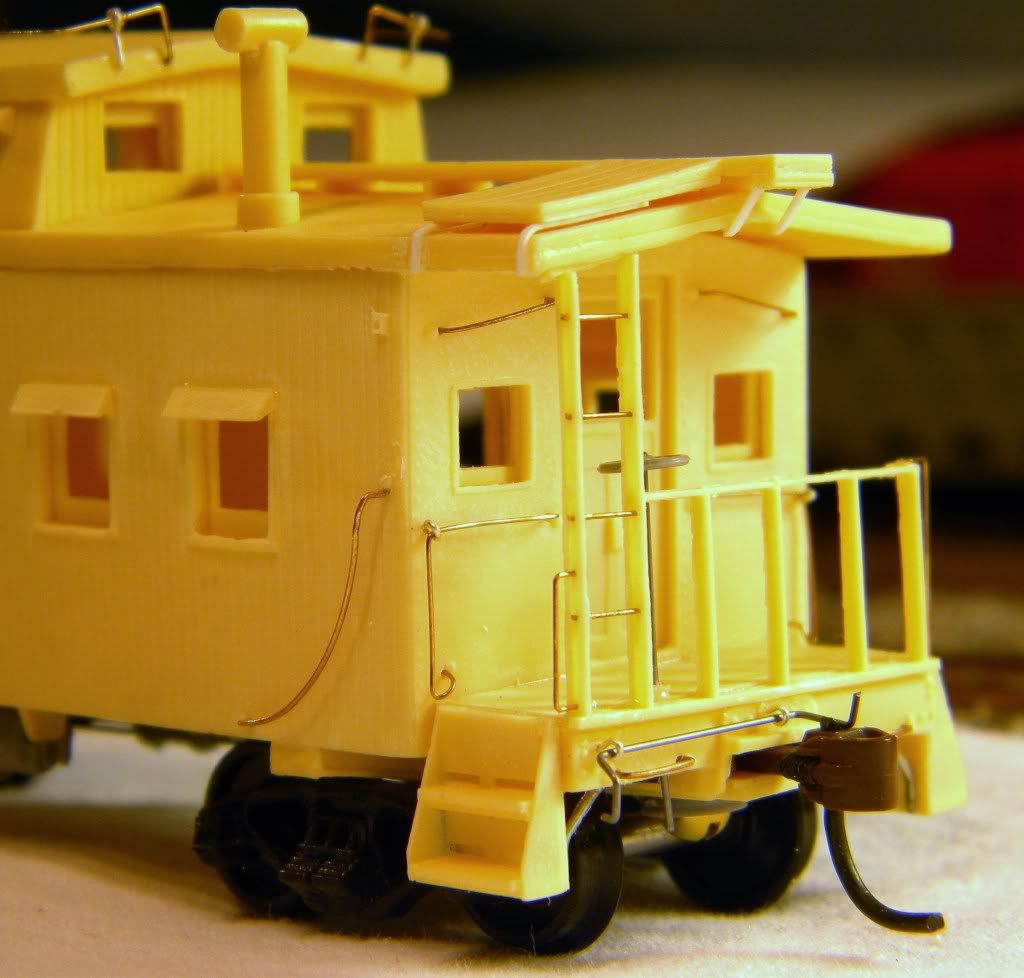
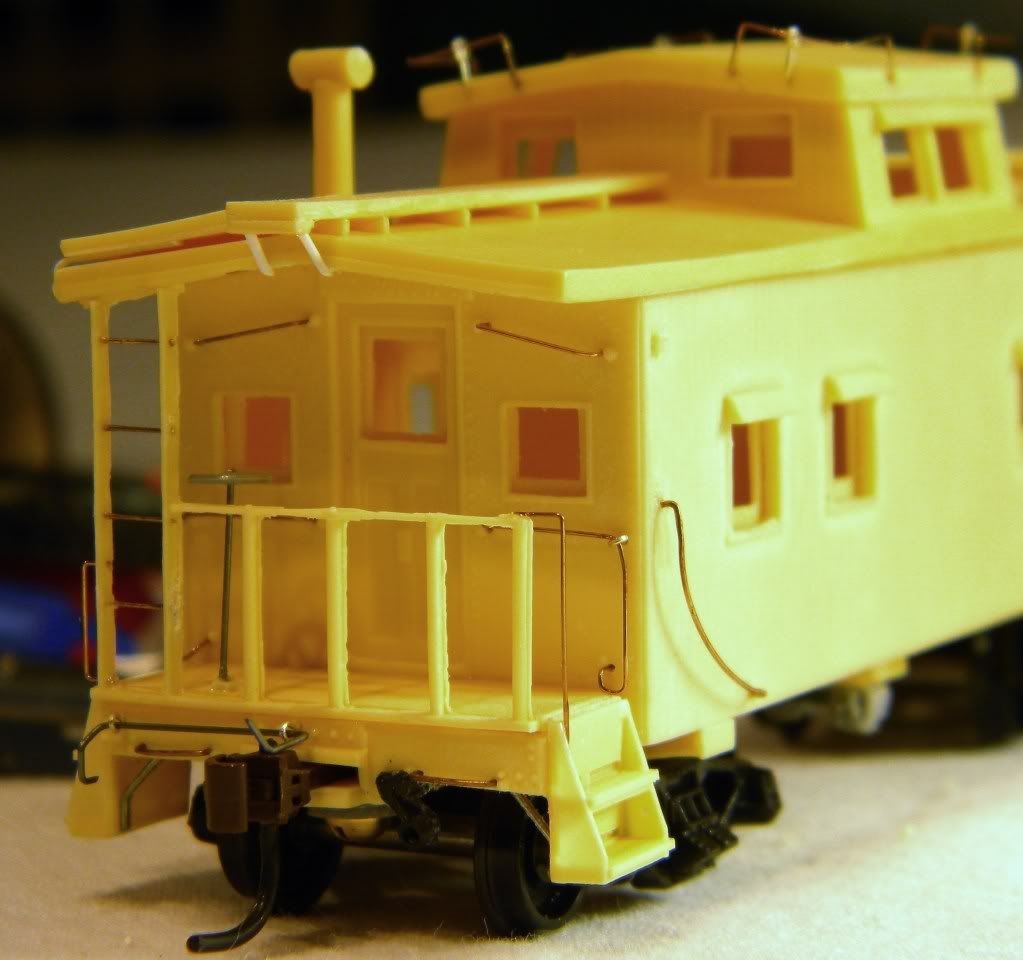
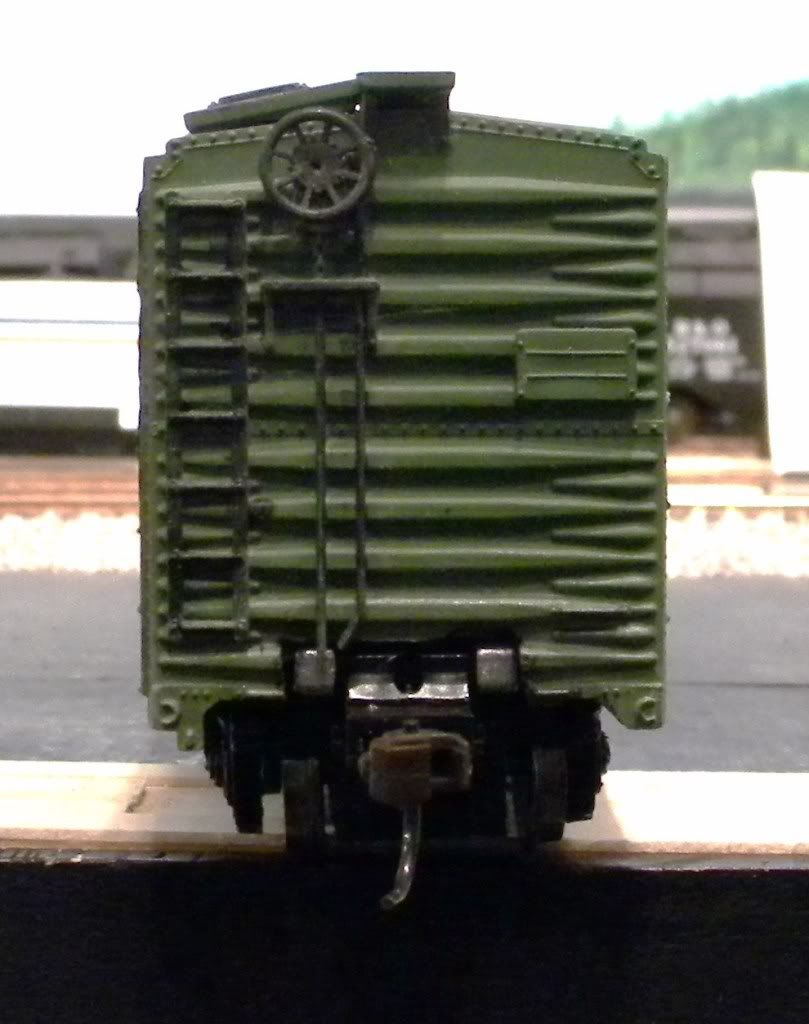
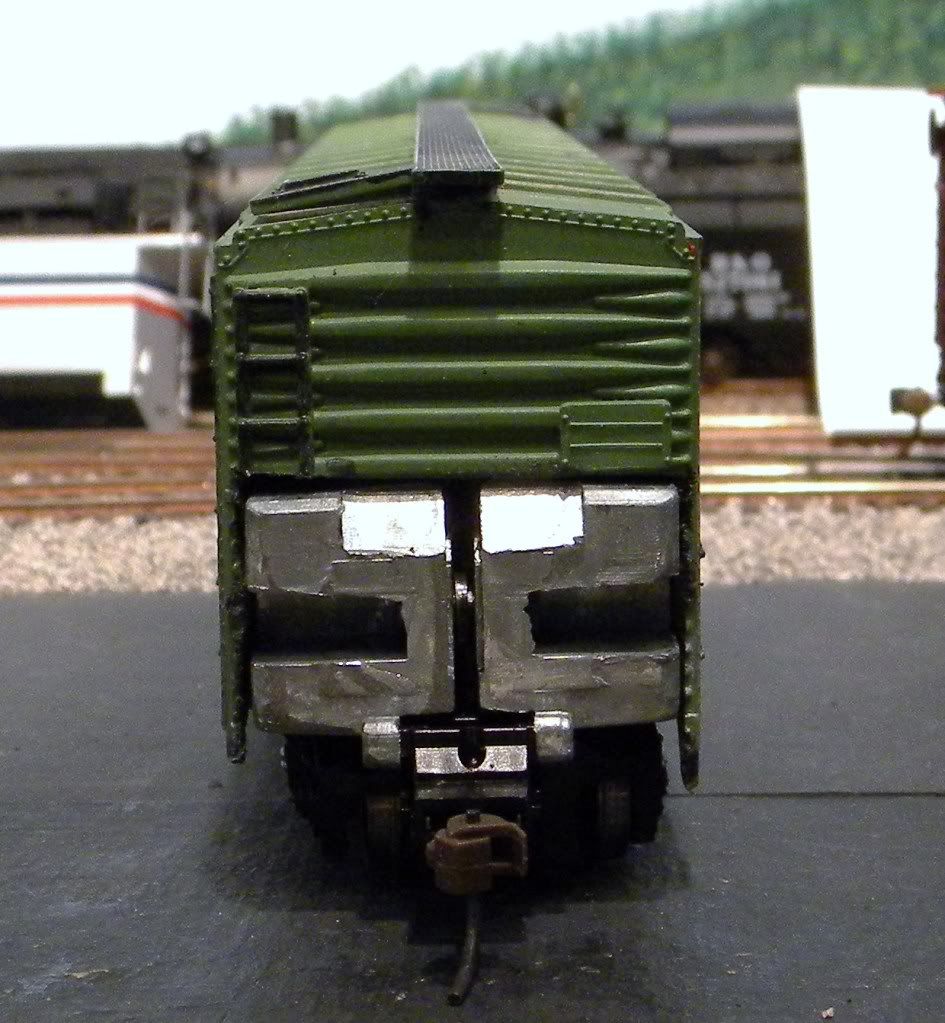
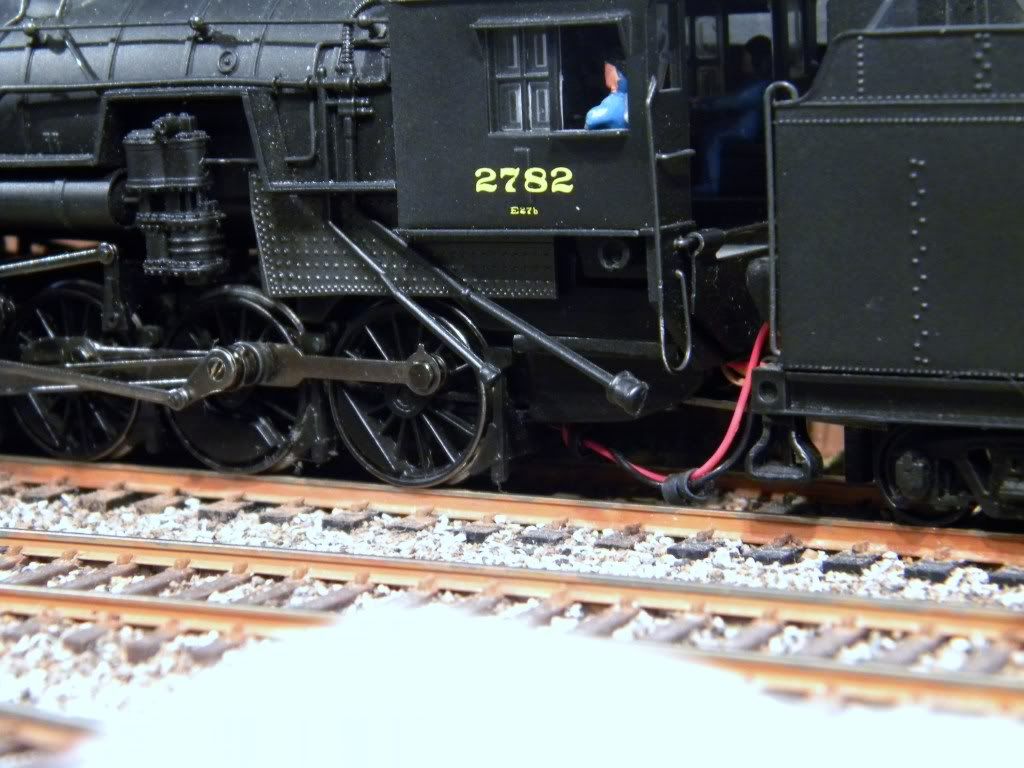
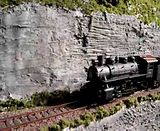
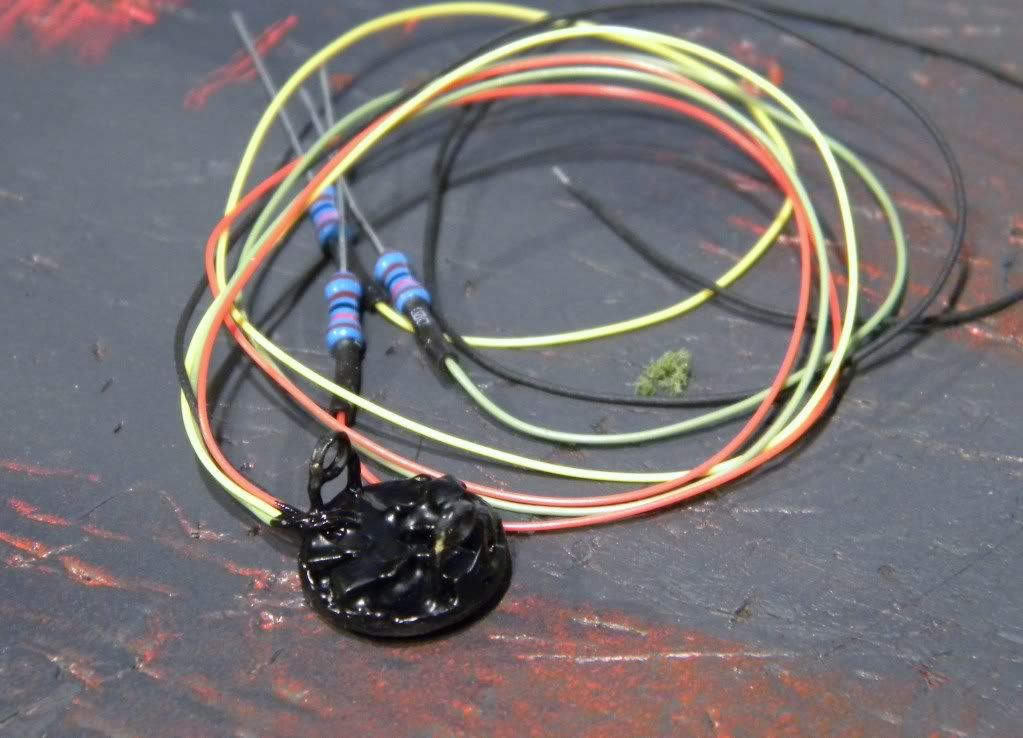
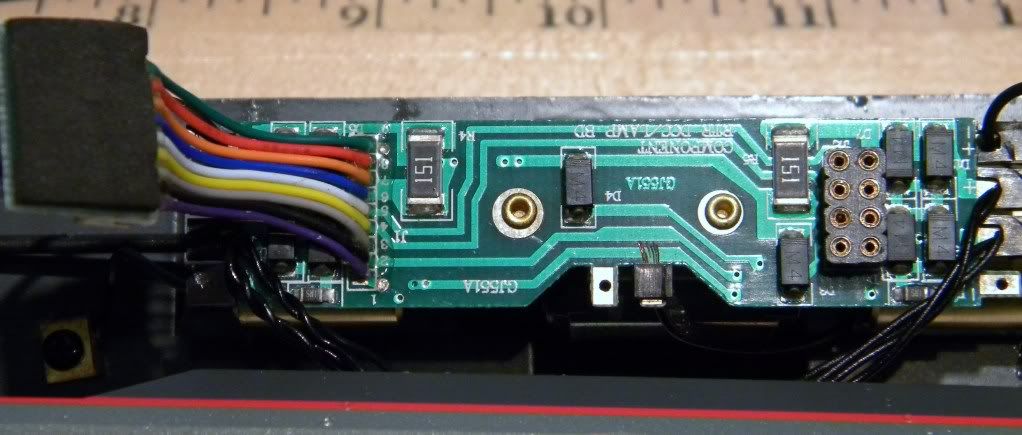
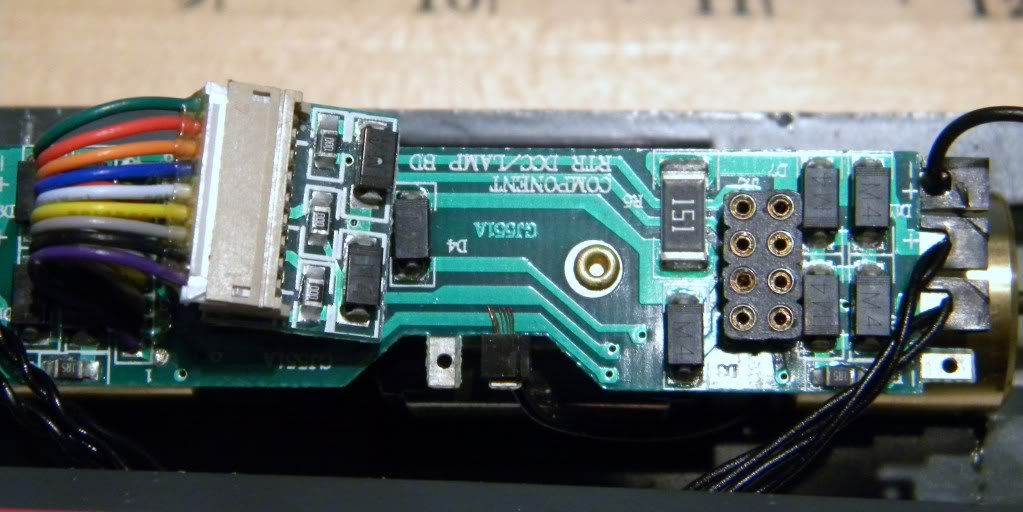
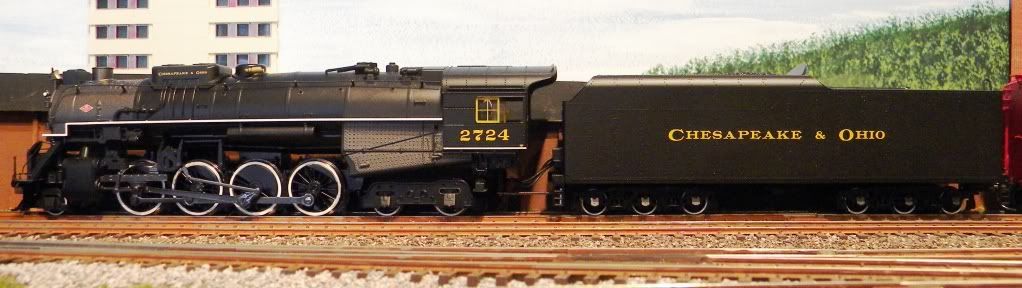
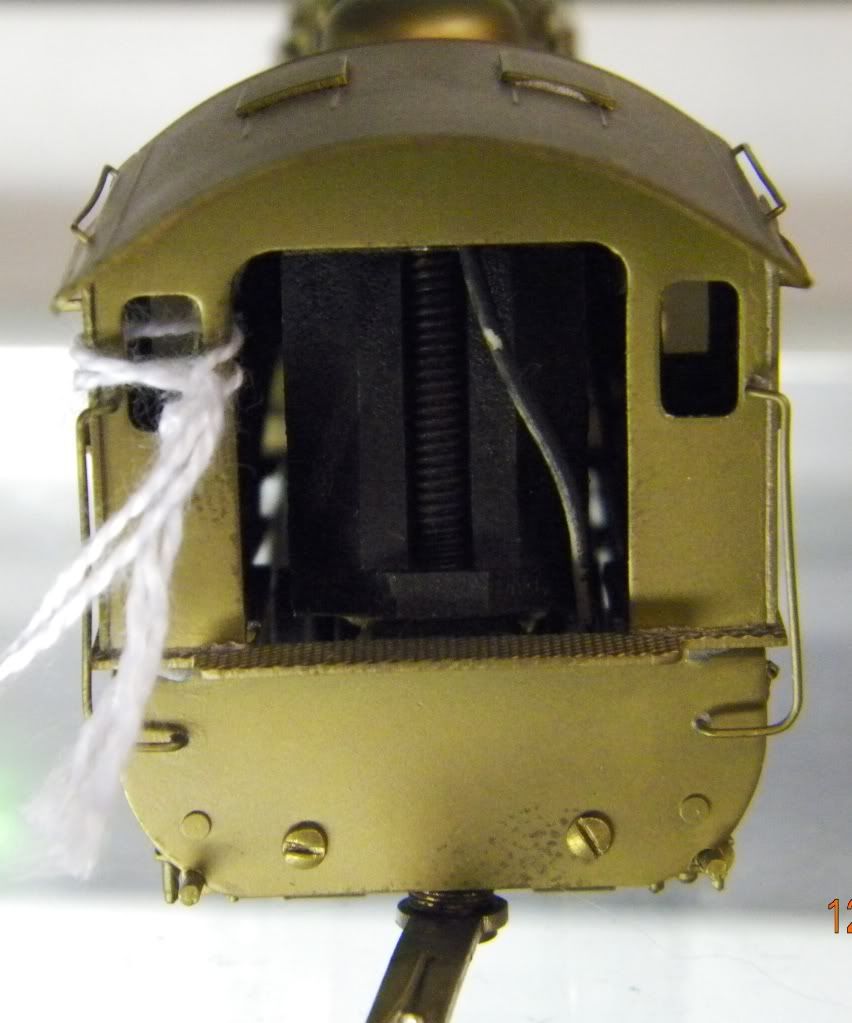
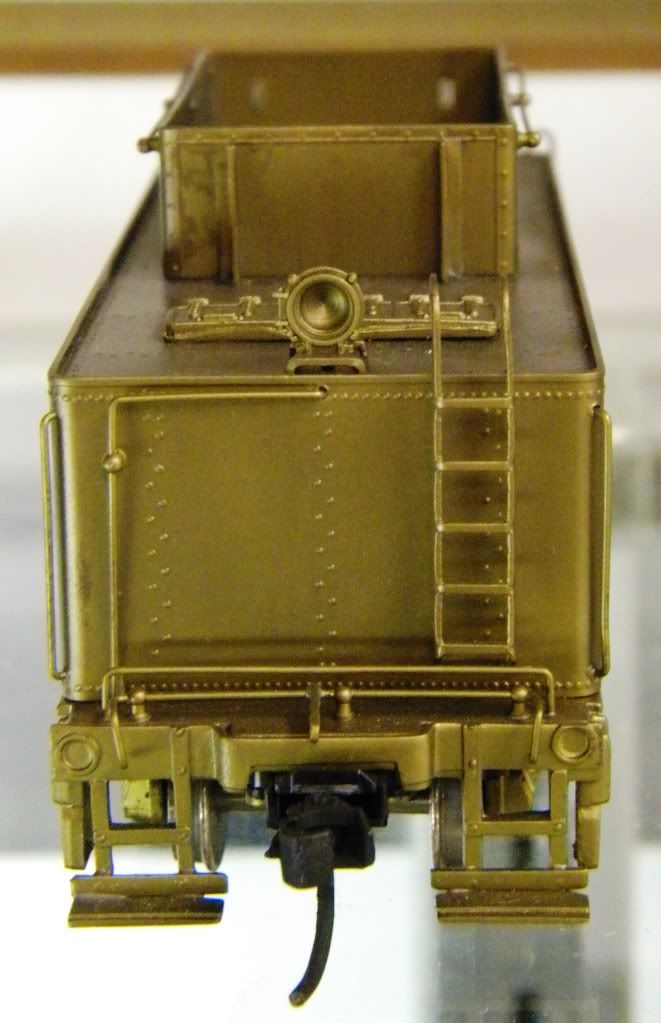
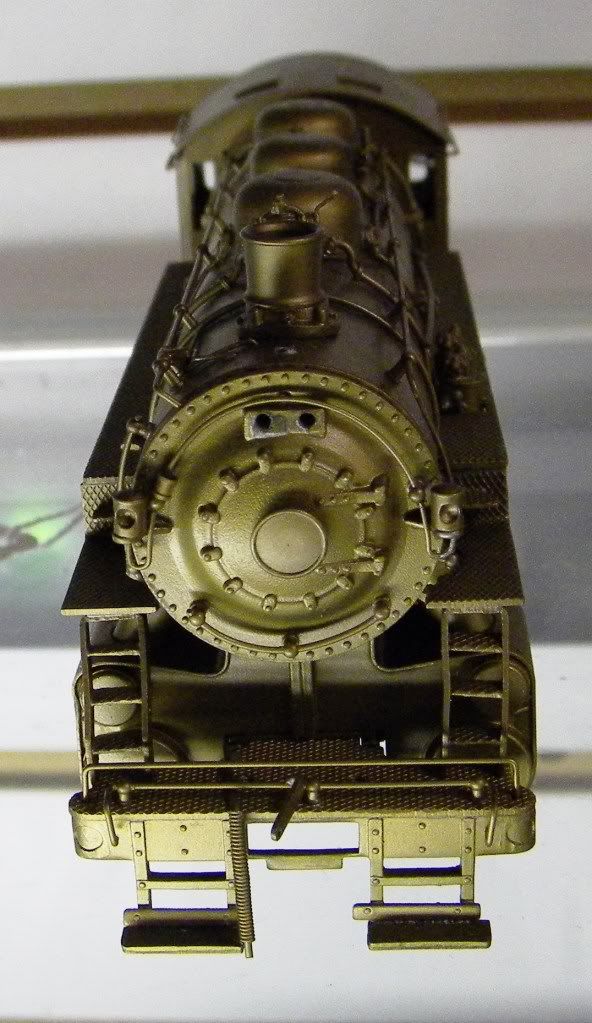
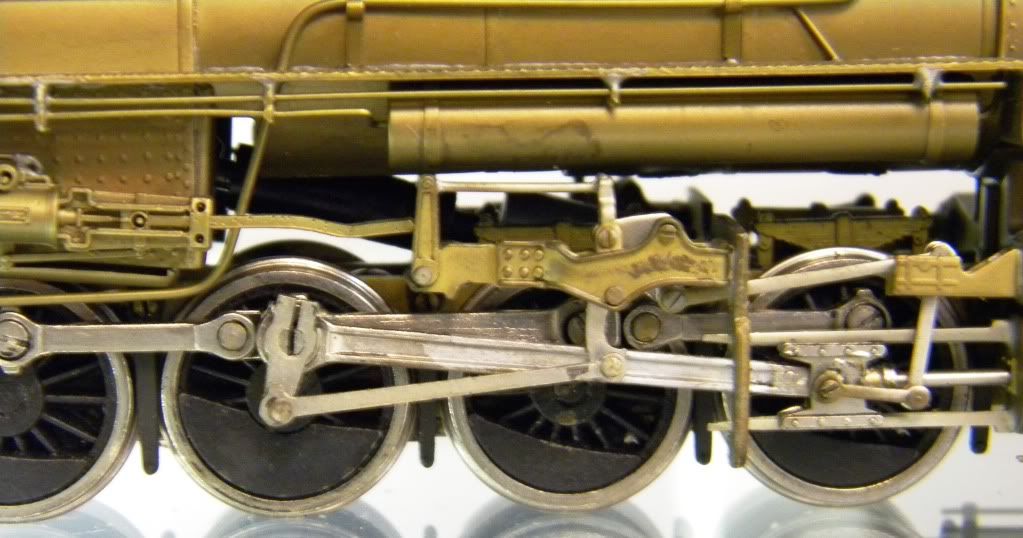
As today is also Veterans Day, I wanted to complete something to remind me a little of my former Naval career.  This is an HO Scale project.

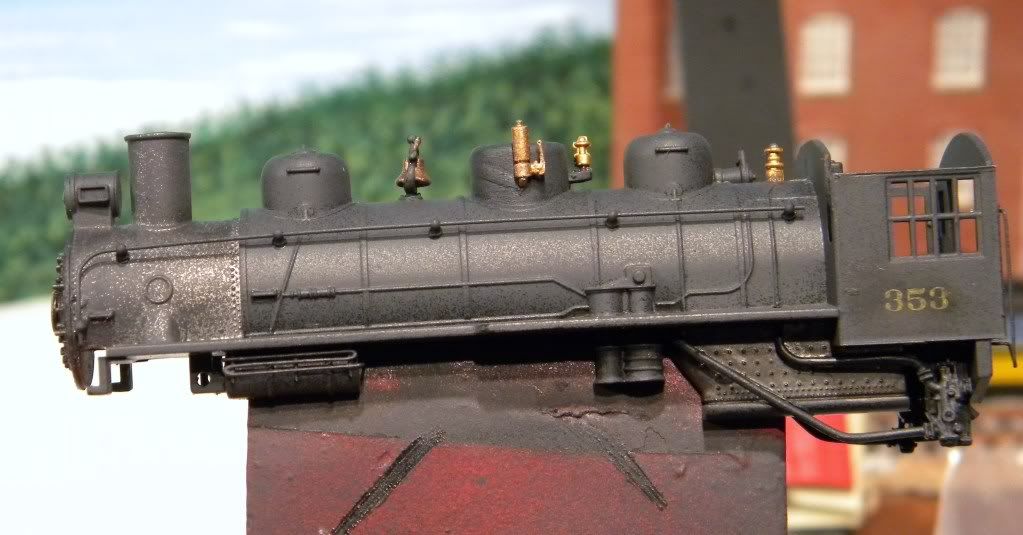
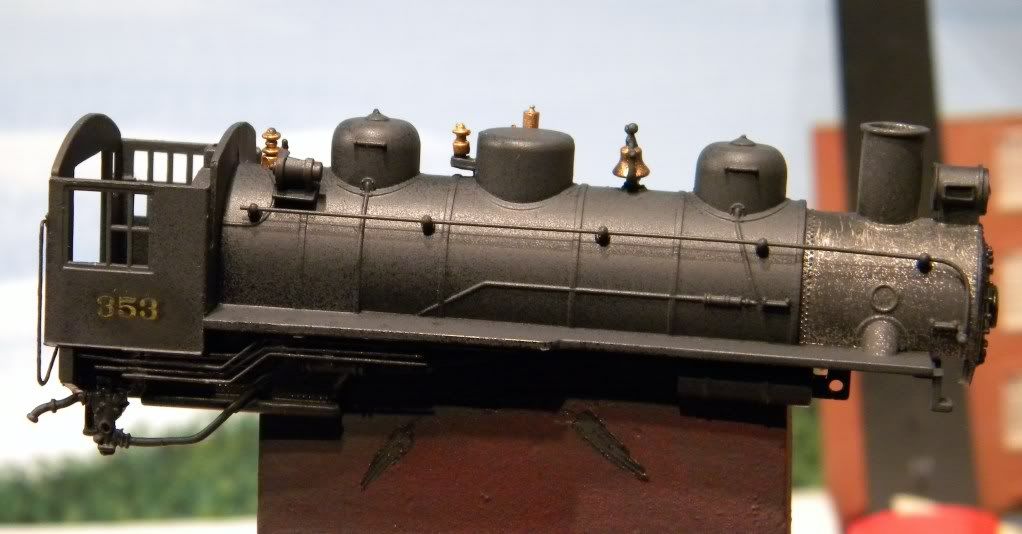
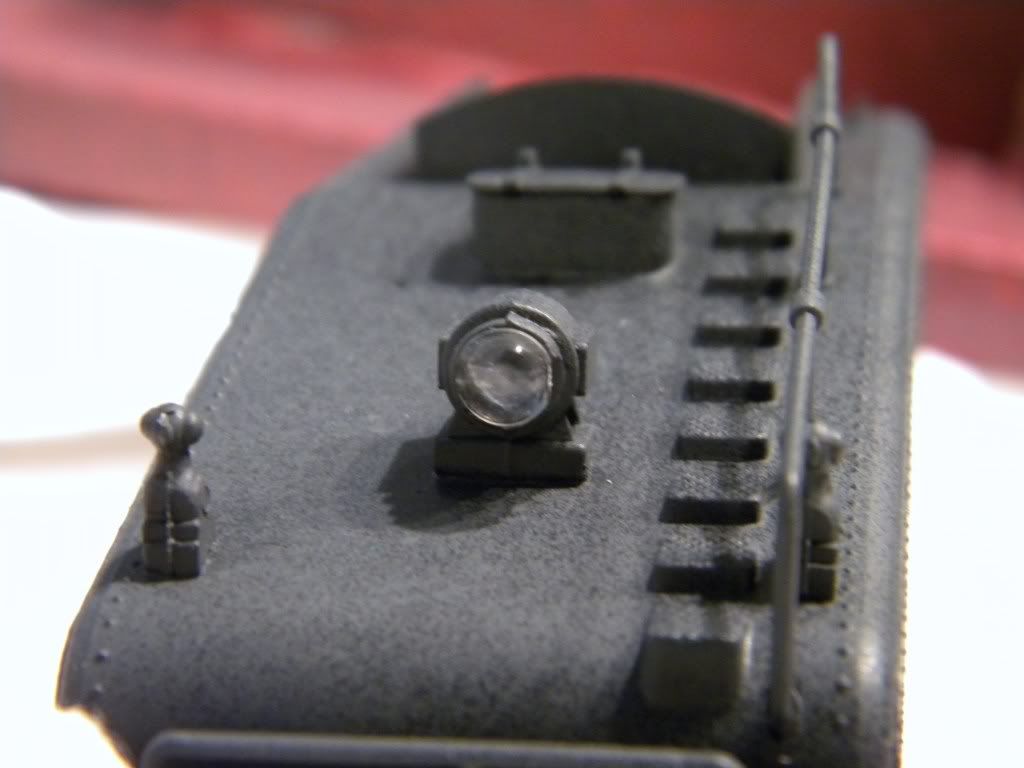
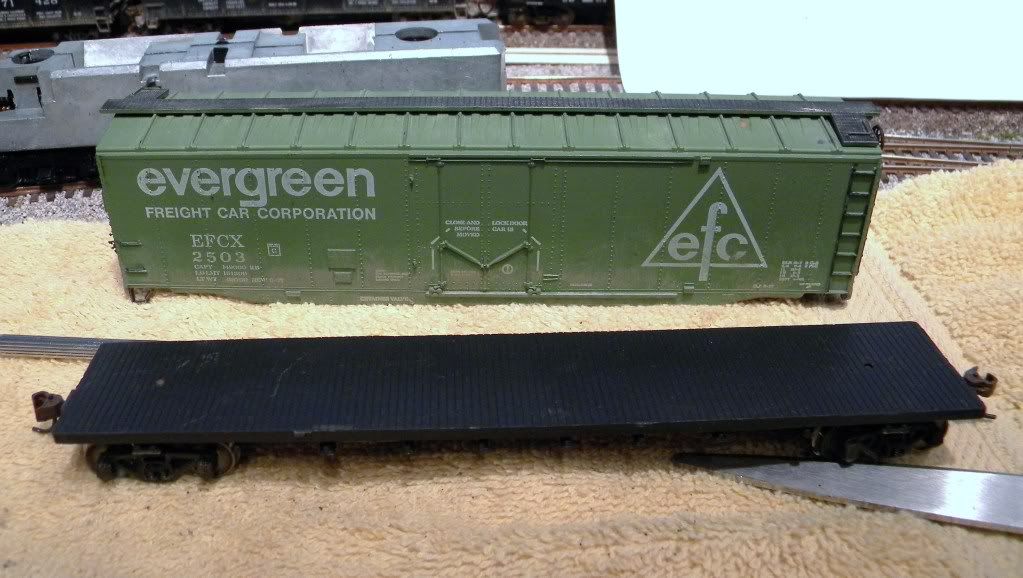
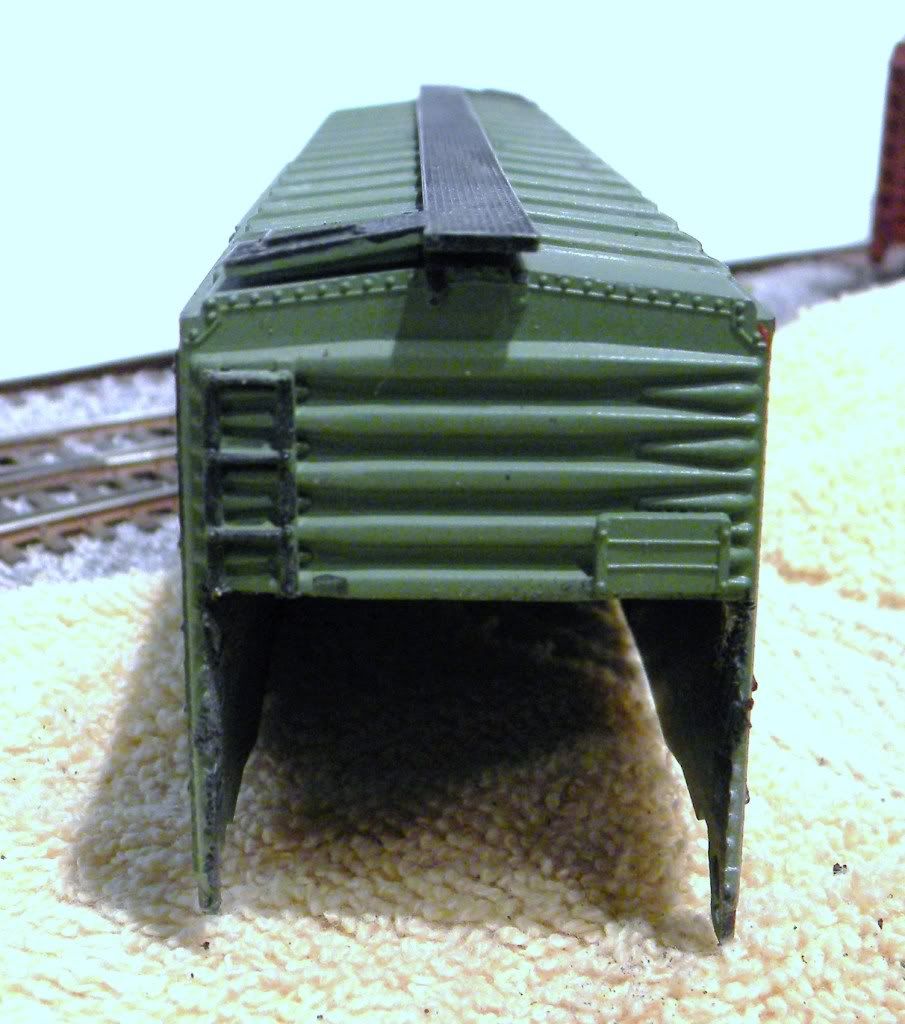
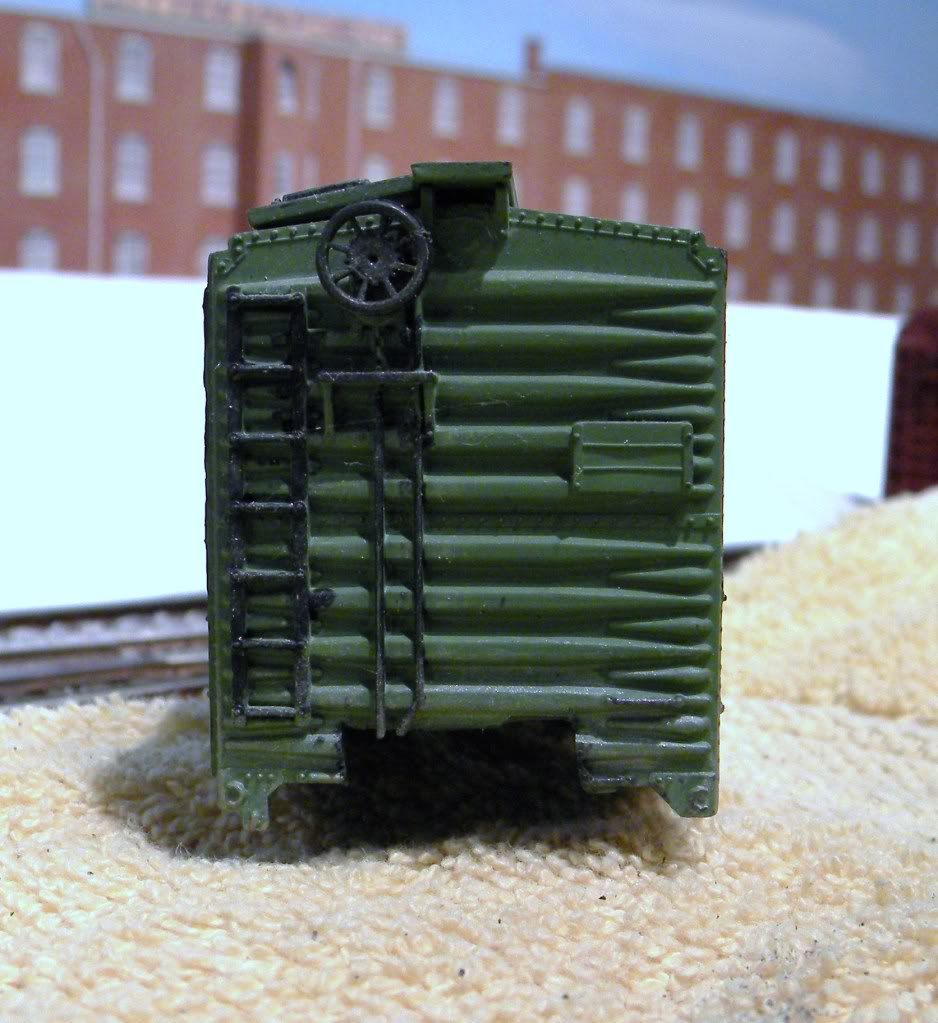
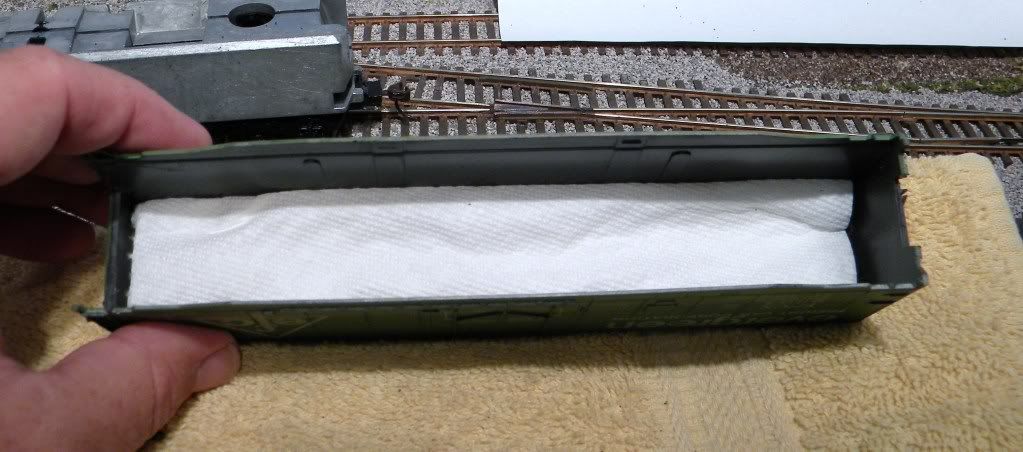
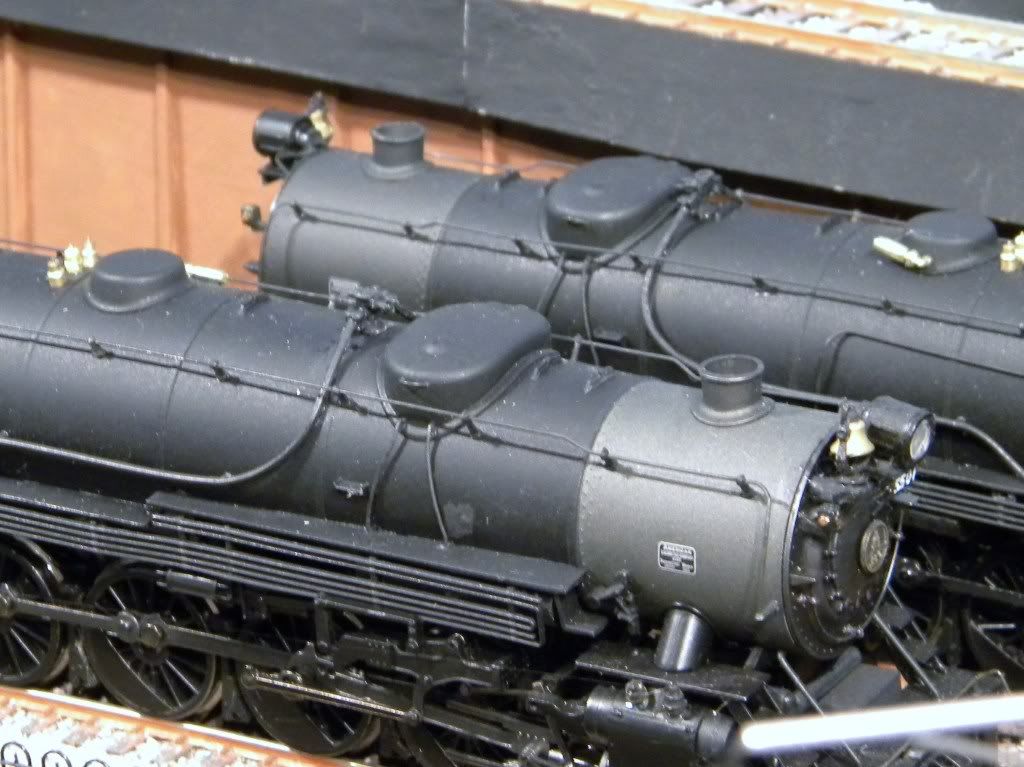
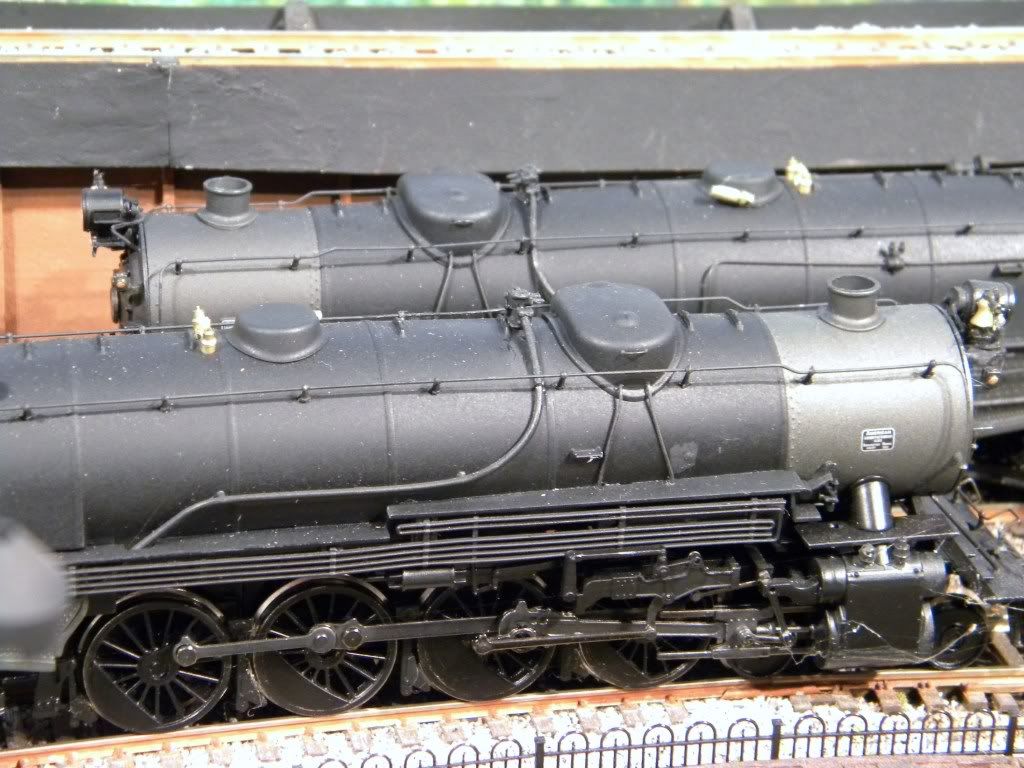
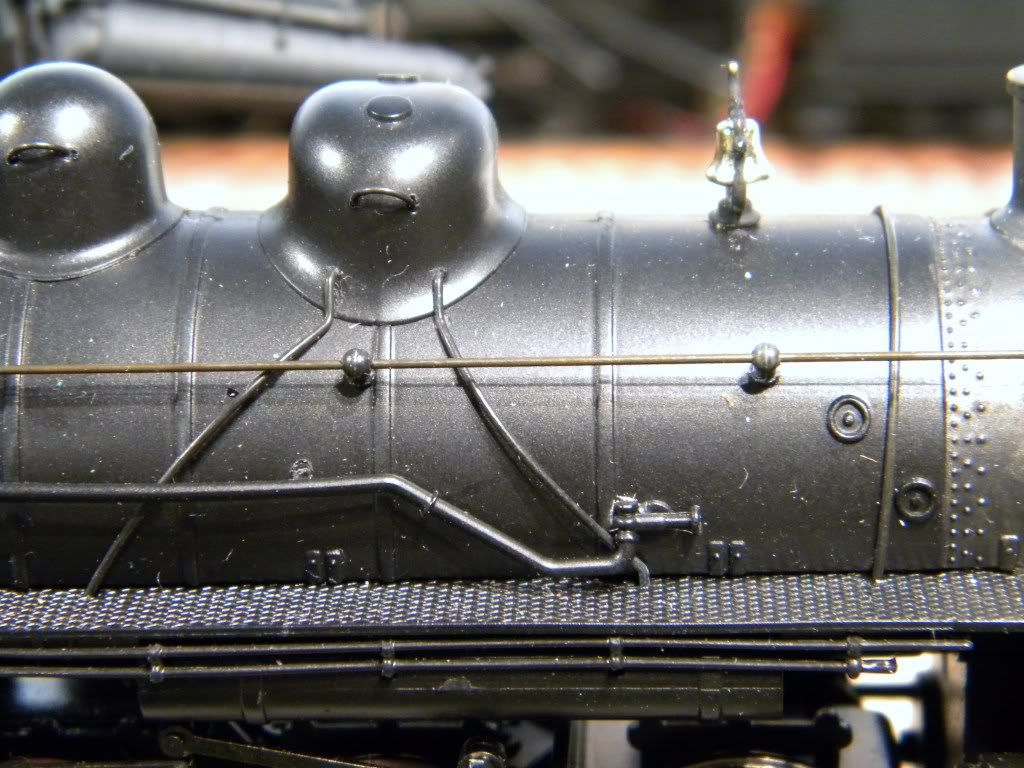
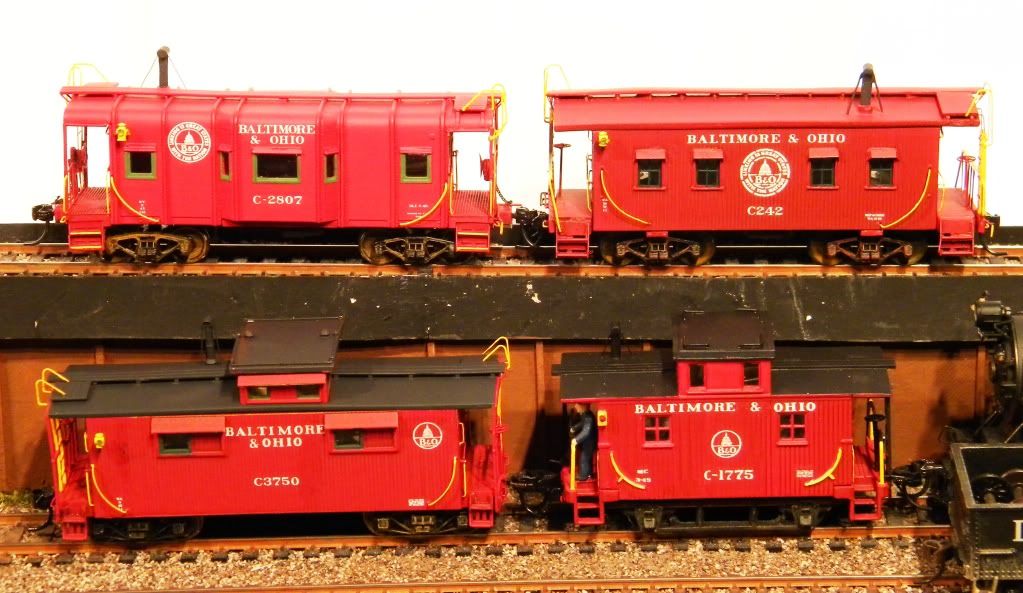
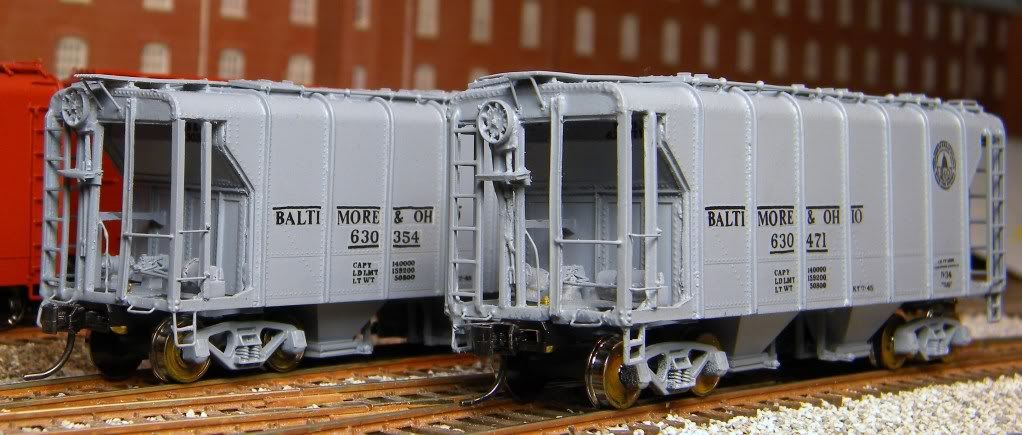
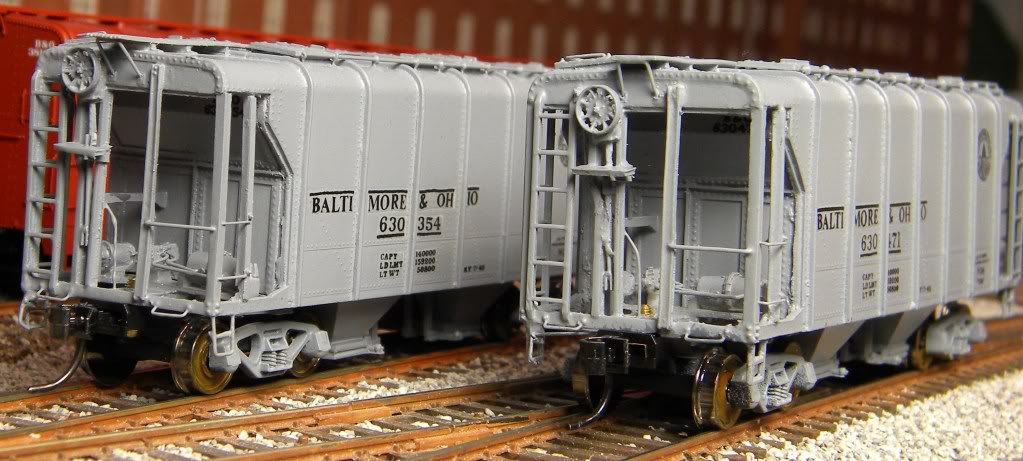
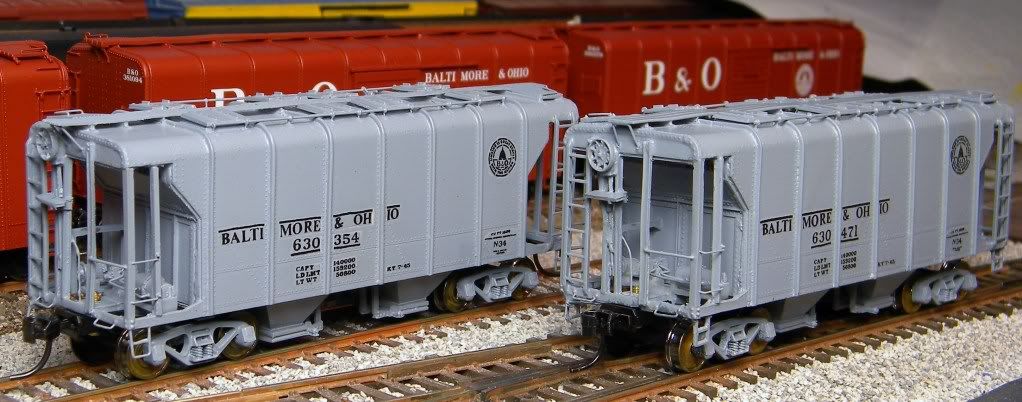
Some will call this color MOW Gray. I prefer to call it "battleship gray" or "haze gray":


Won't you please join me, fellow foamers?  Help celebrate this month and show us your project.  Let us share in your joy of the hobby.

Regards,

Jonathan
#82
HO / Tinkering with the new 0-6-0 (DCC)
November 04, 2011, 11:24:17 PM
OK,

Here's the new and improved 0-6-0 with DCC:


We've covered the front coupler issue. Seems to be working well so far.

Here's a few other upgrades to make this loco a little more Spectrum-like.

Widened the valve gear hangar. Added brackets to the pilot steps, per the prototype. Filled the smoke receptacle with lead and epoxy. Blackened (sp) the drive rods and valve gear:


Shell:
Added a brass whistle, brass bell, brass injectors, piping, grab irons on the cab, and B&O logo. Still needs markers, window glazing, figures, etc...


Tender:

Added pickups from an unused tender. Traded out stock weights to make room for the wheel wires. Added a reverse light.  I put a 5/32" aluminum tube in the reverse light so the bulb wouldn't melt the plastic.  I couldn't get a small enough LED to fit for now.


I actually got a #5 coupler to fit in the gear box.  I filed a channel in the box cover and the centering spring and coupler fit very nicely.

The grimy black weathering is just the first step. Still a few steps to go.  I will post pics again, when I'm ready for final assembly.  Makin' progress...

Regards,

Jonathan
#83
HO / My Solution to the 0-6-0 Front Coupler Problem
October 31, 2011, 05:33:10 AM
OK,

I drilled out the dummy coupler pocket.

Trimmed down a Kadee, undershank coupler.  Drilled a #78 hole in the shank.

Ran 0.015" wire through the whole thing (patience helps here).

Superglue.

Shim for proper height.

1/16" holes in the side will hold Kadee springs.

It ain't pretty, but it works.  A little time with sanding and paint will fix the ugliness.

'nuff said.


Regards,

Jonathan
#84
HO / EM-1s at Sea, Yet?
October 28, 2011, 11:08:15 AM
Oh, most wise and benevolent Mr. Bach-Man (buttering-up),

I can't help but ask, being all ga-ga about your new Yellowstones.

With the 30 October anticipated delivery date almost upon us, has their been word of production progress on the new locomotives?  Fair winds and following seas to the magnificent golden ship, upon whose destiny we 'anticipate'!

Regards,

Jonathan
#85
HO / Caboose Project
October 09, 2011, 01:03:16 PM
In anticiptation of my two EM-1s arrival, I started a new caboose project.  I have a proper B&O I-12 Wagon Top Caboose.  But I need a caboose for the second EM-1.  I started an I-5D Caboose, one of the most common B&O Cabooses (that's an opinion of course).

Anyway, it's fun to share.  Here's a few shots of my progress.  Keep in mind I need to do some serious fine sanding and cleaning.  However, I am getting close to the painting stage.  She will be numbersed C-2222. That's the I-5 at the B&O RR Museum in Baltimore.

For a little size perspective:  the brake rigging is 0.015" wire and the grabirons are bits of 0.010" wire. 

Regards,

Jonathan

Enjoy:


#86
HO / Powered Box Car Project
September 16, 2011, 05:00:14 AM
Good morning!

Here's a little project to start the day:

I don't model anything past 1960 anymore.  That leaves some of my equipment without a job.  I've managed to sell off most of my modern era rolling stock, but there are still a few pieces laying around... Perfectly good stuff, just not real marketable.

So... here's an FP40H that use to be a Spectrum model years ago:


Two screws remove the shell, a little maintenance, and you have a perfectly good power source.  It's heavy, by the way, will probably pull more a lot more freight than passenger cars:


I really wanted to use a steam era 40 foot box car to hide the mechanism, but too many modification would have been required.  I really didn't want to grind on the frame. You never know when you need to put your FP40H back together again.

Here an old Athearn 50' box car that will serve as a good stand in:


I had to do a little razor saw work on the shell to get it onto the loco frame:


There's a dead space when the box car shell sits on the loco frame.  It acts like a speaker baffle.  To get it quiet, I rolled up a paper towel to fill the dead space:


Worked great.  Hmmmm...  room for a decoder if I ever fall to the darkside.

Now All I need is a little paint and a little weathering.  The trucks won't be completely unnoticeable, but I will probably have to point it out to most folks when the train is rolling.  Here are some shots of the 'almost' complete project:


A caveat:  this idea is not new.  For many years modelers have been "kitbashing" :)
their rolling stock and adding power to freight equipment.  Just thought I'd share my little project.

Regards,

Jonathan

P.S. It was fun to run a little train with a 'ghost' locomotive in front.

#87
HO / A Track Soldering Project
September 01, 2011, 06:52:50 PM
Fellow Bachonians,

Some threads in recent past have discussed electrical continuity (wire glue, soldering, track feeders, etc.).

Thought I'd share a recent maintenance project that might be helpful (or not).

Occasionally I like to run my vintage locos on the mainline; one reason being they are much more sensitive to trackwork that might need attention.  One of my favorite testers is a Bowser G5, you may remember from a couple years ago.  Anyway, I discovered two problems:  a dead turnout and a tunnel with greatly reduced conductivity. I cleaned the track prior to the maint. check.

The dead turnout turned out to have a dead stock rail (hope that's the right term).  It's the middle rail that sends the train on the straight route:


Rather than tear out the turnout, I experimented.  I soldered a small wire to that rail:


Then soldered the other end of the wire to where the turnout joins the next piece of track:


Problem solved.  Ten minutes of work that saved me big bucks for a new turnout.

Sorry I painted the solder work before taking pics.

For the tunnel, I added two track feeders and connected to my bus wire.  Only one photo turned out.  This is the rail on the opposite side from the viewer:


The feeders were put as close to the tunnel entrance as possible.  I also soldered a few extra joiners along the mainline.  Yes, I removed the paint (weathering) before soldering:


This solved the tunnel problem as well.  Why am I checking my trackwork right now?  There are a couple of EM1's coming with my name on 'em.  With sound installed, I'm sure they are going to draw a little more amperage than my medium sized locomotives.

Hope this helps someone in some small way. It sure helped my layout.

Regards,

Jonathan
#88
Here's a couple of things I'm working on to get my equipment closer to my chosen modeling prototype (B&O).

I finally got around to moving the boiler check valves to a Nathan Top Feed Double Check Valve.  I did this to each of my Mountains.  Talk about a hard detail part to find:


Still working on the color match from where I cut away the old check valves.  I'll get there eventually.

Also,  I don't know about anyone else, but the coffee-can-looking doohickies that hang off under the cab on the Consolidations have always bothered me:


There may be a B&M prototype out there somewhere, but the B&O sure didn't do it that way.  I cut them away and put in a pair of Nathan non-lifting Injectors:


Just tried it on one of my Consolidations.  I'm sure I'll get around to this mod on the other two as well.

If fact, the only thing left to do is to move the domes forward and add top feed check valves to these Connies:


Haven't gotten brave enough to try hacking away at domes, yet.  Perhaps I'll get a shell from the parts department one day and experiment.  I really want to try.  Just working up the nerve.

Regards,

Jonathan
#89
HO / Sacramento Train Show Announcement
July 08, 2011, 01:18:48 PM
OK folks, this just over the wire.

I have seen an announcement and pre-production photograph of DCC on board B&O EM-1 (2-8-8-4).  Estimated list price at $399. Can this be true or did I just dream this?

Regards,

Jonathan
#90
HO / Another Surprise Quality Product
July 07, 2011, 04:49:43 PM
Lately we have had a number of threads concerning the 0-6-0/2-6-0/2-6-2 loco.  I, like others considered this little loco not up to standards for running on my layout.

I was so wrong.  Another thread mentioned the RS-2 and how surprised others were of Bachmann's superior quality in that product.

I am another who is learning there is more to life than a Spectrum Locomotive.  The H16-44 Trainmaster is another wonderful locomotive.  It does require a little tweaking, but my two run just as smoothly and quietly as other famously smooth running diesels.  Of course that loco use to be a Spectrum, just like the 2-8-0.

After tweaking, the 2-6-2/0-6-0, I'm convinced this is another loco with sound engineering.  In fact, I'm thinking of picking up the DCC 0-6-0 and explore just how difficult adding sound would be.  

Anyway, just wanted to say thanks to the great Bachmann folks for giving us so many great models to play with, 'er operate.

Here's a couple of videos (poor quality camera, sorry) of my 0-6-0 nee Prairie in action.  One video is at 40% power and clipping along nicely.  The other video is at 30% power, moving slowly, and travelling over a #6 turnout with an unpowered frog.  It doesn't even blink.  More importantly, listen to what you don't hear:  no motor sounds, clicking, etc.; just metal wheels on rails.

click on photos


I know I didn't have a question, so perhaps this thread is not necessary.  Sometimes a compliment to our hosts seems in order...

Regards,

Jonathan
#91
HO / Question About My Lighting Project
May 29, 2011, 06:08:52 AM
As usual my search for knowledge revolves around things electrical.

So... my question is:  How does one wire a rotary switch?

Now the back story:

I've been wanting to start a signal system on my layout ever since I started building.  Expense and lack of expertise has kept me from attempting it.

Well a few things have come together since then.  A trip to the B&O RR Museum gained a couple of free signal bridges (B'mann Plasticvilles BTW).  Here's a photo below.  I painted them and added some aluminum tubes to hide all the wiring:


Next, I found an old power pack at an LHS--just happens to be an old Bachmann pack. Got it for a couple of bucks.  I also ran some 16 gage wire around the layout as a bus feed for the signals and whatever else needs some juice:


That'll be hidden by the fascia or skirting I will put in "someday".

The big expense was a pair of CPLs (B&O Signal Heads), complete with resistors:


Now the confusion over the 6 position rotary switch, which I picked up at Radio Shack for around $3:


I assume the two poles in the middle are connections for the power source, and the outside ring of poles are for the bulb (LED) leads.  So, my guess is I can run the signal's common lead (black) to the bus wire (-).  Then I can run a common lead from the center pole of the rotary switch to the other bus feed (+).  Then the LED leads can be run to the outside poles of the rotary switch.  These are guesses.  This is the part I need help with.

Part of the confusion:  Why are there twice as many poles as positions for the switch?   Am I required to run a wire from the outside ring to the inner poles?  Actually, I probably have more questions than I can list right now.  So perhaps a kind someone can start me down a simple path so I can understand how to wire the switch.

Thanks once again.

Regards,

Jonathan

Addendum:  My plan is to wire some sort of terminal to each switch position so I can connect other signals.  Eventually, I would like to control all the signal aspects on my two track mainline with the six positions of the rotary switch. jev
#92
HO / For B&O Fans Part 3
May 14, 2011, 06:42:44 AM
It occurs to me that I have been very busy lately and haven't posted any fun projects in a while.

Soooo.... here's my fleet of cabeese I've been tinkering with for a while.  A test for my fellow Beano's:

Which caboose never existed?


It's a trick question.

The caboose on the lower left is a C-5 owned by the C&O.  It was leased to the B&O for a number of years before the final merger.  It never had this paint scheme.  While it is a wooden caboose, built sometime in the 1920's, the B&O didn't use it until the 1960's, when paint schemes went a little crazy (opinion).  This paint scheme is suppose to represent late WWII markings.  Thanks to J3a-614 for getting me started on some history research.

Anyway the I-11 bobber is a Bachmann MA&PA caboose.  I add a little more to it all the time.  The fake caboose is a Walthers.  The other two are craftsman kits that I hacked my way through.  Although, the Wagon Top looks pretty good in photos.  My errors are too small to see apparently.

Enjoy.

Regards,

Jonathan

Addendum:  Interesting to note:  while the I-12 wagon top cabooses were probably the most well know (popular?), they led the shortest lives.  Most only operated for 16 years before being scrapped.  Very few survived to be preserved.  There is one at the B&O Museum in Baltimore.  It's in pretty tough shape.  Hopefully it will get on the restoration list. jev
#93
HO / Does This Loco have both DCC Receptacles?
March 25, 2011, 05:38:12 AM
Starting to explore DCC stuff in my own equipment.  Here's a relatively new Athearn model with what appears to be an 8-pin receptacle:


When I flip over the gizmo on the left, could this be a 9-pin receptacle as well?


Just confused by the extra wires and little pcb attached to it.

Thanks.

Regards,

Jonathan

Addendum:

The Digitrax website recommends a DH123D or DH163 decoder for this loco.  As much as I can deduce from all the reading I've done, one can unplug the PCB(bypass?) on the left as pictured above, and plug in either decoder.  Can it really be that simple?  There's always a gotcha somewhere.  I'm sure it can't be as simple as plugging in a decoder, with an 8-pin plug, into the empty receptacle, on the right of the photographs.  jv 

With all the reading I've done, there is never a simple paragraph like, "here is the recommended decoder for YOUR loco, and here's how to plug it in."  Everything carries instructions for a group, or brand of loco.  And of course, each loco is configured just a little differently.  So many paragraphs, so little time...
#94
HO / Getting Published in My Spare Time
March 22, 2011, 07:29:50 AM
If any other B&O fans are familiar with the B&O Modeler Magazine, this will look familiar.

I was just honored with having an article published.  It was my first attempt, so pay no attention to the sloppy paint job:

http://borhs.org/ModelerMag/BO_Modeler_6_2010_JulAug.pdf

Regards,

Jonathan
#95
HO / Installing Sound for Beginners, Like me!
March 19, 2011, 07:44:27 PM
OK, Matt (BestSnowMan) got my juices flowing about documenting a sound project.  This will by my first time, so beginners unite and let's learn this together.

OK Step One:  start reading.  I've read all the manuals and information pages from Digitrax, Soundtraxx, NCE and Bachmann.  If you're a beginner, it's OK to make mistakes, but an education will certainly help you make better informed decisions.

Step Two: Select a Locomotive and a sound system for your locomotive.  I will choose my C&O 2-8-4 Kanawha for my first install.  Why?  First, it's a great running locomotive, both in DCC and DC.  Second, it seems pretty user-friendly for a sound system:  there's a prepared spot for a 1" speaker.  Since the loco is already DCC there's an 8-pin socket.  So, if everything is wired to NMRA standards and colors, should be easier to do the job right.  


For the sound system, I ended up choosing the Soundtraxx Tsunami TSU-1000 for Heavy Steam.  I have some ideas about sticking with one system.  Since my Connie already has the Tsunami...  I considered the Digitrax, which requires buying a decoder and sound bug add-on.  It seems more economical (a little).  Well, my LHS Dealer threw in the speaker for free, so I ended up with the Tsunami.


For now I'm reading the install manual provided on line, taking notes and gathering my tools.  I will provide updates as I complete each step:

3. Gathering tools and materials

4. Testing the electronics

5. Connect plug and speaker to the decoder.

6. Install Speaker

7. Plug in decoder and test the system.

8.  Anything else I haven't thought of.

If there is an interest, I'll see this through to the end on the forum.  If not, I'll pull the thread, no harm done.  Either way, I'm going to try this. Will ask questions, if I get stuck.  My plan is to complete a step each day.

Regards,

Jonathan
#96
HO / Questions about Spectrum Sound
March 16, 2011, 06:51:58 AM
The Set Up

1.  Did some horsetrading over the weekend and got a new Spectrum Consolidation with Sound.  It came in a large black box with clear window top and clear plastic packaging.  Don't know how old it is, but the locomotive had never been out of the box (B&O #2788).

2. I am DC. The mainline is powered with an MRC Tech 4 280 pack which puts 14.5 volts on the rails at full power.

The Problem (maybe) and Questions

1. At 65-70% power, the sound and headlight come on.  At around 80% power the whistle and bell sounds in prep for movement.  At around 85% power the locomotive starts to move.  At full throttle the locomotive moves at a medium pace (compared to my other Consolidations).  Is this normal?  Seems like a lot of juice to make the loco move.  This is my first foray into the sound world, so I'm not use to applying this much throttle.  The locomotive runs smoothly, other than the slow movement to which I am unaccustomed.

2. My intention is to use this loco at shows, on our club's modular layout.  On a DCC Layout (Digitrax), will the sound loco move with the same characteristics as my non-sound Consolidation?  Hoping to double-head the loco's.  I am aware of programming speed steps, but have never done it.

3.  Will clipping the capacitors require less voltage to achieve movement?  I have clipped the capacitors on my other Connies, so I should be able to find them on this loco.

This is a little new to me, so I hope you'll forgive my ignorance with sound locos.

Follow Up Info

I have been tinkering, of course.  Discovered the drive belt was split.  Good thing I had a spare belt.  This is the second Spectrum Steamer that came with a split belt (I have six).

I'm having the usual issues with the connecting wires and getting the front tender trucks to stay down on the track.  It's getting better as I get the wires loosened and rearranged.  I'm use to that.

Regards,

Jonathan
#97
HO / Replacement Coupler Question
March 03, 2011, 07:15:54 AM
Folks,

Just suffered through a surprise birthday party.

On the bright side, my brother presented me with a Genesis SP F-7A, the "Black Widow".  He got a good eBay deal apparently. It's my first sound on board locomotive.  It runs well, and the included remote control allows me to operate the bell, horn, coupler clank, etc.  OK, maybe the dark side ain't so bad.

Anyway, the stock couplers are, shall we say, less than ideal.  The coupler heads rub against the shell and are a little low, making it difficult to couple any cars to it.  Before I go shopping and buy the wrong couplers, I'm hoping someone has had experience with one of these and can recommend a good replacement coupler.  I will be looking for a Kadee of some sort.  Just want to bring home the right ones the first time if possible.  Thanks.

Regards,

Jonathan
#98
HO / Sharing a project
February 19, 2011, 05:37:20 AM
Sorry I haven't been around much lately.  Been a busy winter.

However, I did manage to complete a little project.  This is a craftsman kit from Pacific Mountain Scale something or other (PMSS).  They are now defunct, but put out some nice kits while they were still around.  This was a lonely looking kit I saw at a recent train show.  Just had to rescue it:


All the detail parts are etched metal, including the window frames, grabs, handrails and underframe pieces.


I added weight and window glazing:


Close up:


Just felt like sharing.

Regards,

Jonathan
#99
General Discussion / RFD TV
January 31, 2011, 07:14:24 PM
Others have mentioned this channel and program before.  Didn't even know I had the RFD channel until recently.

I just watched my first full hour of 'Trains and Locomotives'.  The featured event was a 1996 excursion of the C&O #614.  What a beautiful, shiny beast.  There were lots of railfanning type shots, as well as, the view in and around the cab.  Glad I happened across the program.

I wonder if J3a was watching?

Regards,

Jonathan
#100
HO / My Last Locomotive Project
December 12, 2010, 09:16:59 PM
Sounds ominous, but it merely means I have found the last loco I need for my layout.  It covers all the bases:

I need a road switcher that will operate on tight radii (18" if necessary).  Although, my mainline and junction is all 22 and 24 in. radius.

I really wanted to take on a brass project without breaking the bank.  This is certainly reasonable.

Had to be a B&O or one that could be easily made into a B&O loco.

I'm not a scratchbuilder, but I want to start from the ground up.  Alot of disassembly and assembly will be required.

Well I found a 'late 1970's' United/PFM USRA 0-8-0 switcher that seems to be all I want.  First and foremost was overall function.  While it has an open frame motor, it test ran very smoothly and slowly on the LHS test loop; no shorts or binds that could be detected at regular and slow speeds.  It is quite noisy, but I think a new motor, idler gearbox and connecting rod will make it a quiet runner.

There are a couple of parts missing; headlight, steam generator in front of the stack, etc.  These are readily available brass parts; always seem to be in stock through a few sources.

The B&O didn't use USRA 0-8-0's that I could find--they made their own.  However, the L-2 series looked like USRA twins with a couple of little mods here and there.  So I think I may take the plunge:  Here's my choice for a project locomotive:


Perhaps, with a new motor, there will be room for a backhead and crew (I hope).


I would put in a headlight, but the reverse light would be non-working, with a lens... just to prevent passing wires from the loco to tender (it's a convenience thing).

Some of you have, no doubt, played with a little brass.  Just wondering if this seems like a worthwhile project, before I jump in with both feet?  I believe I can turn this into a nice locomotive.  This will be a little more involved than the Varney, or the Spectrum projects.  Thanks.

Regards,

Jonathan