News:

Please read the Forum Code of Conduct   >>Click Here <<

Main Menu
Menu

Show posts

This section allows you to view all posts made by this member. Note that you can only see posts made in areas you currently have access to.

Show posts Menu

Messages - Saved1

#1
HO / Re: Building an E-Z track layout---update
January 05, 2015, 07:24:43 PM
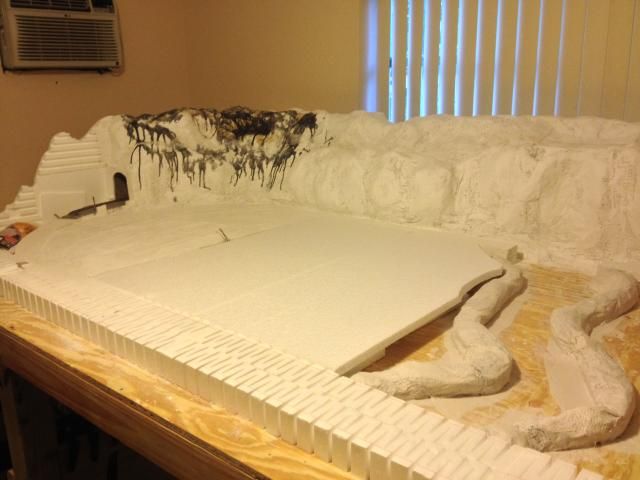
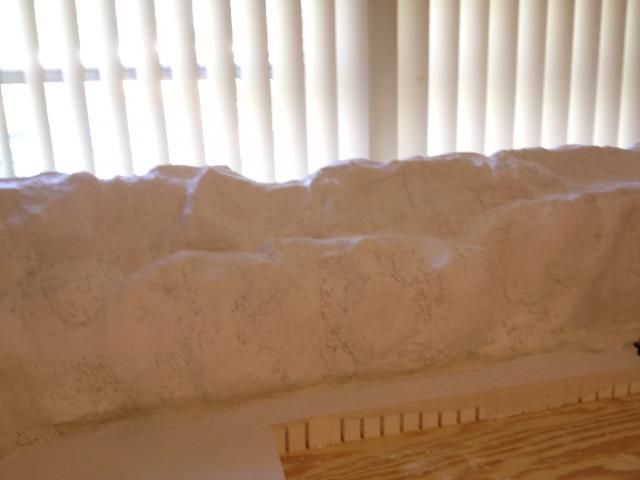
So I took a few weeks off my layout build do to Christmas and new years but i did sneak in some time for some more progress on my layout lol and finished all the plaster for the flat area

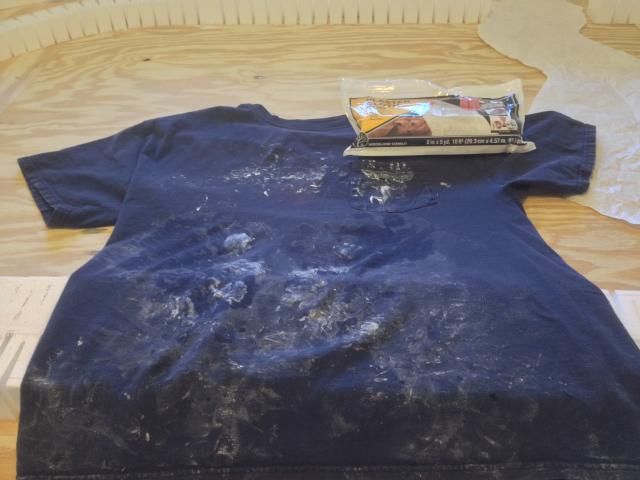
I got some sculptamold


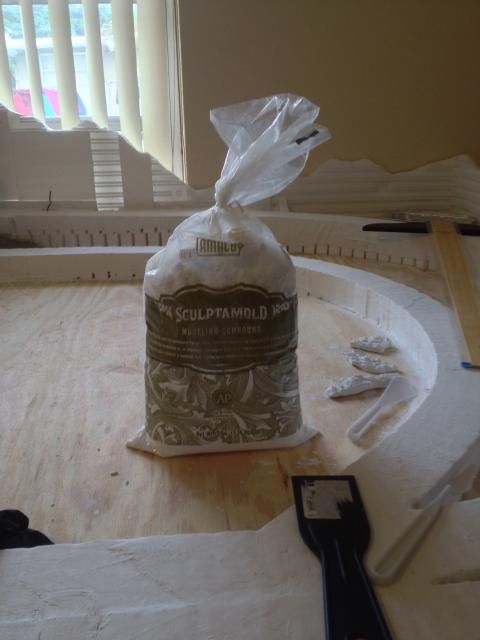
and have been using it with great success :D

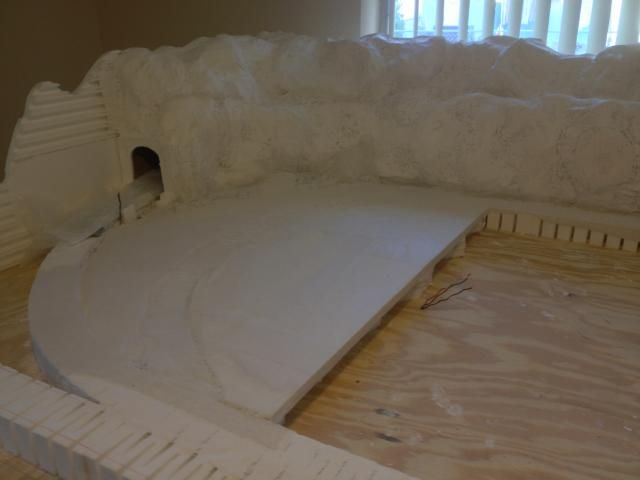
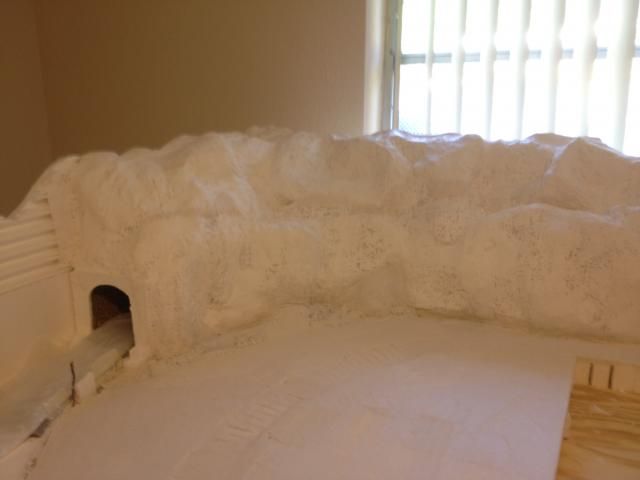
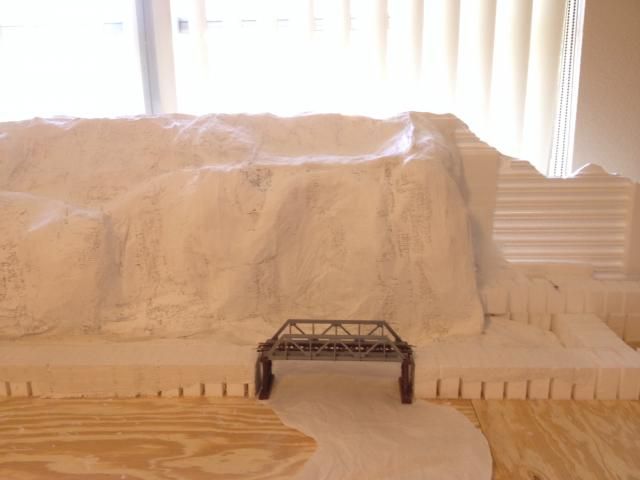
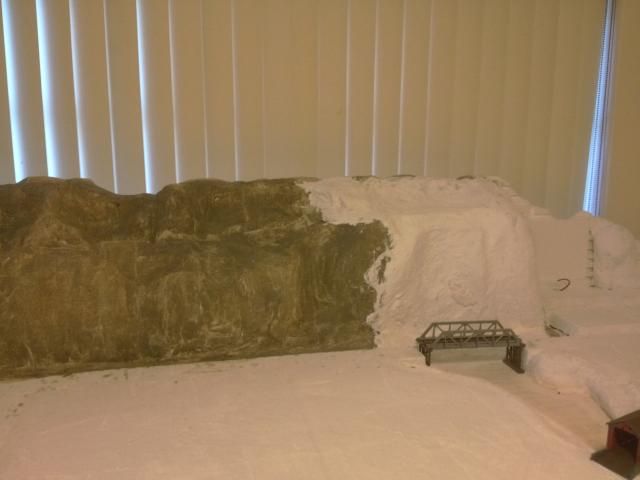
i painted the mountain area (even though most of it will be covered up by the grass, bushes and such lol) and used the sculptamold to make some rock formations on the tunnel entrance and exit


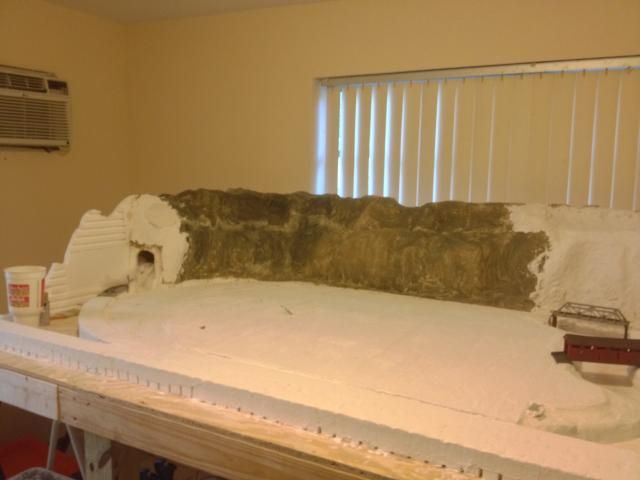
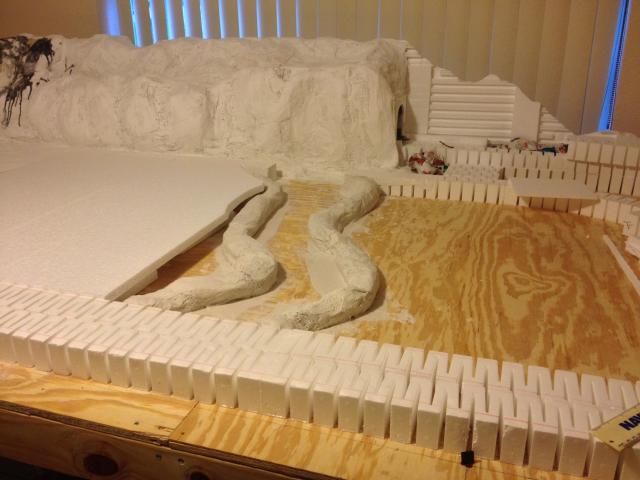
i also used the sculptamold to make the waterfall area and it came out pretty good


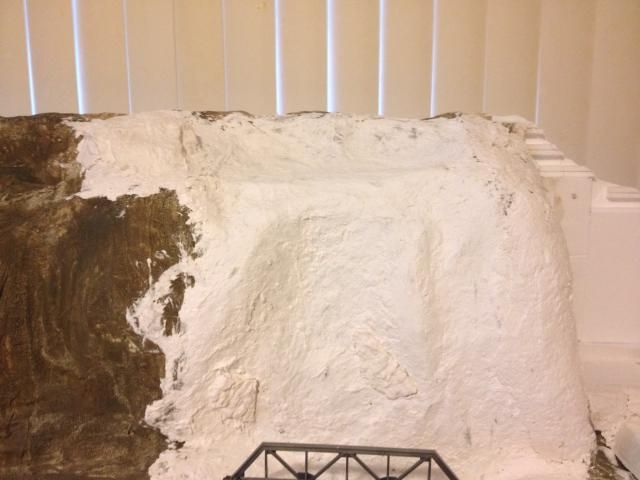
i added some rock faces to it just for kicks and giggles

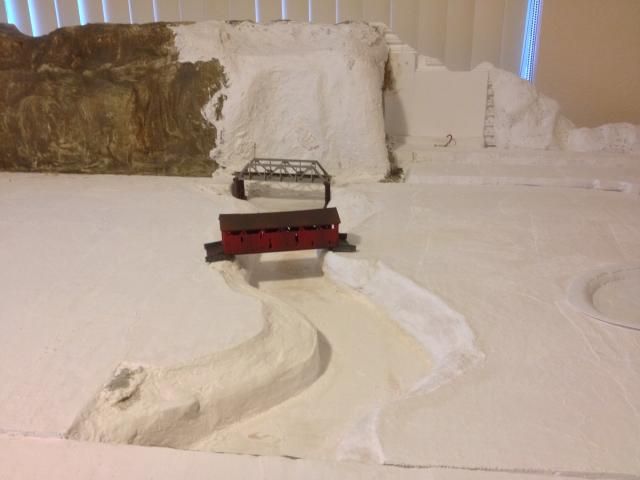
I also used the sculptamold to create the river bank


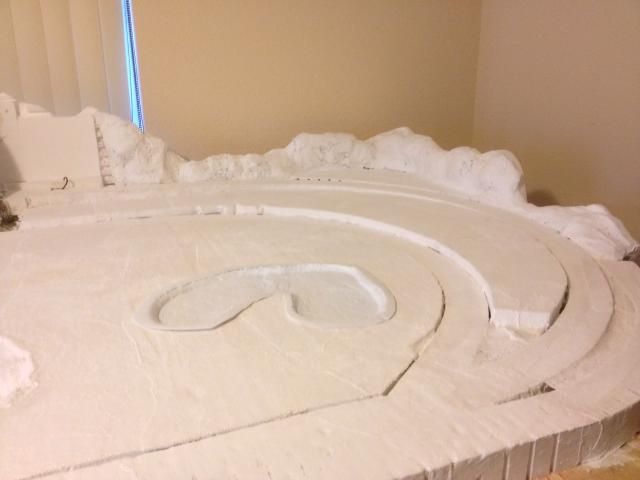
I also finished laying down all the plaster for the flat areas and, i got my pond in place


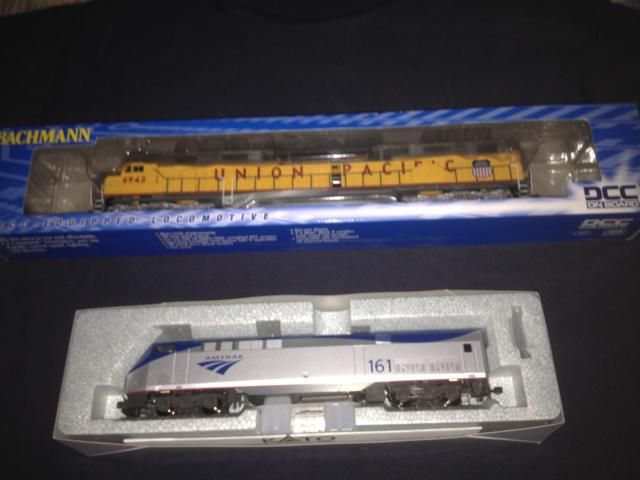
last but not least haha, since it was Christmas and all, i got two new diesel engines


As always, since i am doing a video series of my layout build, here is part 8 of the series,

https://www.youtube.com/watch?v=6N4VEHJKkNM

well, till next time have fun with your model trains
#2
HO / Re: EZ Track Noise
January 05, 2015, 07:21:59 PM
E-Z track is noisy when placed on wood even on top of styrofoam and if you use metal wheel sets the noise is greater but the sound can be deadened some what to a manageable level. You can try some of the things you mentioned plus what has already been mentioned.

here's how i did mine and it cut the noise down considerably (90%) I used 3/16 inch thick cork in the middle of the empty section of the track and then added some 3/16 inch weathering stripping to fix the rest of the void like this,


then i rested the track on top of some S gauge 1/4 inch foam i got from an outside source (if you want the outside source pm me and i will be more then happy to give you the info)

by all means do try different materials and find which one works best for your needs
#3
HO / Re: Building an E-Z track layout
December 20, 2014, 06:27:34 PM
i been so busy the last few weeks with Christmas coming and all but i managed to get some work done on my layout, not much work though :P

I have been busy working out all the wiring for the block animators for all the signals i will be using and also the flashing circuit board systems for the cross bucks i plan to use, here is one of the cross bucks i will use in one section


the electrical aspects have been kicking my butt but alas, I have figured it all out ;D

I also have been testing out different colors for the mountain area, not sure yet which colors i will end up using and i added another flat section as well


And i started the river bed it's not complete but it's getting there haha


As always, since i am doing a video series of my layout build, here is part 7 of the series,
https://www.youtube.com/watch?v=cLoaEaHoH-M

I hope that everyone has a very Merry Christmas with many blessings.

well, till next time have fun with your model trains
#4
HO / Re: New Ho train Kit
December 16, 2014, 09:41:51 PM
Quote from: MrMoose on December 16, 2014, 08:30:17 PM
Yes I have just haven't got around to doing it yet.


Have a question, What would be the best way to wire in the E-Z Command controller to the layout,

Straight to the bus line or cut and splice it to the bus and the e-z track terminal?

ah ok, that sounds good giving it some support will be a good thing in the long run.

as for the wiring i don't know the best way since everyone has their own way of how they like their wiring to be done, i can tell you how i did mine though lol i ran the track rail leads i added through suitcase connecters and then connected the two main lead wires to the power connecting wire that came with my E-Z track set, weather that's the right or wrong way of doing it i don't know lol all i know is it works for me.
#5
HO / Re: New Ho train Kit
December 16, 2014, 07:48:22 PM
The track layout you are going to make looks nice, with lots of thought and some careful planing you can do a lot with a 4x8 layout. looking forward to seeing more as you go alone :)

Have you considered running some 2x4x8 for the 8 foot section of the table for support? it might be a good idea to do that, it will make for a nice sturdy table alone the length.   
#6
HO / Re: Building an E-Z track layout
December 11, 2014, 04:05:42 PM
Quote from: Flagman46 on December 10, 2014, 09:44:15 PM
Really looking good.
I have a 6' X 10' figure 8 type double track layout using EZ Track & WS Sub Terrain Products.
Here's what I did to blend the foam sheets to the EZ Track roadbed.
Mix a small batch of Hydrocal.  While it is still wet, using a sponge brush, spread it over the seams where the foam sheets meet the risers and over the roadbed right up to the ends of the ties on the EZ Track.  Let it dry, then apply your favorite shade of "Undercoat". 

thank you, ah that is a good idea using hydrocal, i do plan on making some sections level with the roadbed but i was thinking of using smooth-it only because it is a little softer of a compound when dry and easier to cut and carve
#7
HO / Re: Building an E-Z track layout
December 11, 2014, 03:59:04 PM
Quote from: Terry Toenges on December 10, 2014, 01:07:17 PM
Looking good so far.

thank you kind sir
#8
HO / Re: Building an E-Z track layout
December 07, 2014, 04:27:48 PM
I took some time off do to the Thanksgiving holiday and i hope everyone had a great Thanksgiving

even though i took some time off i was still busy at work on my layout, got a little plaster on my shirt in the process :P


But, I did finish the mountain area over the tunnel and did one small part of the flat section where some buildings will go


in the pic below i made a small section on the top of the mountain where i made a small flat section kinda like a pond of sorts in which a body of water will be and then i will add some realistic type water and a waterfall coming down behind the bridge


I need to start painting the mountains and add the scenery and i will get to that soon, i hope lol

i also got a signal light bridge that i was working on (or should i say trying to figure out haha) which i will cover in another post when i get to it lol but, if you want to see a sneak peak of it you can watch this tutorial video i made of the signal bridge
https://www.youtube.com/watch?v=y_PnsEuO-ok

As always since i am doing a video series of my layout build, here is part 6 of the series,
https://www.youtube.com/watch?v=rXiTmaZfyCo

well, till next time have fun with your model trains
#9
HO / Re: Couplers that do not match.
November 29, 2014, 08:35:02 PM
Quote from: jbrock27 on November 29, 2014, 07:49:36 PM
Ahhhh, Talgos and horn hooks, ugh!
Sorry on more than 1 level S1.  I am sorry, my advice was given under the assumption you were using knuckle couplers, given the great work your layout shows.  I assumed incorrectly, that you would not be using rolling stock of that quality. 
I do not know what to suggest for the horn hook couplers.  I never adjusted them, have just gotten rid of them.  Perhaps the same thing would work???  But the washers are a bit harder to get in the place needed.  My best suggestion would be to get some coupler boxes, 1/4 small course threaded screws and knuckle couplers.  Would you be up for that?
Good thing you showed pictures.
Maybe JBsmith could help you.

lol i use all different types of couplers, i mix match them together haha mostly though i use knuckle couplers, i even have some that have the knuckle in front and the horn in the back for my older cars  ;D
#10
HO / Re: Couplers that do not match.
November 29, 2014, 07:38:35 PM
Quote from: jbrock27 on November 29, 2014, 07:24:53 PM
If I read you right S1, you are getting some sag from the longer shanked coupler. You may want to try putting a Kadee fiber washer (there are 2 thicknesses) or a washer or shim made from styrene, underneath the shank (where the round hole is) inside the coupler box to raise the coupler a little and keep it from sagging.

in some cases that is something that does need to be done, thanks for pointing that out Jbrock

edited
#11
HO / Re: Couplers that do not match.
November 29, 2014, 07:11:44 PM
couplers come in different lengths even if they are the same type of couplers, it's been my experience before that for example, connecting medium length couplers to long length couplers may not line up properly resulting in the couplers not connecting at all do to one being to high or to low. sometimes they may connect only to uncouple down the rail because the couplers are of different lengths.

look to see if the couplers are of the same type and length if they are not you can change one from the other, for example, if you have a car that has long couplers on each side try to find a different car that you wont use and put one of the long couplers on the respective car you want to connect, vise versa for one with medium or short couples.
#12
HO / Re: Building an E-Z track layout
November 25, 2014, 09:14:44 PM
Quote from: Striker1945 on November 24, 2014, 08:19:43 PM
Wow! The tunnel simply looks amazing. Looking forward to your next update!
-Striker

Thank you ;D
#13
HO / Re: cutting ez Track
November 25, 2014, 09:13:43 PM
if you are going to use a dremel i would use the reinforced fiberglass cutting disks, if there are any burs left behind you could use 120 grit sand paper or a small/micro size fine file to clean it up

the plastic cuts real easy, i cut mine starting from the bottom working my way up to the rail and the plastic cleans up nicely with 220 sand paper or a small/micro size fine file
#14
HO / Re: Building an E-Z track layout
November 24, 2014, 05:04:16 PM
Quote from: Joe323 on November 23, 2014, 11:36:23 PM
That tunnel liner looks great

Thank you :)
#15
HO / Re: Building an E-Z track layout
November 24, 2014, 05:03:22 PM
Quote from: Doneldon on November 23, 2014, 09:24:38 PM
Saved-

Your tunnel looks great. It's a good idea to have a long tunnel which conceals part of the turn back curve on a table layout as it makes the whole thing a bit more realistic. Using vinyl as hinges for your access points is also a good idea. It should allow the doors to stay closed unless and until you need to use them. Another way to hold them is using magnets, but it looks to me as though your hinged doors will work just fine.
                                           -- D


Thanks, yes i think the vinyl will work pretty good