News:

Please read the Forum Code of Conduct   >>Click Here <<

Main Menu
Menu

Show posts

This section allows you to view all posts made by this member. Note that you can only see posts made in areas you currently have access to.

Show posts Menu

Topics - jonathan

#121
HO / Wheel Chocks?
May 02, 2010, 06:39:08 AM
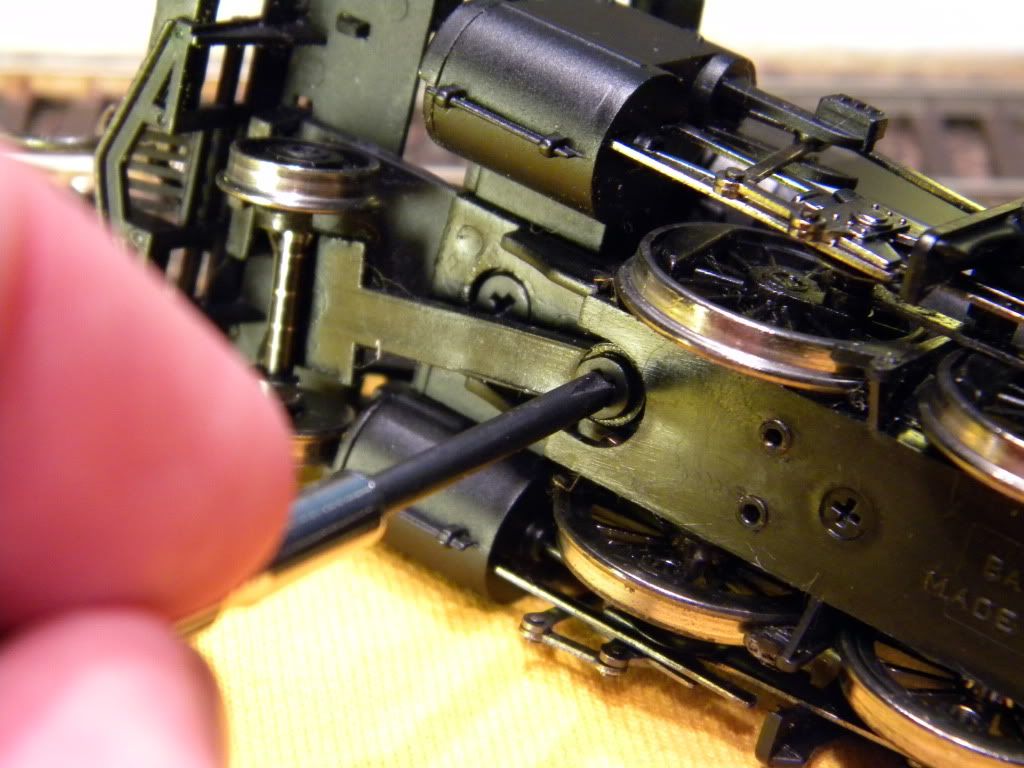
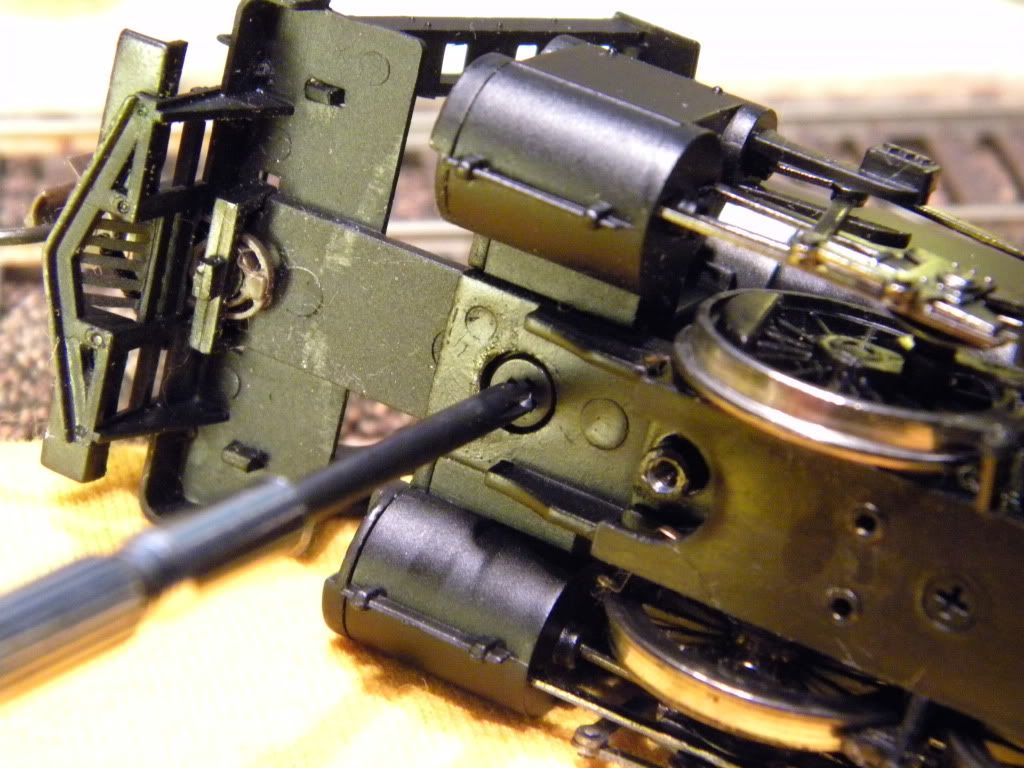
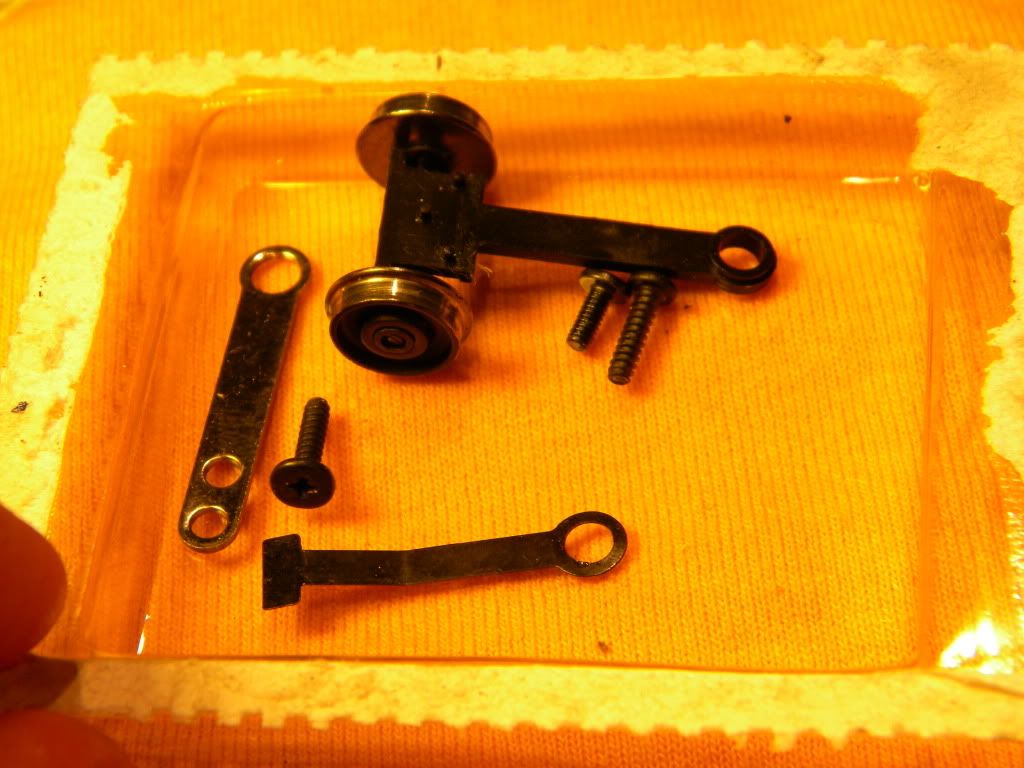
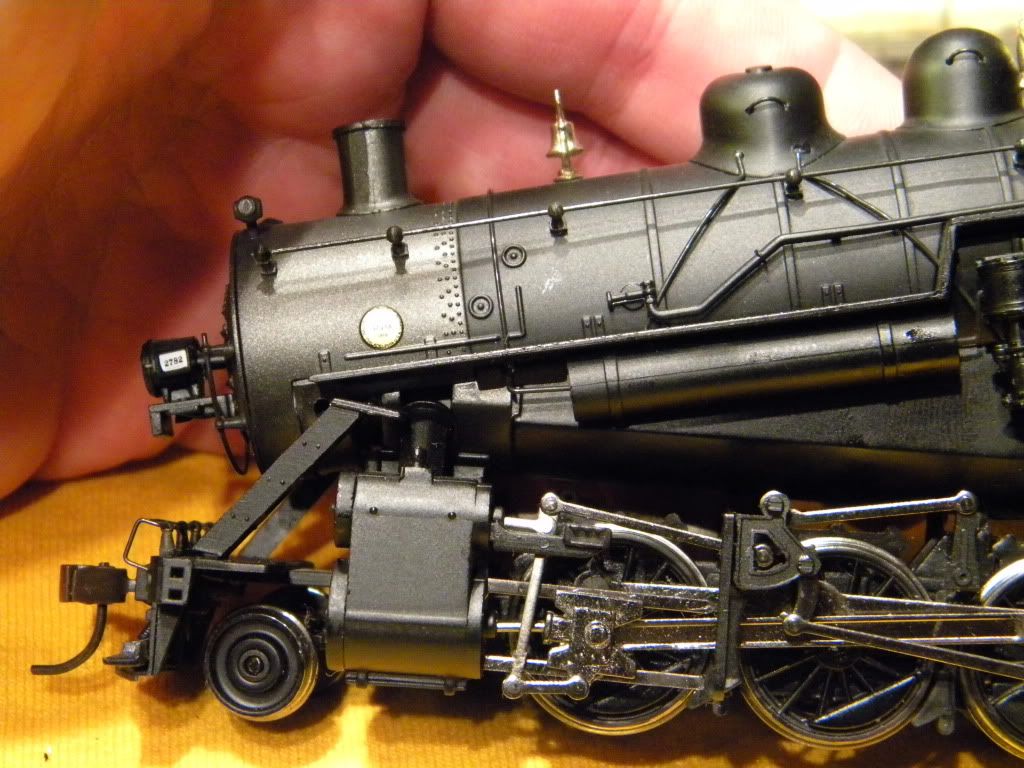
Not sure of the proper nomenclature.  I am installing a turntable.  I don't have much space to work with.  I am using the Atlas turntable (nice and small and easy to install).  


I can tell already I won't have room for adding bumpers.  I was wondering if anyone has ever made some kind of small device that solders or glues to the end of the rail, as a wheel stop.  I can't let my engines go for a ride to the garage floor, if my fingers slip.


Anyway, the wheel chock thing is my concern.


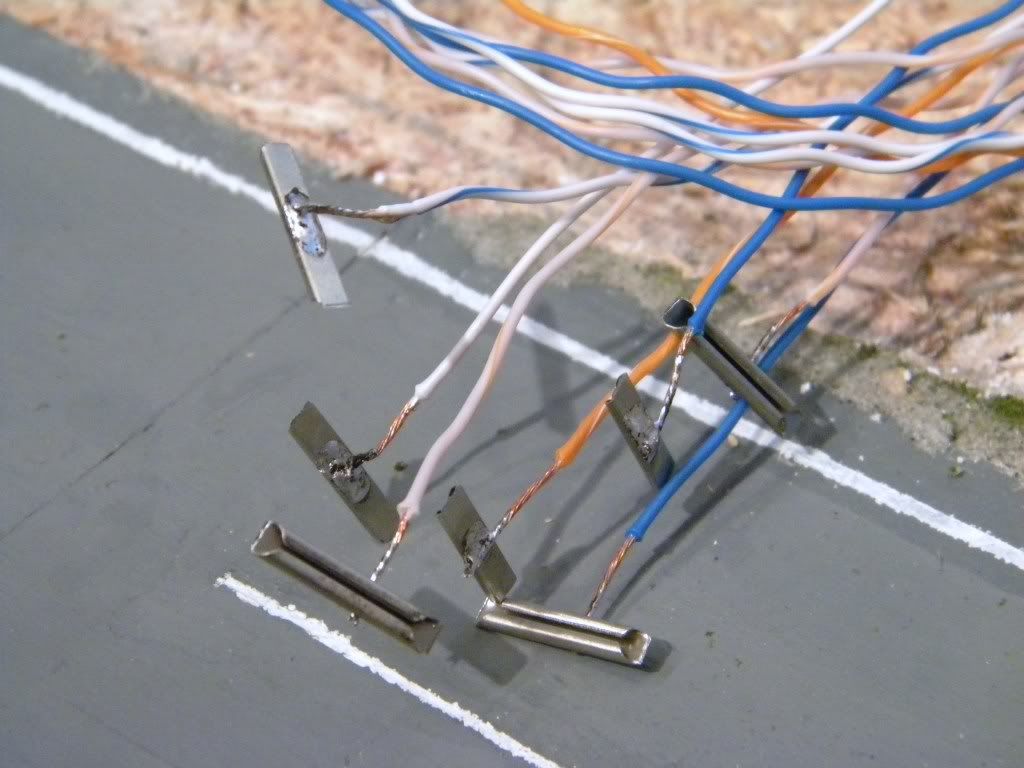
Here's a little homemade control box I made.  So far I can switch on/off 4 tracks.  Plan to power one more track and have a switch, or button, for the turntable motor, if/when I decide to intall one (read, if I find one cheap enough  ;D).


Regards,

Jonathan
#122
HO / Lubricating a Spectrum Steamer WITH PICS!
April 28, 2010, 10:13:34 PM
Friends,

I've been wanting to do this for a long time.  I've read all the great past advice about care and maintenance of a steam engine, but until you've gathered your nerve and done it once, it is still a scary undertaking.  Yampa Bob (I miss him) had some great written advice on how to remove the shell, clean and lube the innards, but I really wanted some pics or drawings to help me through.

I granted my own wish.

I've had my two 2-8-0 Consolidations for about two years now.  They have run great.  Wish the bulbs were a little brighter, but, hey, doubt they'll ever burn out running that dim.  I've only cleaned the wheels and put light oil on the drive rods to this point.

Anyway,  I knew I had to swallow hard and lubricate these gals sometime.  So here we go... this is my first time cracking open a nice engine, so let's enjoy the ride together.

This my Connie.   There are many like her, but this one is mine...


I've gathered my heavy gear oil (worm gear), my conductalube (worm shaft bearings), a small screwdriver and a tweezers (just in case).


To open the shell:  
1) remove the screw that holds the draw bar.  Put the draw bar and screw in a safe place, unless you really want to go searching the garage floor for them... like I did.


2) Pull the front steps out of their holes in the boiler.


3) Lift the rear of the shell (gently please) and move the shell forward off the motor housing.  Please, please, please go slowly.  You may have to jiggle just a little, but it will come free.


Ahh, everybody safe so far?


Notice you can't see the motor, the worm gear OR the belt drive, yet.  We still have to remove the motor housing from the lower frame.

4)  Remove the screw that sits just forward of the draw bar screw.


5)  There is one more screw above the pony truck.  Soooo, you have to remove the pony truck as well.  Please remember how the truck parts came off.  You don't want to install it upsidedown later (can't imagine anybody doing that  :-[).


6)  Once the second screw is removed, you can finally get a look at the heart of the engine, well the aorta anyway.  


Notice the white teflon grease Bachmann uses on their steamers.  It's different stuff from the diesels.  Also notice, there is still plenty of lubricant everywhere.  This baby probably would have run a lot longer without complaining.

Also notice a little grease is on the drive belt.  Let's help our Connie out, shall we?

7) Now it's time to clean up the mess a bit.  I sharpended both ends of a toothpick.
I also wadded up a paper towel.  These make shift tools are all I used to remove the old grease.


8.  A little lube is now in order... a VERY LITTLE LUBE.  The following pictures will be hard to make out, but I put a tiny drop of conductalube on the brass bearings that hold the worm gear.  The actual drops were much smaller than what I photographed.


You probably won't be able to tell, but, if you look at the second coil of the worm gear (starting from the left), I added a very small drop of gear oil.  Hard to see, huh?  Remember, you don't need much.


9)  OK, now we need to gather our receptacle of parts:

and put it all back the way we found it.

CAUTION.  Wash your hands before you put the shell back on the motor housing.  Thank you.


Well, that was my first time taking apart a Spectrum Steamer.  I feel braver now, don't you?

By the way, there was a definite improvement.  I thought the Connie was smooth and quiet before.  Holy Cow, Man!  She is now in stealth mode.  Can't wait to do this to my other Connie.

I was finally prompted to post this after reading some of the recent issues some have been having with their 2-8-0's.  I just had to open them up and find out what everyone was talking about.  I was impressed when I got these engines, and I'm still impressed.

I hope this helps anyone who was as nervous as I was about care and maintenance of a quality engine.

Regards,

Jonathan
#123
HO / Track Feeders
April 21, 2010, 05:31:53 PM
I am making some changes/additions to my layout.

Presently working on a little tracklaying and I'm experimenting with making my own track feeders, like the kind you see in hobby stores, that cost too much.

Anyway, I took some wire out of some old ethernet cable, or a mouse, some other source of trashed wire.  Then I soldered them to the bottom of standard rail joiners.  Like this:


Will this be a reliable distribution of current?  I plan on using them every 3 feet or so.  Seems like a little overkill, but it was so inexpensive, I figure better more than less.

Plan on using recycled wire for the bus feed as well.

Regards,

Jonathan
#124
HO / Long Haul Tender Conversion
April 03, 2010, 06:48:59 AM
Sorry Folks, I'm at it again.

I never liked the long haul tender that came with the Mantua engines.  Almost tossed it away.  But I recently saw some pics of auxiliary water tenders, and decided to give it a try.

I cut away the coal portion of the tender and replaced it with a piece of flat styrene.  Drilled out the plastic light lens, so I could actually put a bulb in that spot (I like it when tenders light up). :)

Finally, I added a few details and a coat of paint.  Here are some before and after shots:


Sorry for the poor quality photos.  My main PC crashed, and I'm forced to do this on a laptop.

OK, here's the question:

The trucks seem to be permanently welded together, so I can't replace the wheels.  What can I do to get these old wheels spinning better?  I've take some 600 grit sandpaper to the axles I could reach, just to knock the rust off.  I also spread a little graphite, a la pencil, to the axles I could reach.  Anything else I could try?

The shell just needs some decals and dullcote to complete.

I will probably have to do the 9V battery and microswitch trick to get the tender to light.  My first time trying that.

Hope I didn't bore you. 

Regards,

Jonathan
#125
HO / Obsessed with Heavy Metal
March 20, 2010, 07:35:48 PM
Here is my sophomoric attempt at kitbashing a 1970's Mantua Mikado:


Numbered it #61 for my birth year.

Replaced the tender with a Varney I detailed, featuring all-wheel pick up for smoother running (thanks, Woody).  Replaced the plastic pilot with a cast one.  Installed a can "wormfly" motor.


Had to file out the shell to get the motor to fit.  Added details made of brass, white metal, paperclips and staples (some Yardbird stuff, some homemade stuff).  Installed a constant lighting circuit (thanks to forum members for electrons 101).  The circuit gets warm when energized.  Is that normal?


On the upside, the engine runs great.  Don't know how much it pulls, yet.
On the downside, my finish ended up with an orange peel effect. What causes that?  I think it led to my decals not looking so professional, as well.  That being said, I didn't sweat the details on the cab very much.  I intend to replace it with a cast cab, when/if I find one that's a more appropriate size.  The present plastic cab is a bit small. 

I had some leftover brass stanchions (from an old Pocher engine), so I drilled out the tops and made flag stands out of them.  Just need to figure out how to make 1:87 flags (paper, plastic, or thin brass maybe?).


Hopefully, I finally cured the engine building bug.  I certainly went a bridge too far on this one (frankenengine).  I have noticed of late, some of you share my affliction.  Don't have the gumption to weather it, yet.  And yes, I went a little crazy with the crown of pop valves.  But this engine will stand out in a crowd, don't you think?

Just wanted to share my idea of fun.

Regards,

Jonathan


#126
General Discussion / The Significance of "5"
February 23, 2010, 09:18:54 AM
This may be a silly question, but I have wondered for a while:

What is the significance of "5" on so many of Bachmann's logos?
Does it refer to the 5 scales offered by Bachmann? (N, HO, On30, O, Large)

Hopefully, curiosity won't kill this cat...

Regards,

Jonathan
#127
HO / The Mystery of Electronics
February 17, 2010, 12:32:34 PM
Some time ago I picked up a P2K SD7 B&O #1830 at a train show.  Nice Loco.  A year later I picked up another P2K SD7 B&O #1829 at another train show.  What luck!  I can double-head these engines. Great! Only the #1829 runs at exactly twice the speed of the #1830.  Surely somebody is trying to have some fun with me.  I am pulling the shells off to have a look at the circuit boards.  Please tell me there is a resistor somewhere I can bypass. 

The gears in both locos seem to be the same sizes.  I can hear the motor in the faster locomotive is also running faster than the slower locomotive.  Each day, the call to the dark side is getting louder.

Regards,

Jonathan
#128
HO / Mystery Short
January 27, 2010, 07:13:50 AM
Because I have a garage layout, I can't run trains in the winter.  So my winter project has been building a Pennsy G5 (4-6-0). The shell and chassis is Bowser.  The tender is Penn Line.

This morning I installed the motor (skew wound DC-71) and did a test run.  The engine shorts out on right hand curves (22" radius).  It runs fine going straight or left.  I have all wheel pick up in the tender, so I didn't wire the motor to the loco frame.

At first I thought it was the pony trucks, so I removed them and ran the engine... still shorts on the right curve.  However, if I lift the front of the engine a little, it begins to run again.

223 pieces of the loco are metal.  The only plastic parts are the tender trucks and tender axles.  I'm no electrician, so I'm at a loss to solve the problem.  My gut says either the front drive wheels or the pilot is bridging the tracks somehow.  Is there a simple test to find the short?

Thanks for reading this.  Will post pics when I get this last bug out of it.

Regards,

Jonathan


#129
Mr. Bach Man,

Was an honor and pleasure to finally meet you, today! 

Thanks again for providing this priceless service to all us train nuts!

Also liked watching your Thomas Layout in action, after watching the build in the photo gallery.  Looks great in person.  Some layouts photograph well, but don't look so hot up close.  You don't have that problem.  Looks high quality up close!  Great work!

Thanks again!

Jonathan
#130
General Discussion / Couple of Forum Format Questions
December 12, 2009, 03:45:08 PM
Administrators,

When I go to Users On-line, to see what everyone is reading, sometimes I see "nothing, or nothing you can see..."  Can I lock down my profile so no one can see info about me?

I also notice some users' profiles list posting statistics.  When I go to statistics about me, it says I have never posted.  Do I have to turn on something to keep track of my posts?

Just curious.  Thanks,

Respectfully,

Jonathan
#131
HO / Varney Dockside Switcher
December 09, 2009, 05:14:48 AM
As promised, this is a new thread to document and ask questions, while I attempt to refurbish this old engine.  It was my grandfather's first engine when he started in 1947.


I have disassembled the loco:


And started cleaning.  The moving parts are soaking in rubbing alcohol to loosen all the old grime and grease.  The shell and cylinders are sitting in paint thinner.


Okay, first question:  What kind of bits to I need to drill into the pot metal.  I will be adding grabirons, holes for light wires, and anything else I can think of.  Will dremel bits work?  I saw some in the LHS.  They didn't say if they cut soft metal.  The shell actually has minute indentations to show the drilling points.  Saves me from some pretty micro-measuring.

Second question:  I have pretty good luck getting old athearn motors running well.  Is is possible to save a motor this old?


I know they're not too efficient, but for historical/sentimental reasons, it would be nice to leave the loco as original as possible.

Last question for now:

I'm thinking of painting the loco a very high gloss black (red window frames), as if it were restored for a museum, which is what the shelf is becoming.  Opinions?

Regards,

Jonathan
#132
HO / Discovering Varney
December 03, 2009, 05:03:58 AM
With the holidays upon us, and so many questions coming in about old trains sets in the attic, I decided to look at a couple of my grandfather's trains, and see what I could get running.

I found two coal hoppers that needed new trucks, couplers and weight to make them roadworthy.  As I removed the plastic coal loads, I found the molded words "Varney 1959" and "Varney 1961".  That got me curious as I had heard the name before, but didn't know anything about it.  Turns out these are not years, but instead, part numbers.  These hoppers were first marketed in 1950.  They originally sold as kits for $2.35US.  I even found one for sale on ebay.  I also learned the contributions Varney made to HO modeling starting in 1936!

For those of you, who have been modeling a couple of years longer than me, Varney must be a familiar name.  I think it's marvelous that they actually put their name on the parts.  Here are nearly 60-year-old cars that have survived being tossed around, and somehow made it onto my layout with all their parts, including the brake wheels.  Very cool for those of us who get into history a little.  I've said it before... HO trains may not hold any monetary value, but things like this are priceless to me.

Here's the brochure and the two hoppers with upgraded trucks and couplers:


Looking forward to making new discoveries as the box isn't empty, yet.

Regards,

Jonathan

P.S.  I'm making new coal loads as these plastic ones are atrocious.
#133
HO / DCC Locomotive Cleaning
November 24, 2009, 04:10:51 PM
For reasons that are too lengthy to explain, I have become more and more curious about the dark side (DCC).  If I were to venture into a nice DCC Sound Locomotive (and I'm not saying I am, and not that there's anything wrong with that), how does one clean loco wheels? 

DC is easy, turn the loco upside down and go to work using a kadee speedi-driver, some alcohol and an old t-shirt.  I'm trying to picture maintenance, dealing with a decoder and double the volts on the rail.

Regards,

Jonathan
#134
HO / Gandy Dancer
November 16, 2009, 07:31:35 AM
I bought one of those little Gandy Dancers about two years ago, thinking it would be a cute little device to run in and out of a mountain, on a small loop—a little novelty if you will.

I couldn't get the thing to run more than a few inches at a time.  I considered returning it many times—until the warranty ran out, then I was stuck with it.  I tried cleaning wheels.  I tried adding weight (not easy with such a little device).  Nothing worked. 

Finally, I considered it might be a lubrication problem.  The dancer is way too small for me to disassemble.  So I took my bottle of conducta-lube (needle applicator) and started adding drops of oil to anything that looked like a moving part:  the bolsters that hold the wheels, the tiny exposed gears underneath, the top bolster that hold the motor, the hinged rocker pieces that hold the people, etc. 

The thing was literally dripping with oil.  I then ran it on my test loop.  It took off like a house afire!  After a few minutes, I took it off the track, and rubbed off all the extra lube with an old t-shirt.  There was lots of black gunk that came off around the wheel bolsters. Then, I ran it again for about an hour in both directions.  It was typically smooth running as the rest of my Bachmann equipment.  I could even get it to run reasonably slow at around 25-30% power—otherwise those two little guys would have a heart attack pumping so fast. I was pleasantly surprised, and pleased that I was able to finally get this little guy running right.

Just thought I'd write this, in case anybody else had a Gandy Dancer and couldn't get it to run reliably.

Regards,

Jonathan
#135
HO / Need Advice on Brass Locos
November 14, 2009, 06:46:58 PM
I went to an old. established LHS today.  The manager knows I'm a B&O fan.  He took me back to a display case, where he had two 4-6-4's, painted and decorated in B&O blue.  They are brass and the asking price is $300 each.

I know nothing of brass, other than it seems to be the holy grail of locomotivedom from what I've read and seen advertised.  I didn't even know what to ask.  They were certainly attractive, painted nicely, and seemed clean.  There was no coal load in the tender (painted a light red on the inside walls.

Before I even consider spending a small fortune on such a locomotive, what do I need to know?  Should there be some kind of authentication paperwork?  How do I tell if the motor and moving parts are good quality?  Are there markings on the shell or tender to tell me where this thing came from?  Perhaps there is some sort of manual or book on Brass Model Locomotives?

Don't want to get my hopes up or start drooling over a new model if it's not worth it.  So any sound wisdom any one of you could pass, would certainly be appreciated.

Thanks a million

Jonathan
#136
HO / Trying to solve a mystery truck problem
October 11, 2009, 03:15:37 PM
I have an Athearn diesel from around the 1990's (it has brass flywheels).  Today when I ran it, it seemed significantly slower than my other Athearn diesels from the same decade.  When I got down close I could hear a thump, thump, thump (about 4 times per second at 80% power).  I isolated it to the rear truck.  Took the truck apart and couldn't find anything.  I suspected something was misaligned, just couldn't find it.  After I put it back together, everything seemed alright until I put it on the track. The rear truck is somehow robbing power from the rest of the engine.  If I give power to just the front trucks, engine runs fine.  If I give power to the rear truck, it drags to the point that the power pack trips and I have to wait for the reset.  Something is wrong, but I can't figure it out.  The truck is in the correct orientation (not backwards). Just haven't been at this long enough to  noodle it out.

Here's a pic I took a while ago of the guts


Here's the rear truck


On this engine, I ran a wire up from the bottom motor clip to wire the lights.  You can see One of the lights is connected to the tab that connects the rear truck.  I'm stumped. 

Is that enough info to diagnose?  Could over lubication cause this?

Regards,

Jonathan


#137
General Discussion / Railfanning at Disney
October 02, 2009, 04:17:47 AM
Every ten years or so, we pack up the entire family and head to the happiest place on earth, whether we like it or not.  The trip was fun this time as I finally got to ride (and photograph) a couple of the old steamers that circle the Magic Kingdom.  My son got to sit as the 'guest conductor' and announce 'all aboard'.  The host conductor is a model railroader of course (O).  According to the conductor, WDW has four 1916 era Baldwins, found as rusting hulks, in 1969, on the Yucatan Peninsula.  They were refurbished from wood burners, to fuel oil--even using 10% peanut oil in the mix.  Only two engines are in service on any given day, and we rode behind a 4-4-0 and a 4-6-0 that day.  There was plenty of shooting steam and lots of oily grime on the ties.  There is a lighted signalling system in place.  The stacks chuffed just a little smoke when we climbed a slight grade around one turn.  The locos can go all day on one water fill, but they refill and lube halfway thru the day for entertainment.

Here are a couple of pix:


If you are a polite railfan, they'll let you climb around the equipment a bit.  I TRIED to conduct myself in a reserved manner--didn't want to smudge up these really cool toys.

Regards,

Jonathan
#138
HO / Amfleet Passenger Cars Redux
September 16, 2009, 03:31:08 PM
I have asked this question before, and pulled the post for lack of response. I can't give up because I really like these cars. I usually pick on up every time I hit a train show (about $15 cheaper than retail). They are an accurate model of the cars that pass my office every day.  They are perfect for commuter service, which I seem to be obsessed with for some reason. I'm sure there must be a solution.


Problem:  The wheel axles ride on a metal shelf (pick up), which support the weight of the car. There is too much resistance, which means the car does not roll freely.  The first pic shows the car in back sitting on a 1.5% grade.  All my other cars will roll right down that grade with no problem.  The amfleet car just sits there.  The prototype has one P-42 loco pulling 6-8 cars.  I need two engines to pull that many cars.

Things tried:  I have tried filing the shelf smoother, applying light oil and applying graphite.  Using a strong finger flick, I can't get the wheels to spin any longer than two seconds.  The second pic reveals the truck box interior to show how the wheelset sits in the truck assembly.


I know Intermountain sells a 36" wheel called Ball-Bearing". I can't find a description anywhere on the net.  Has anybody tried these wheels?  I'm hoping the wheels turn separately from the axle.  They are expensive.  I don't want to buy some unless I know how they work.  I know any solution might cause the loss of interior lighting I can live with that.

Regards,

Jonathan
#139
HO / The right size bulbs?
August 27, 2009, 07:02:27 AM
I have 5 locos that need lights (removed the welder lights).  I experimented with my 80's version GP35 by installing two 12 volt GOW bulbs.  The lights work but they are so dim, you can only see the lights with the shell off and the engine running about 80%.  I'm not discouraged as this is my first attempt.  The fact that the bulbs light at all is good news so far.

So... what is the right size incandescent bulb to use?  Not ready to mess with LEDs, yet. Oh... I connected the 12 volt bulbs in series; one was to light the top headlight and number board the other was to light the front lens and marker lights.  I have seen 1.5V bulbs at the LHS, thought these were too small... perhaps not.

I'm saving my 2 GP40s (made in this decade), until I get this right.

Regards,

Jonathan
#140
HO / My First Loco Kit
August 08, 2009, 07:48:56 PM
Recently, I happened across and old Athearn Loco Kit, #4282, GP35, B&O (of course), with flywheel-drive.  It came with metal railings and stanchions.  Picked it up cheap.

I am presently in the throws of building this model and upgrading as I can.  Have hardwired the trucks (no more brass clip), added Kadee couplers, and assembling and painting the body parts.

A few questions if you don't mind.

1. The engine is more noisy than my newer models. Is this to be expected?  I have cleaned and lubed the trucks.  It's more noisy going forward than reverse.  If it's normal, I can live with it.  It runs smoothly otherwise.

2.  Are the old drive wheels good to run on?  They are obviously the old iron (sintered?) wheels, which sparked at first, but after I cleaned them, they seemed fine.  More concerned about cleanliness and durability than appearance.

3.  Does anybody know how old this kit might be?  It was never opened, and I feel a little lucky to have found a loco kit at all. Can't find a date on anything in the box..

Will post pics when I'm done.  Having fun with it!

Regards,

Jonathan