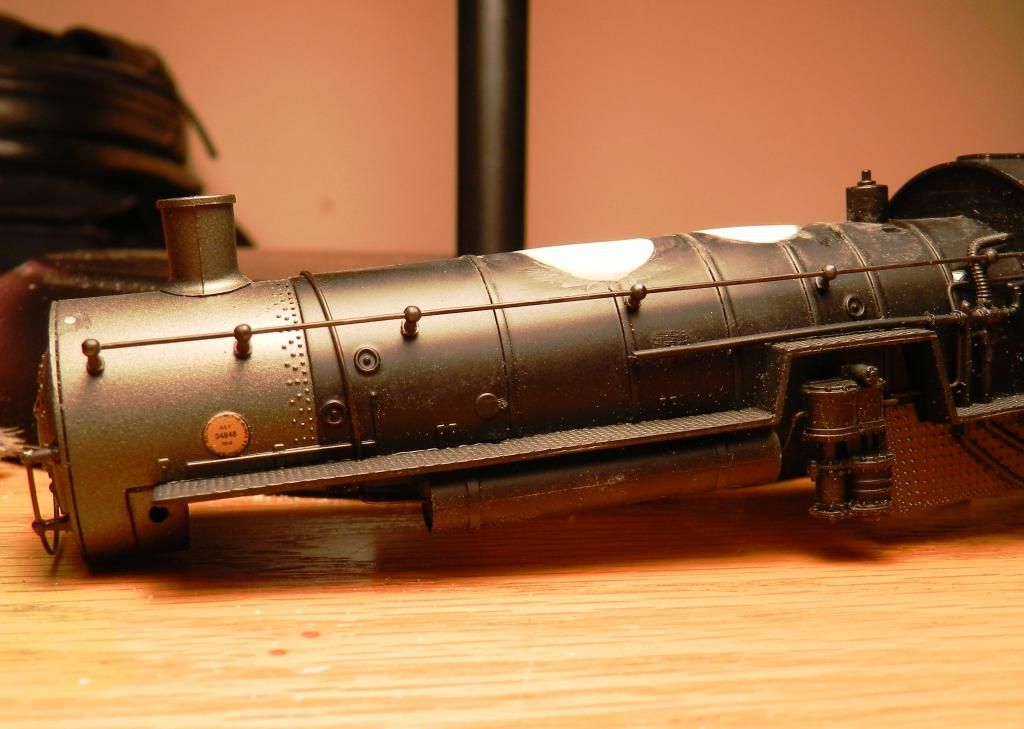
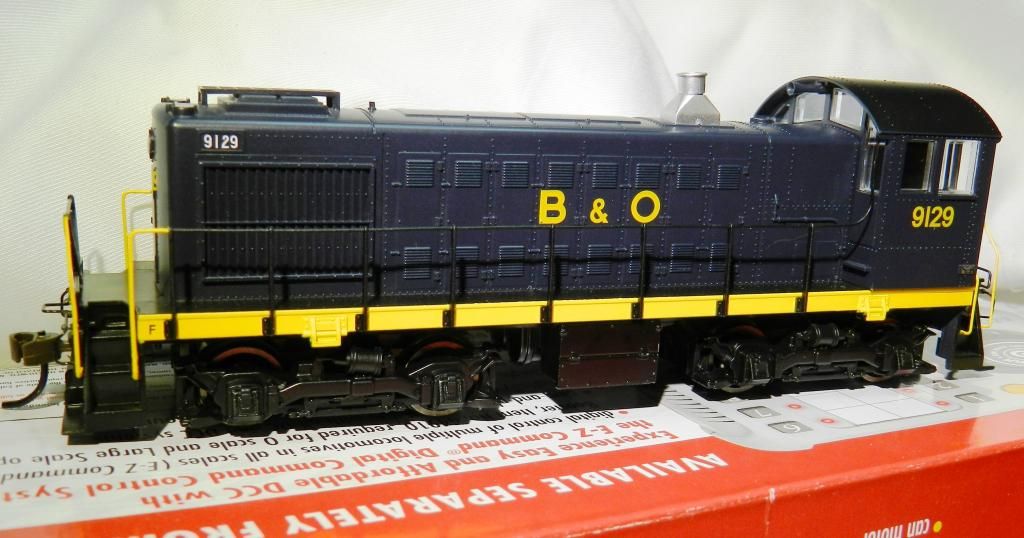
Admittedly, I'm a steam guy, but the S-2 is in the right era. Plus, they are a bargain if there ever was one. I couldn't help myself... had to pick one up at the train show yesterday. Ran it on the club layout right away. It took off smooth and sounded very nice--a bit quieter than the other sounders on the layout perhaps.
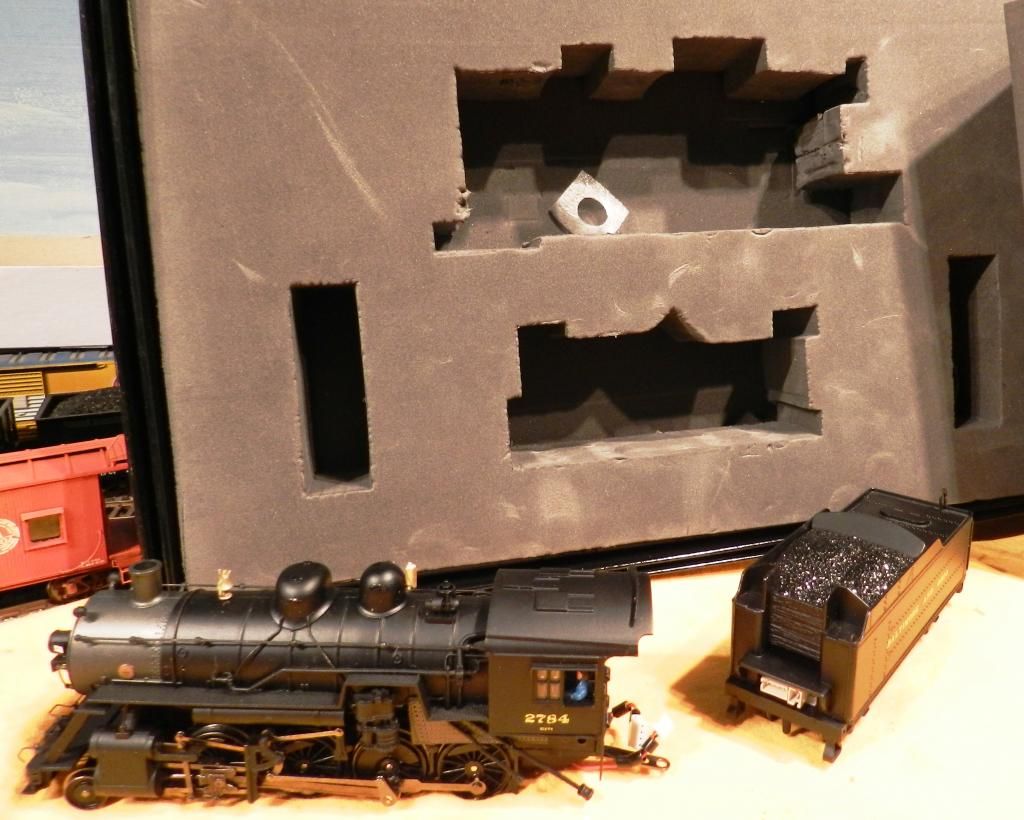
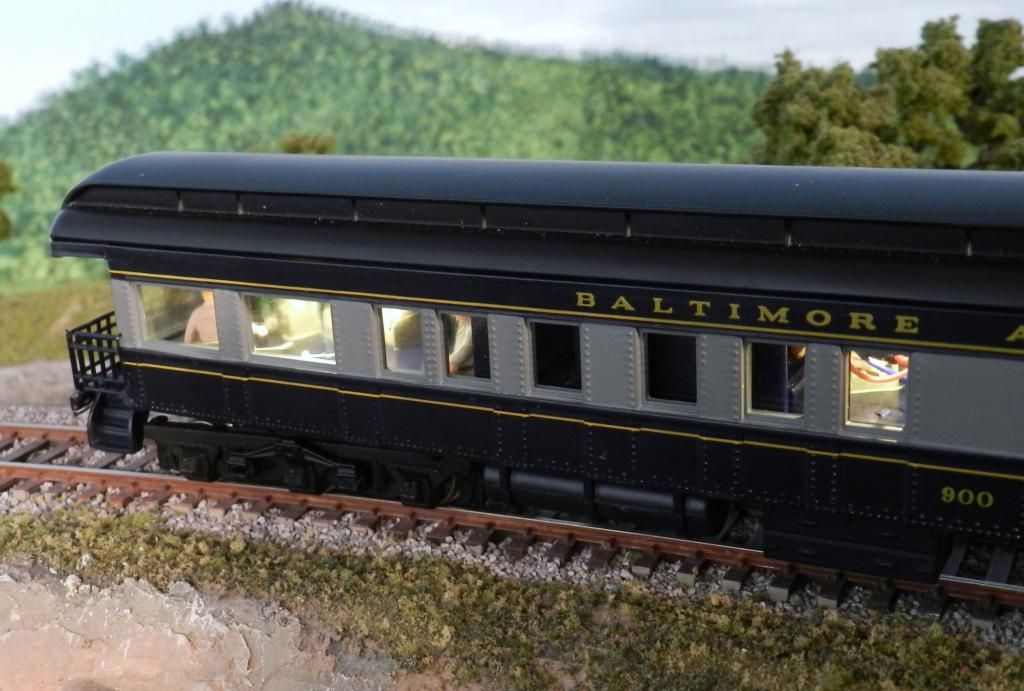
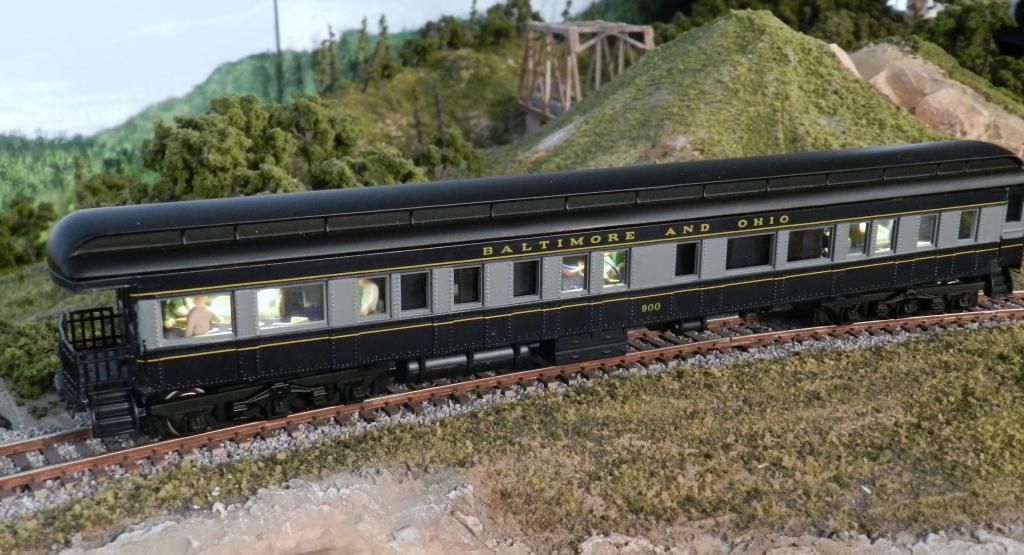
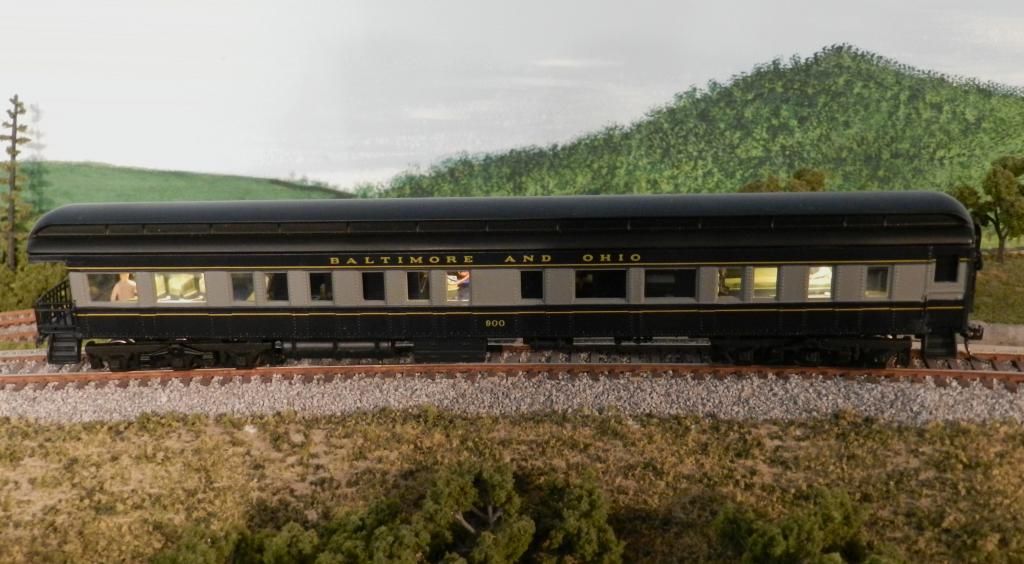
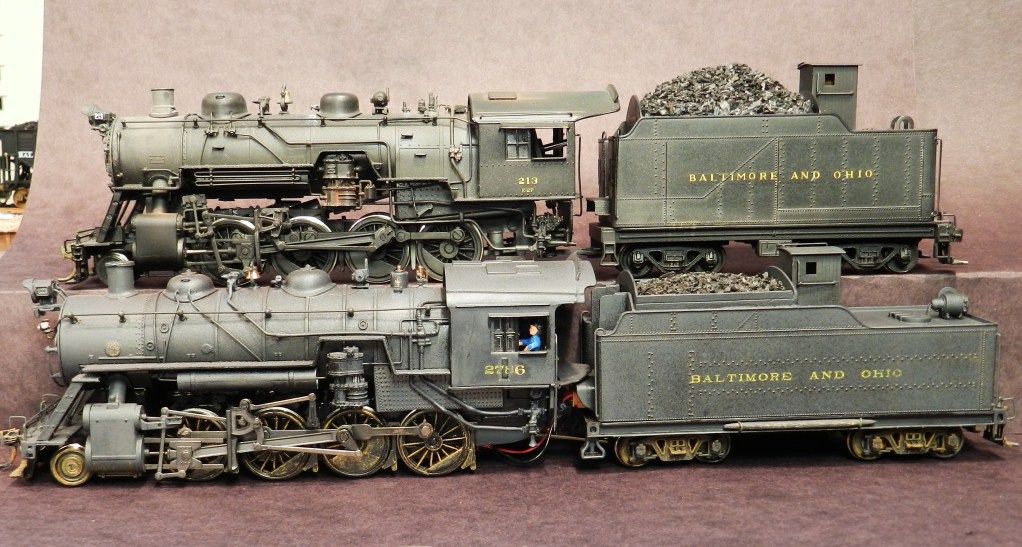
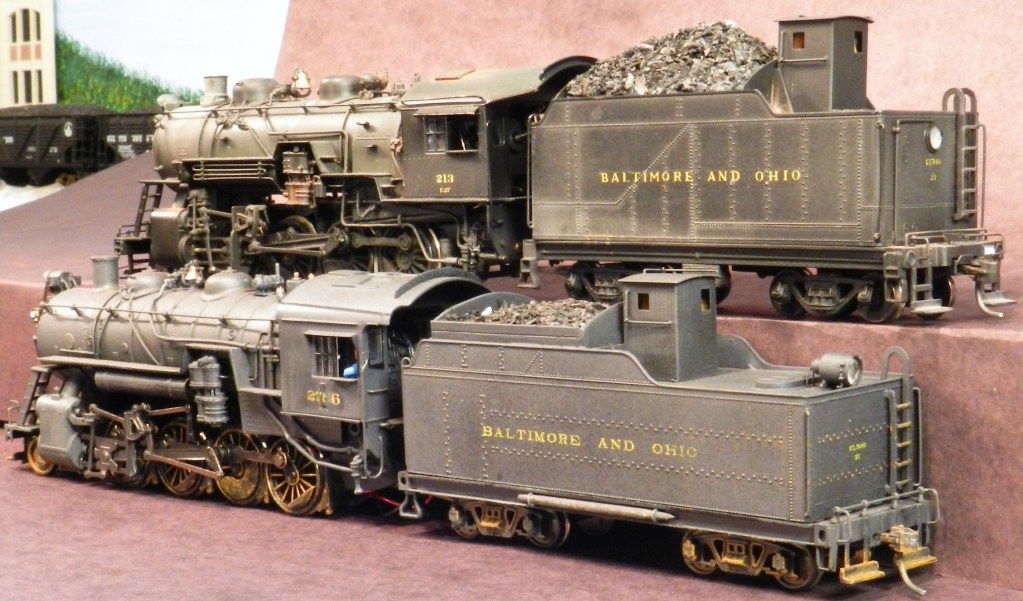
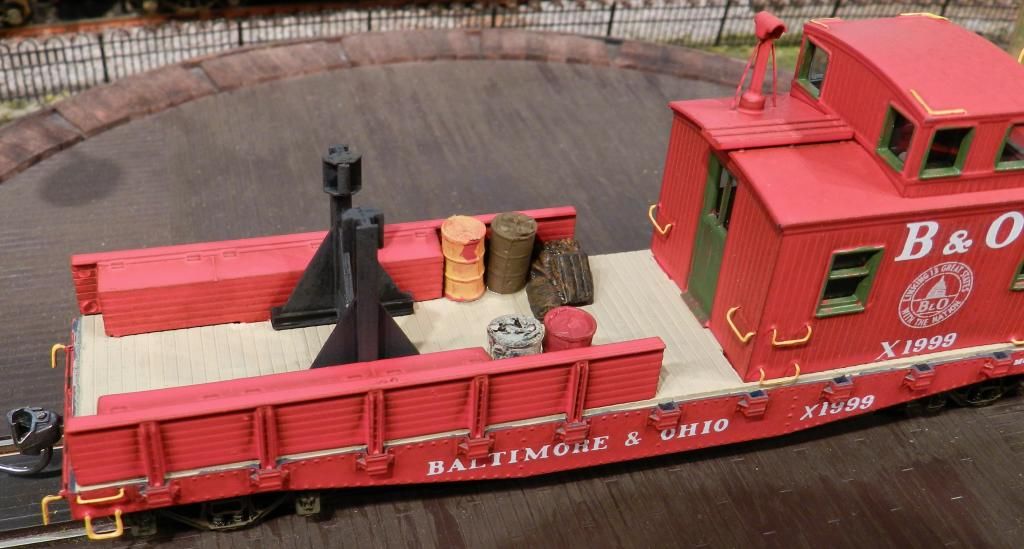
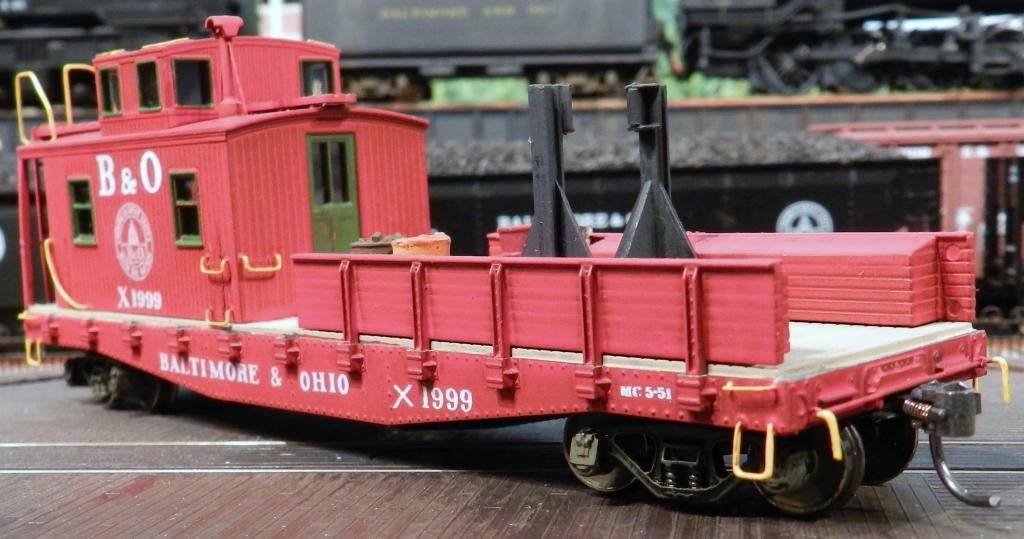
Here's mine:
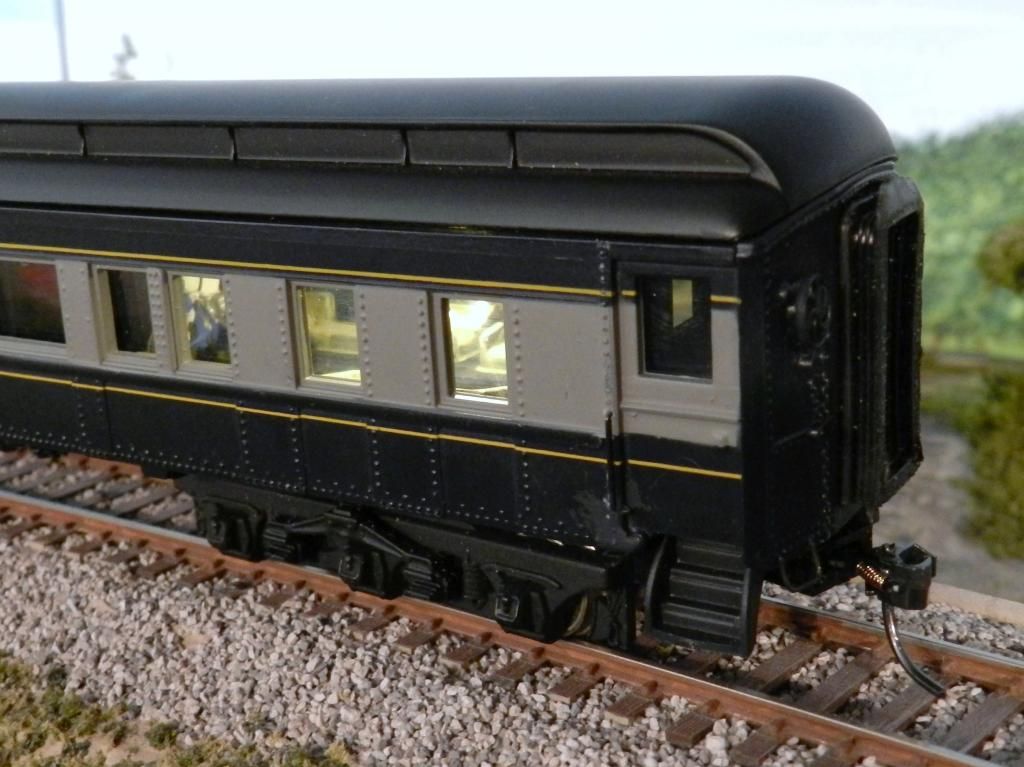
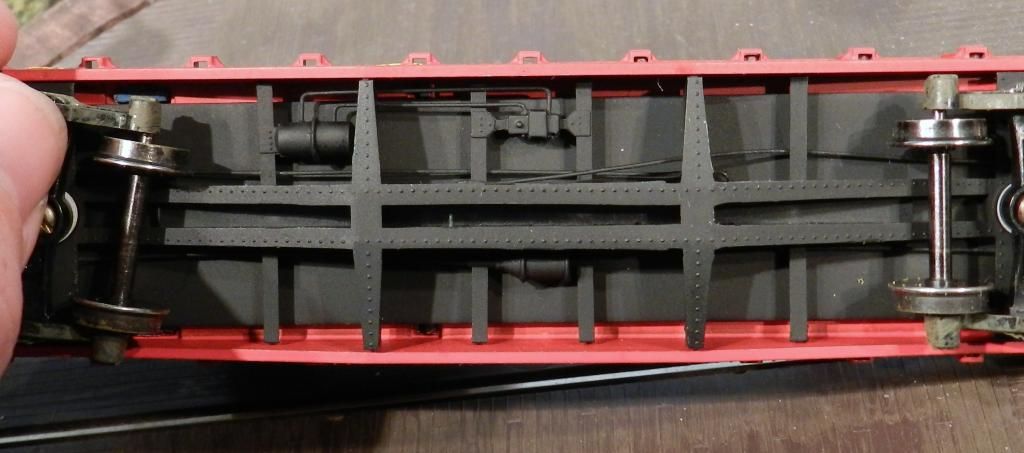
OK, on to the tinkering part. To remove the shell, just take off the coupler boxes and the shell lifts right off. Easy:
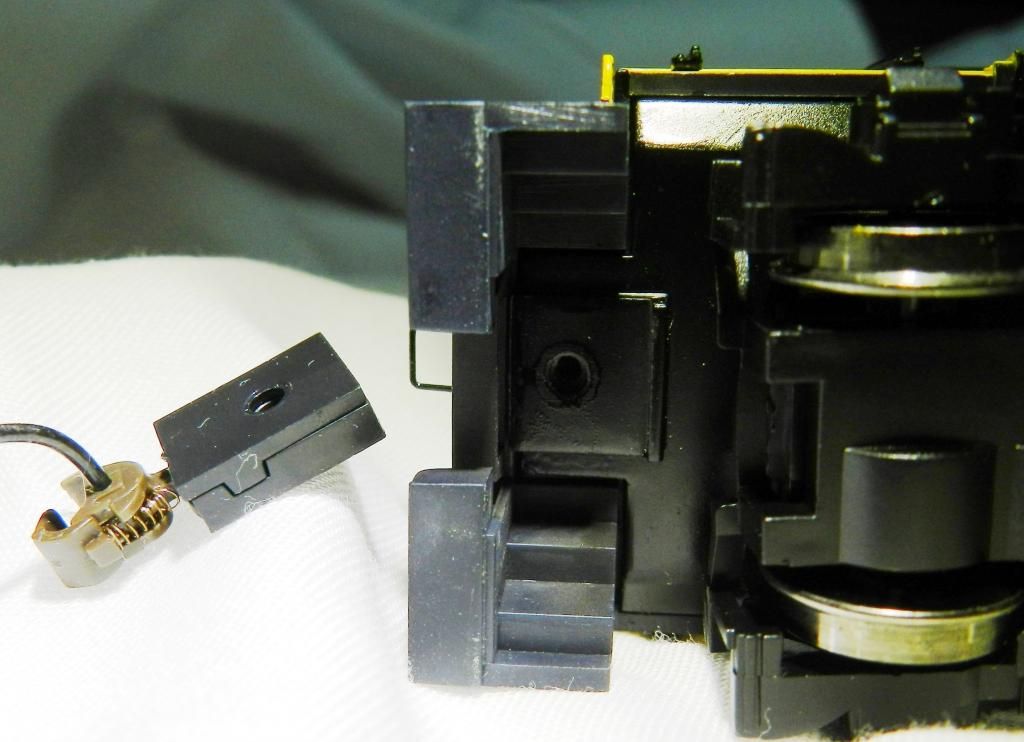
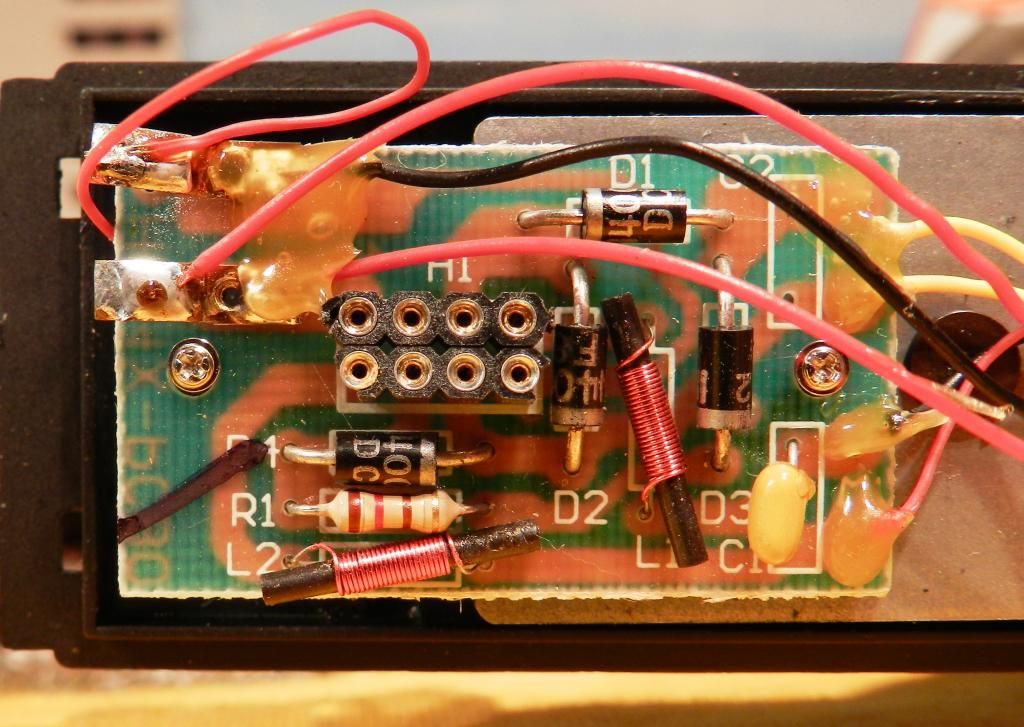
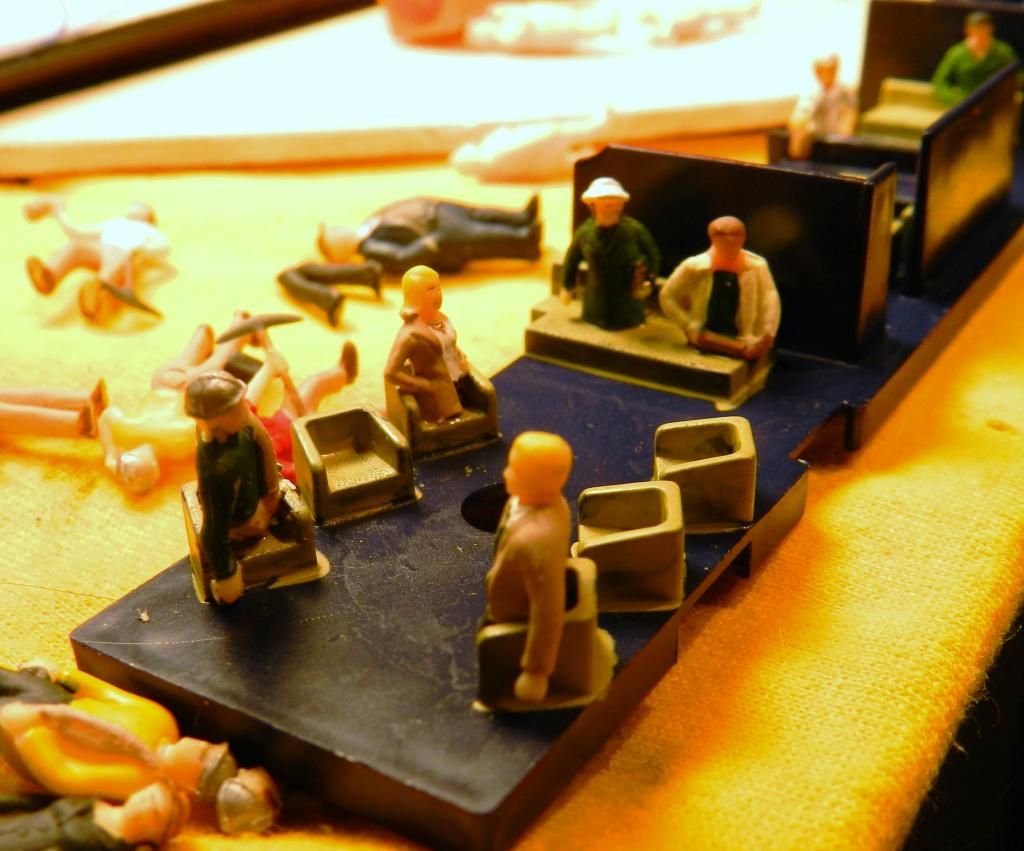
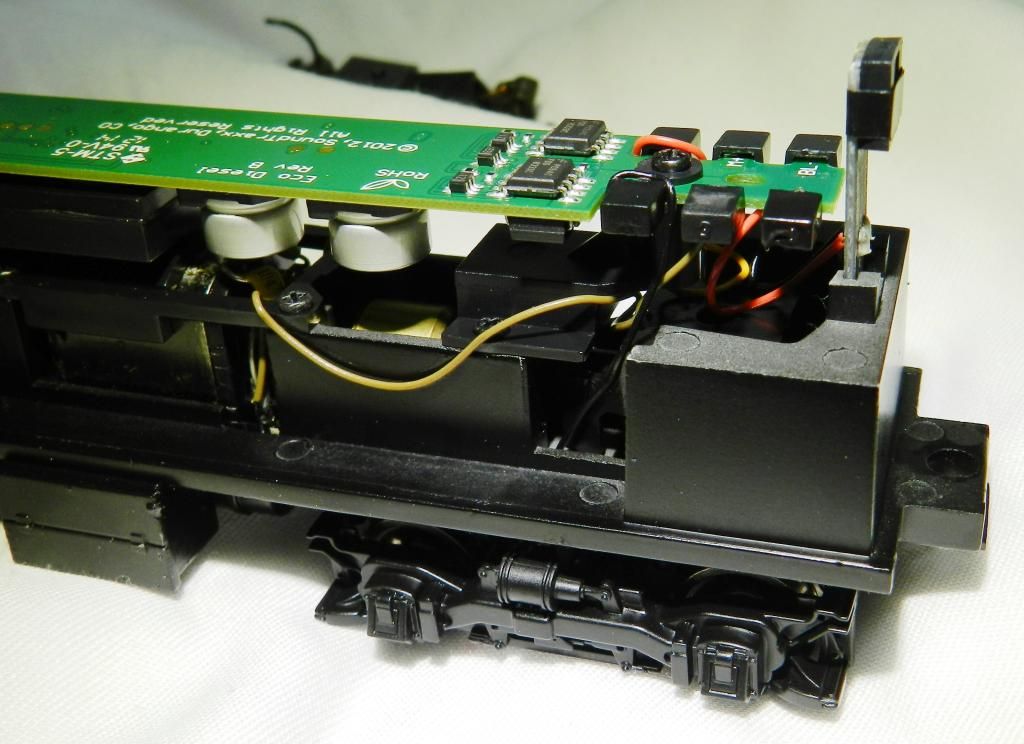
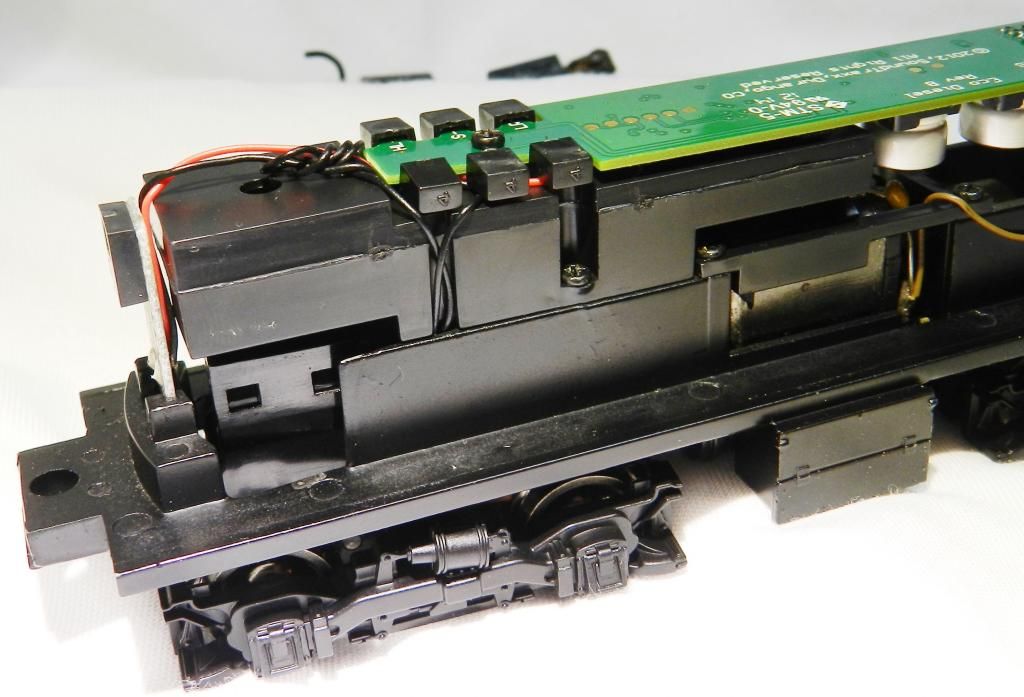
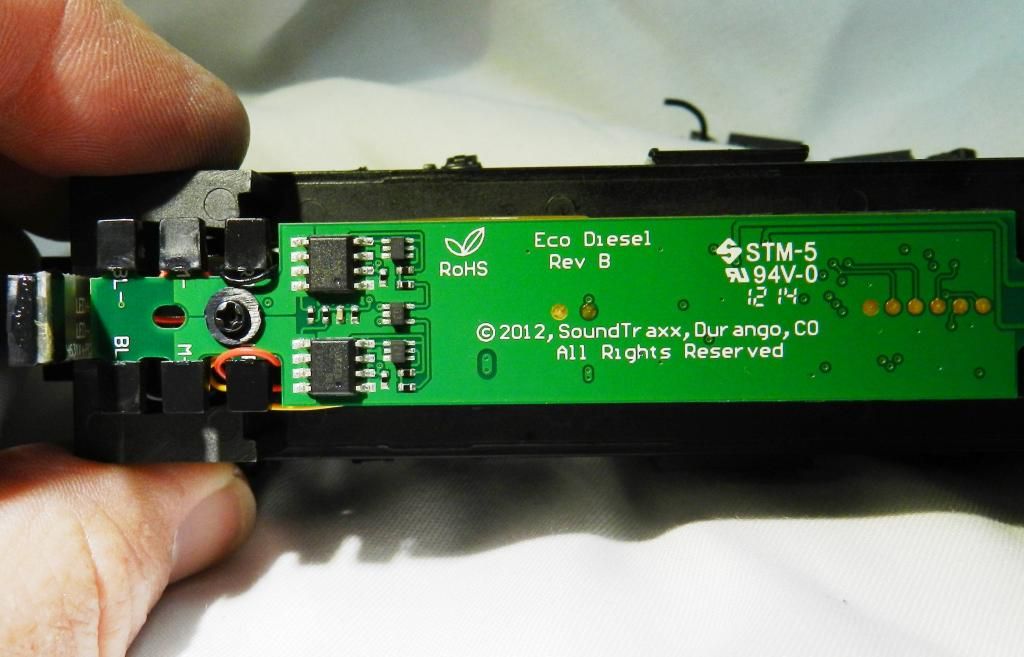
Here's the innards:
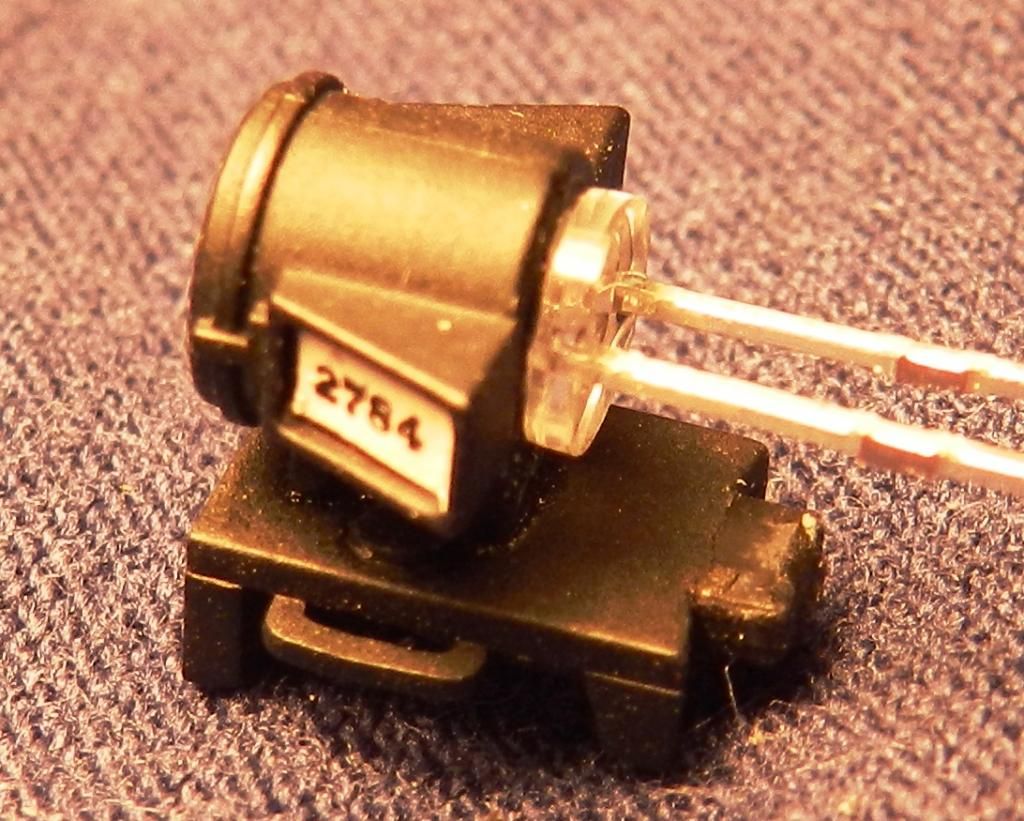
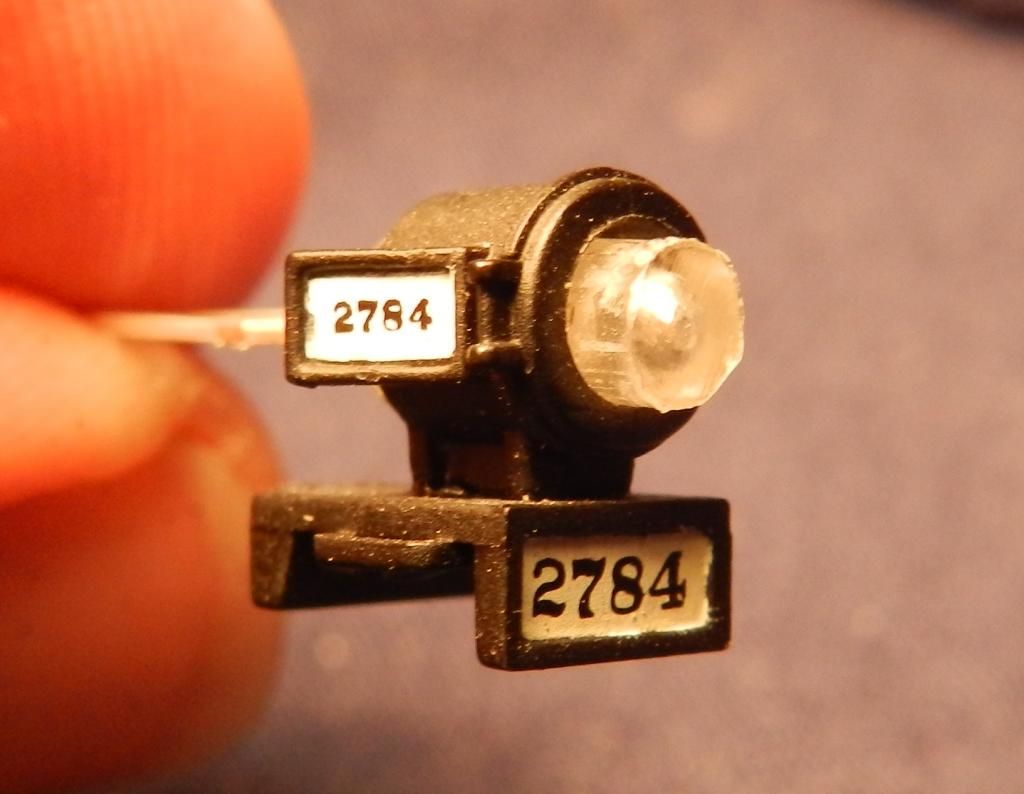
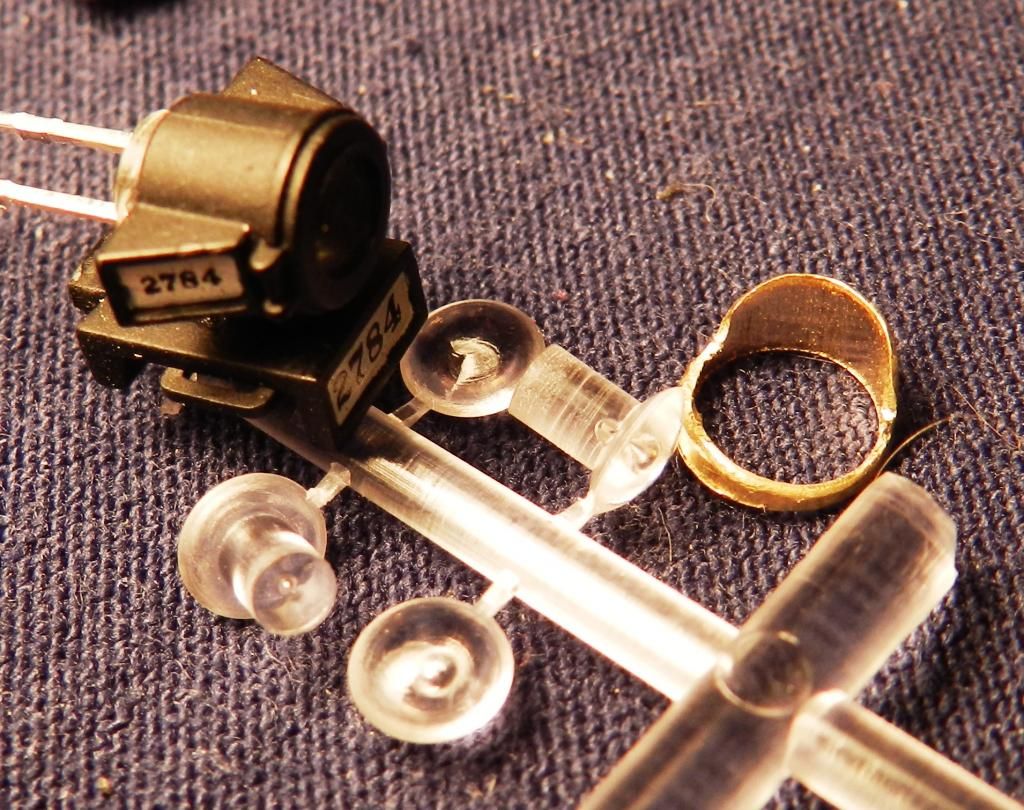
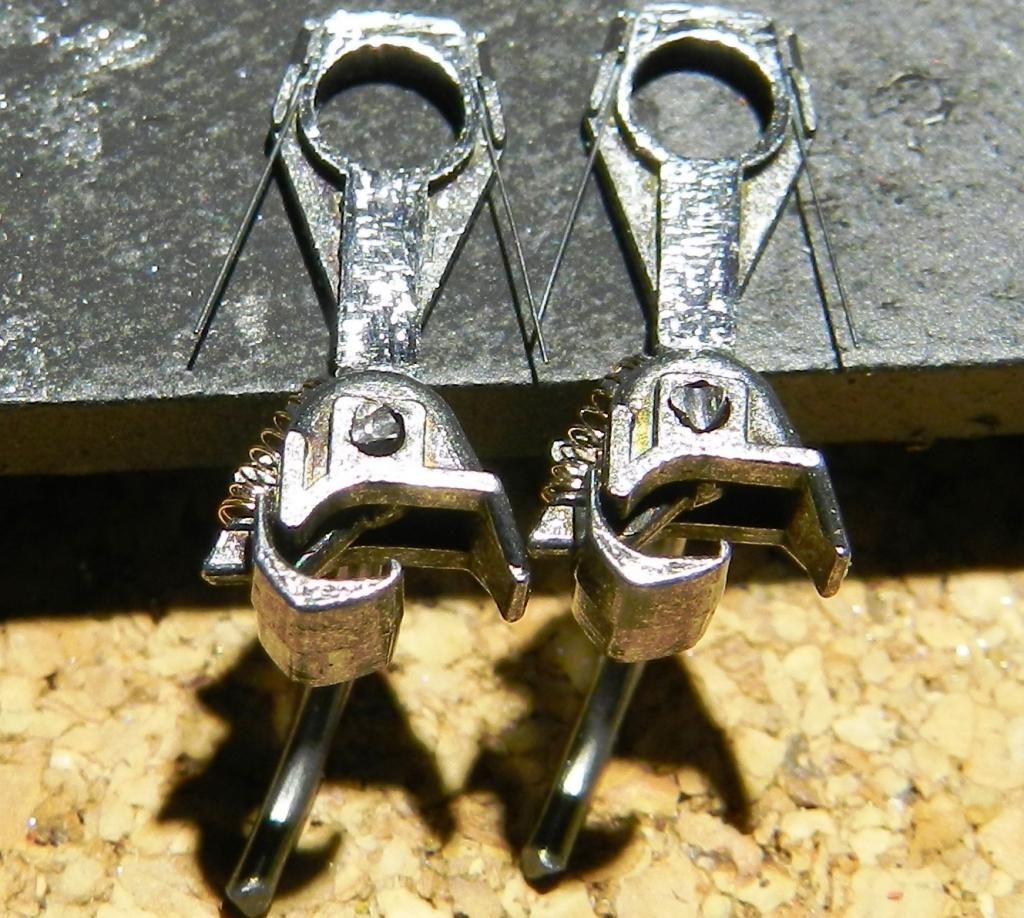
I filed down, and burnished, two whisker spring Kadees, which fit in the Bachmann boxes:
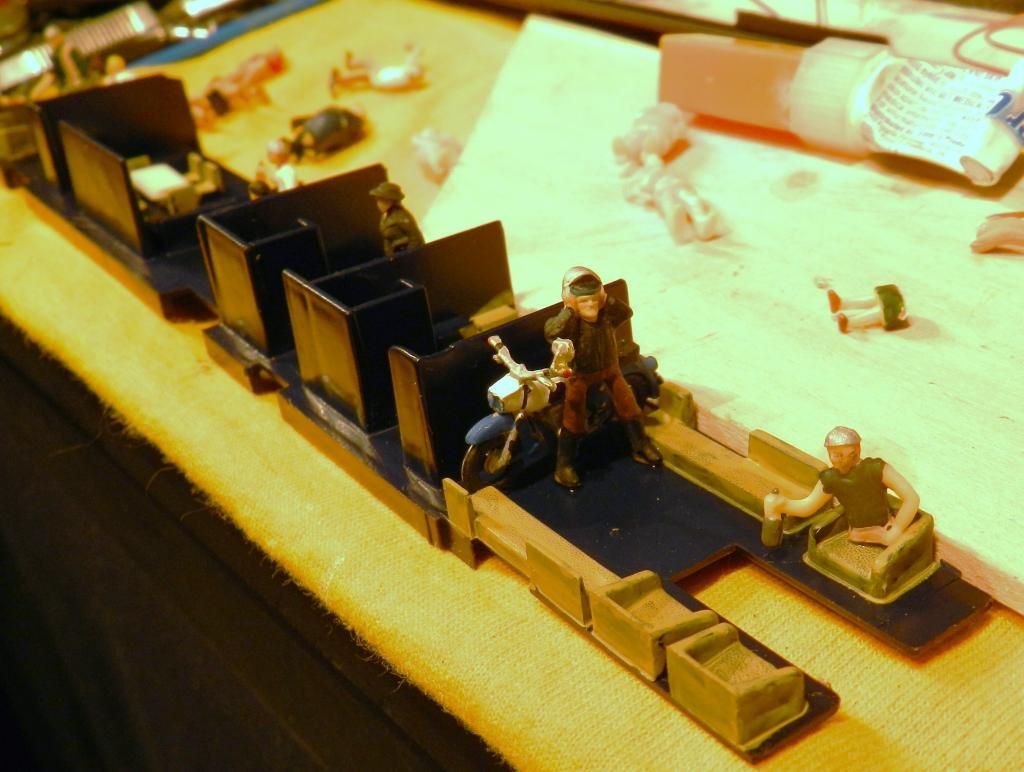
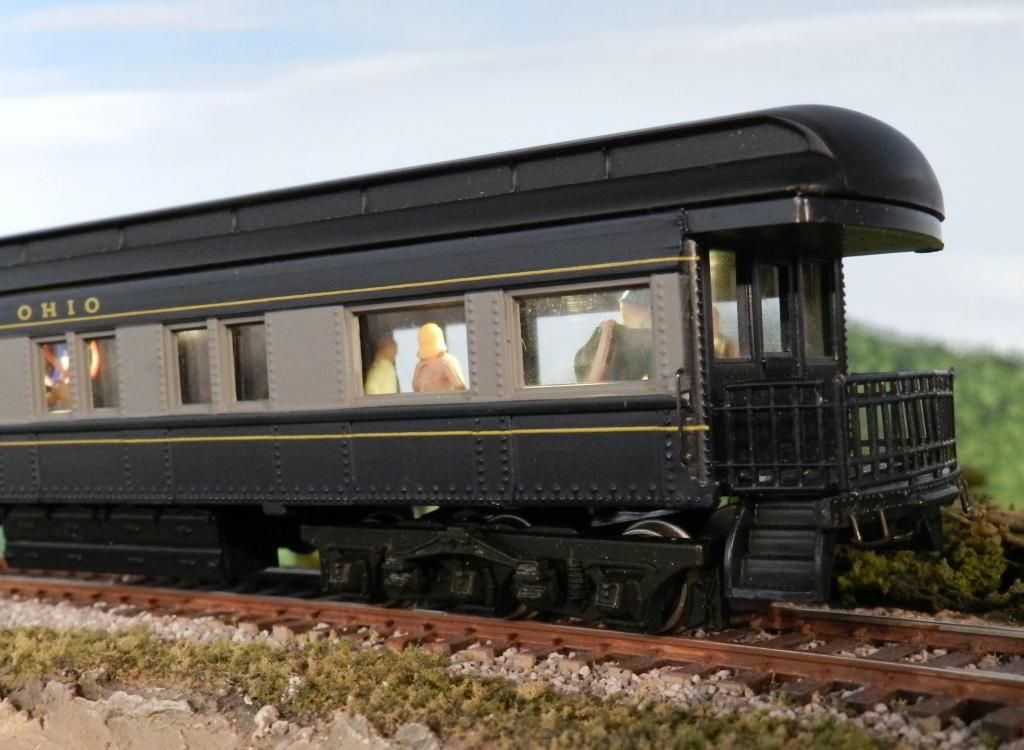
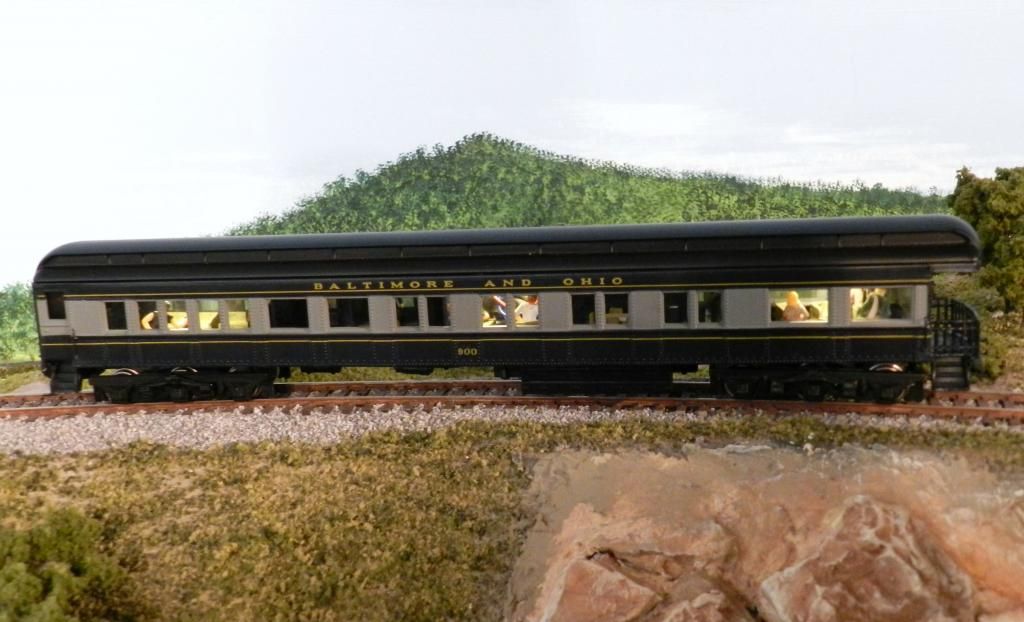
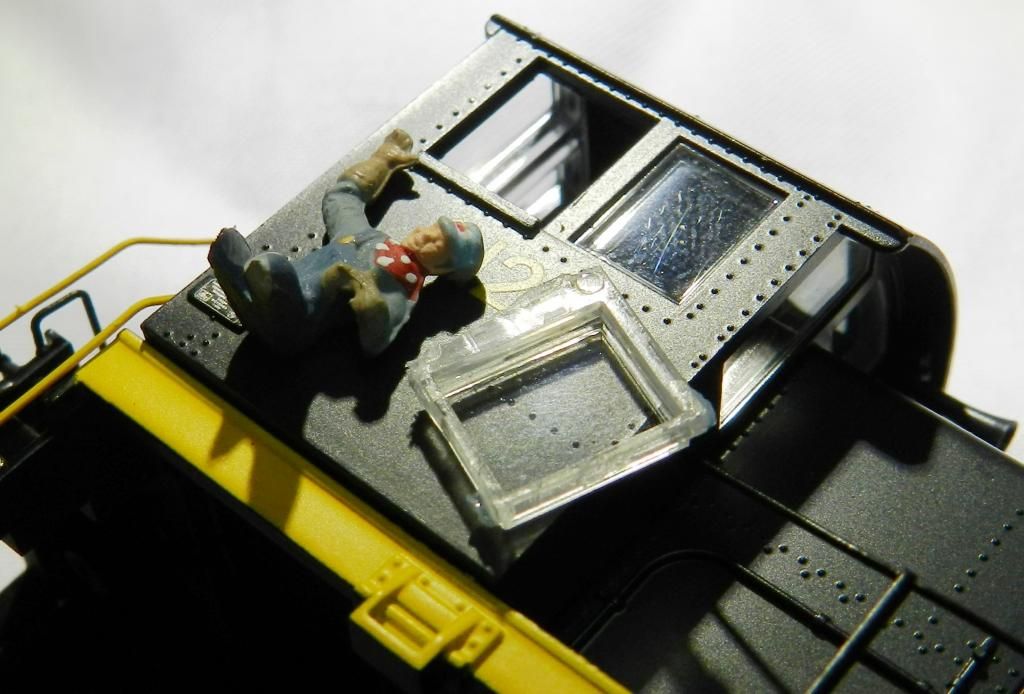
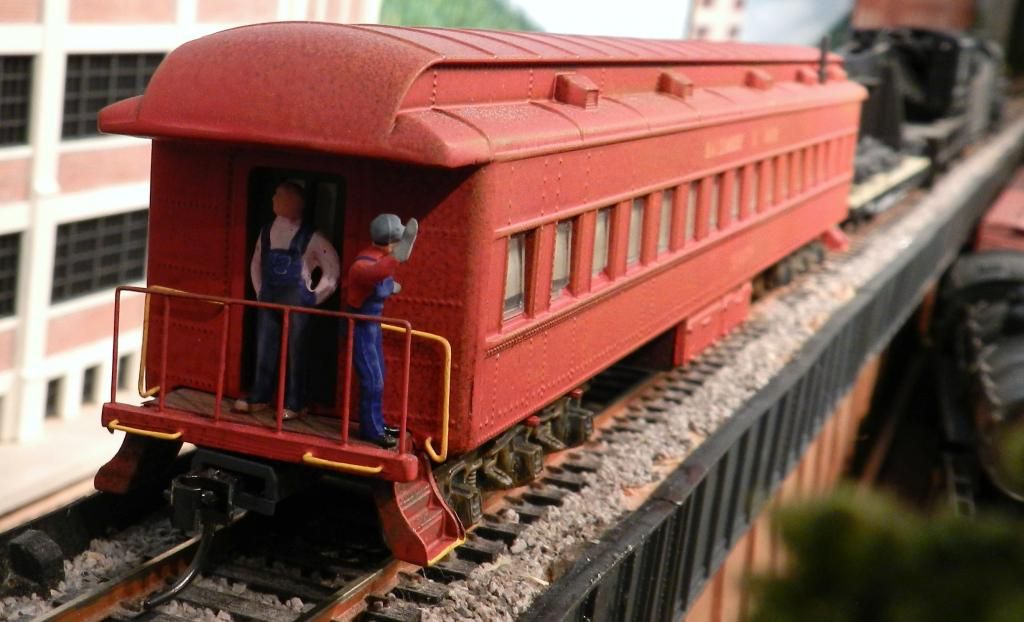
Next, I cut out two windows, in order to add a couple of crew figures. I don't know if these little switchers were a one-man operation, but mine will have a pair of workers:
That's all I have time for today, folks. Will post further as I get into weathering, weight, and any other tweaks that seem required.
Regards,
Jonathan
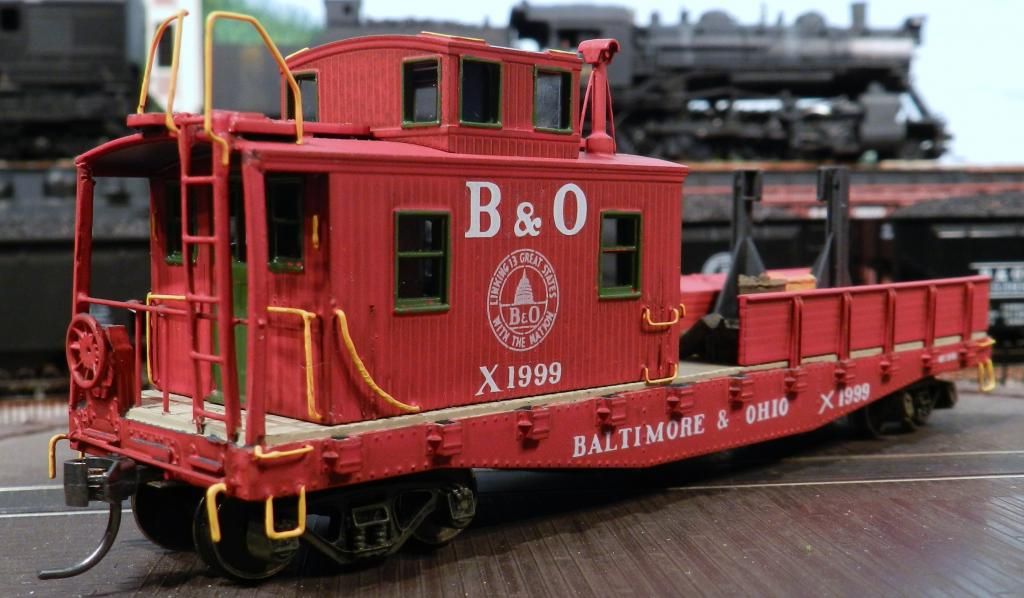
Here's mine:

OK, on to the tinkering part. To remove the shell, just take off the coupler boxes and the shell lifts right off. Easy:

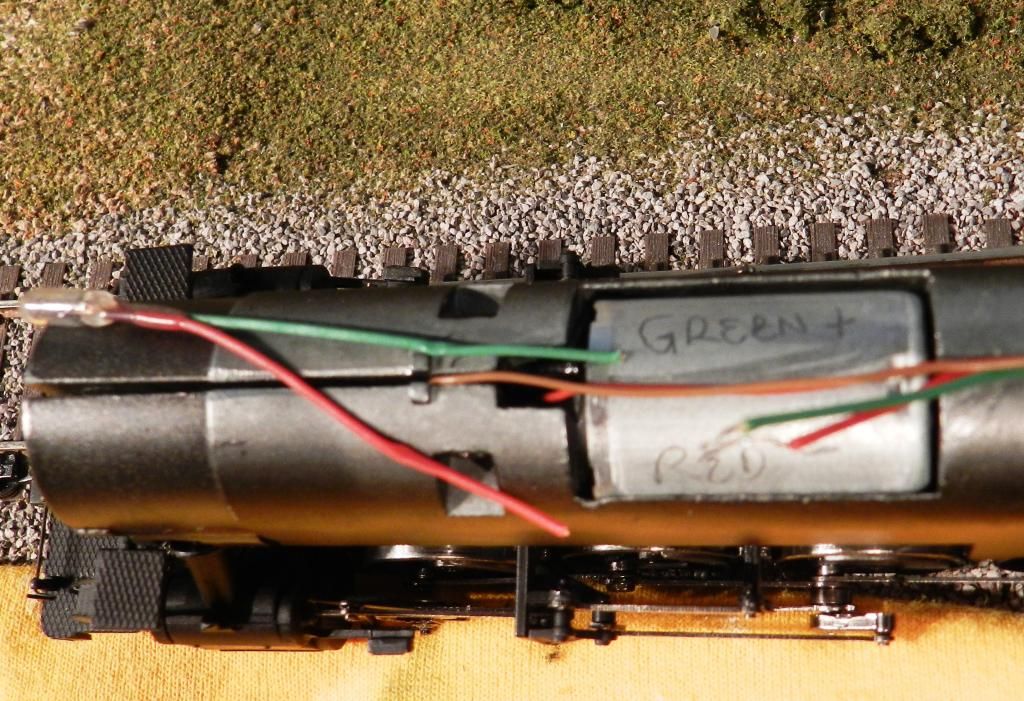
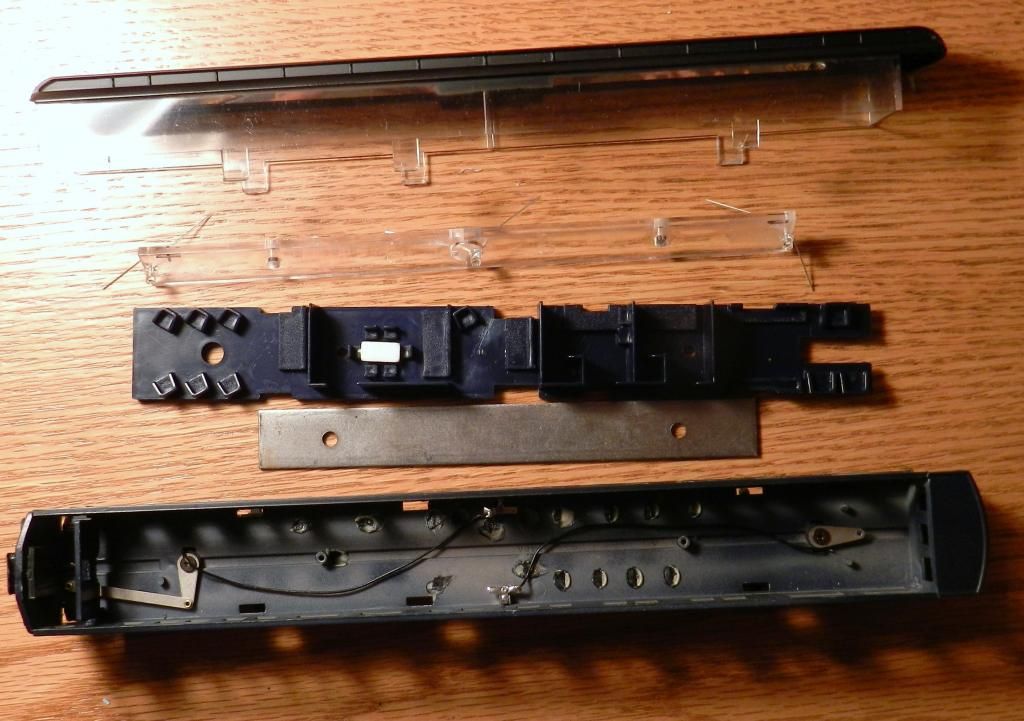
Here's the innards:


I filed down, and burnished, two whisker spring Kadees, which fit in the Bachmann boxes:

Next, I cut out two windows, in order to add a couple of crew figures. I don't know if these little switchers were a one-man operation, but mine will have a pair of workers:

That's all I have time for today, folks. Will post further as I get into weathering, weight, and any other tweaks that seem required.
Regards,
Jonathan


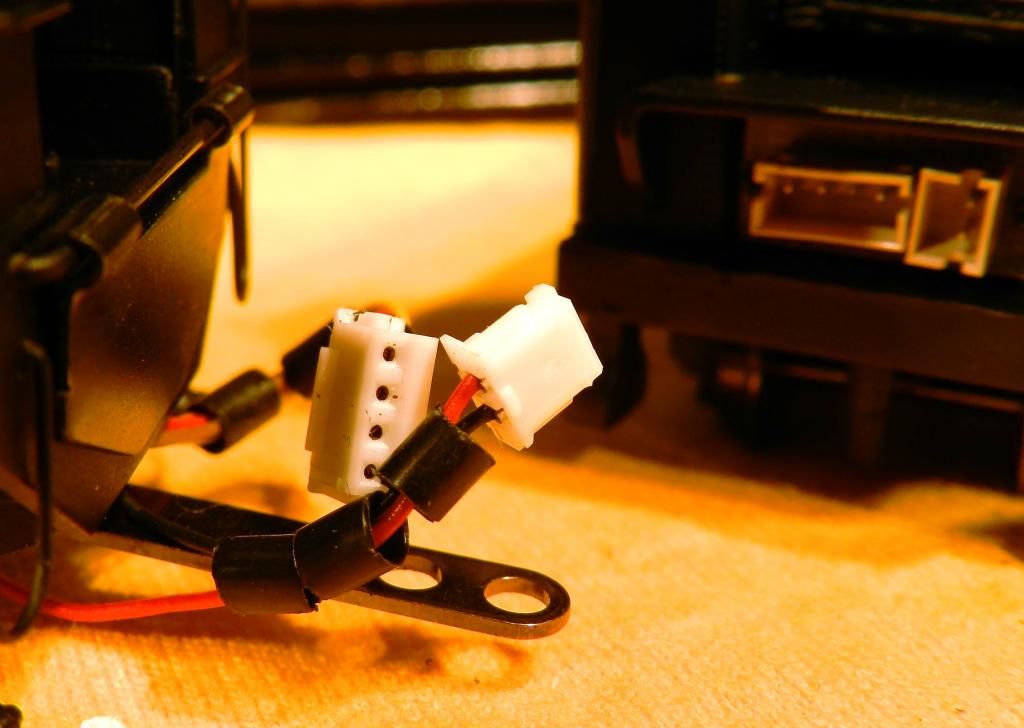
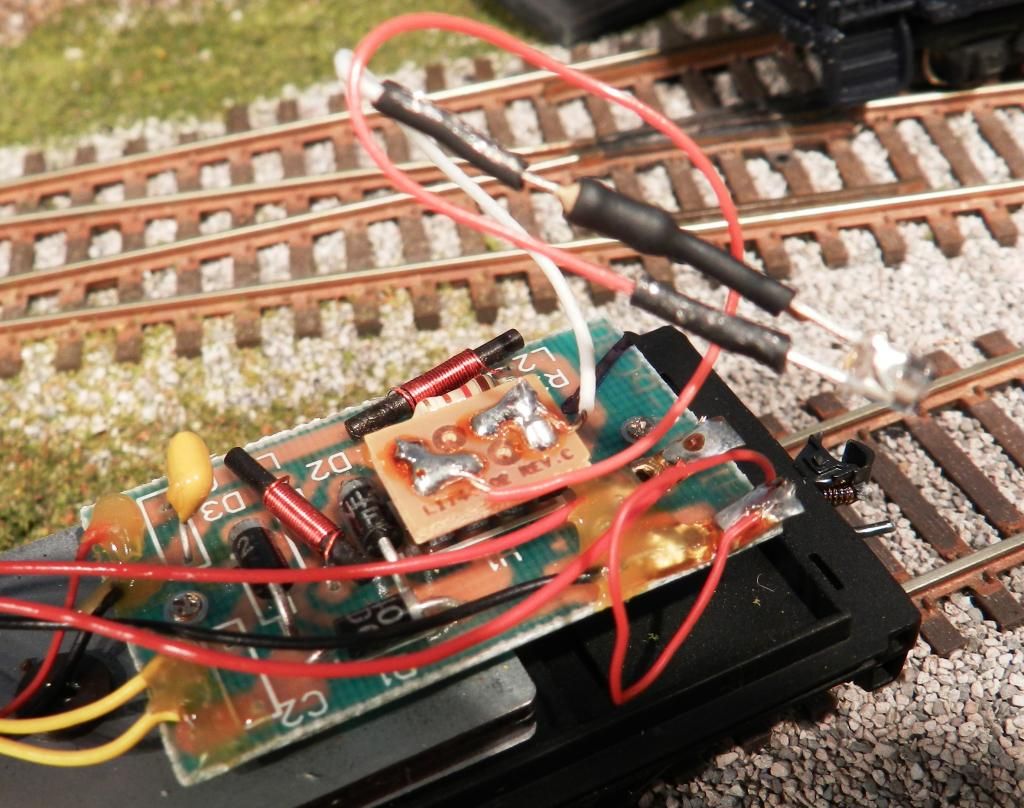
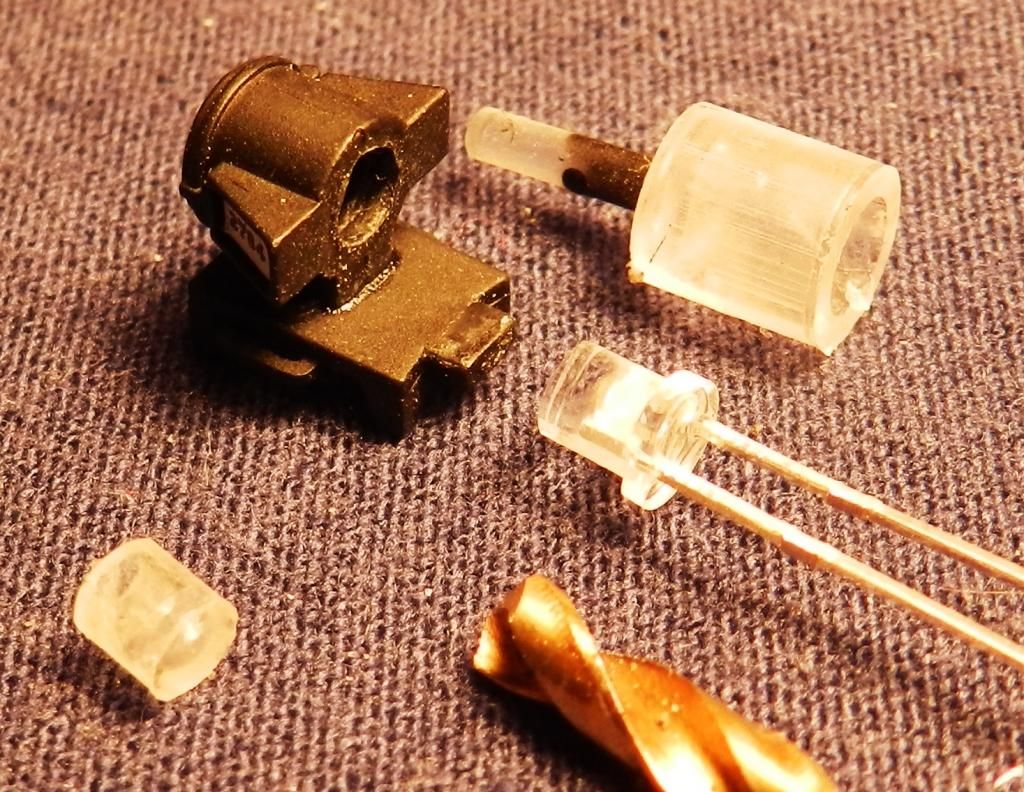
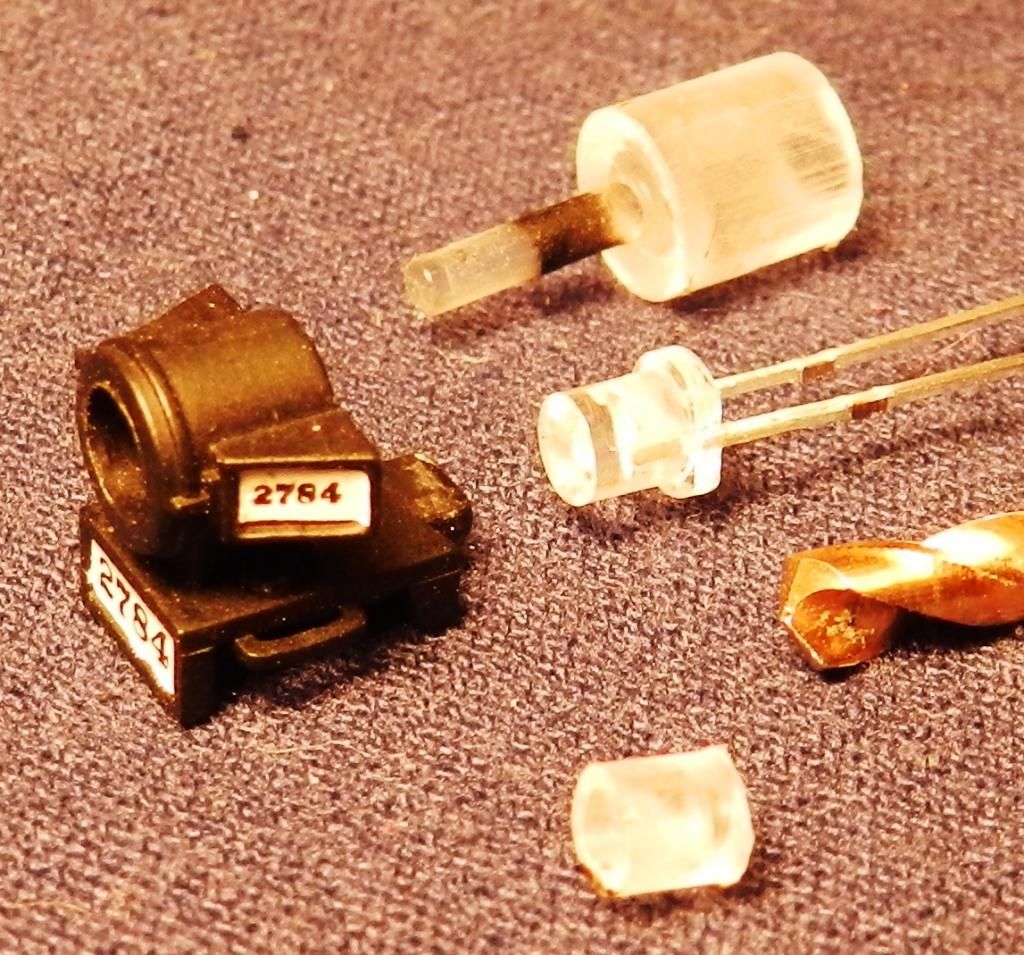
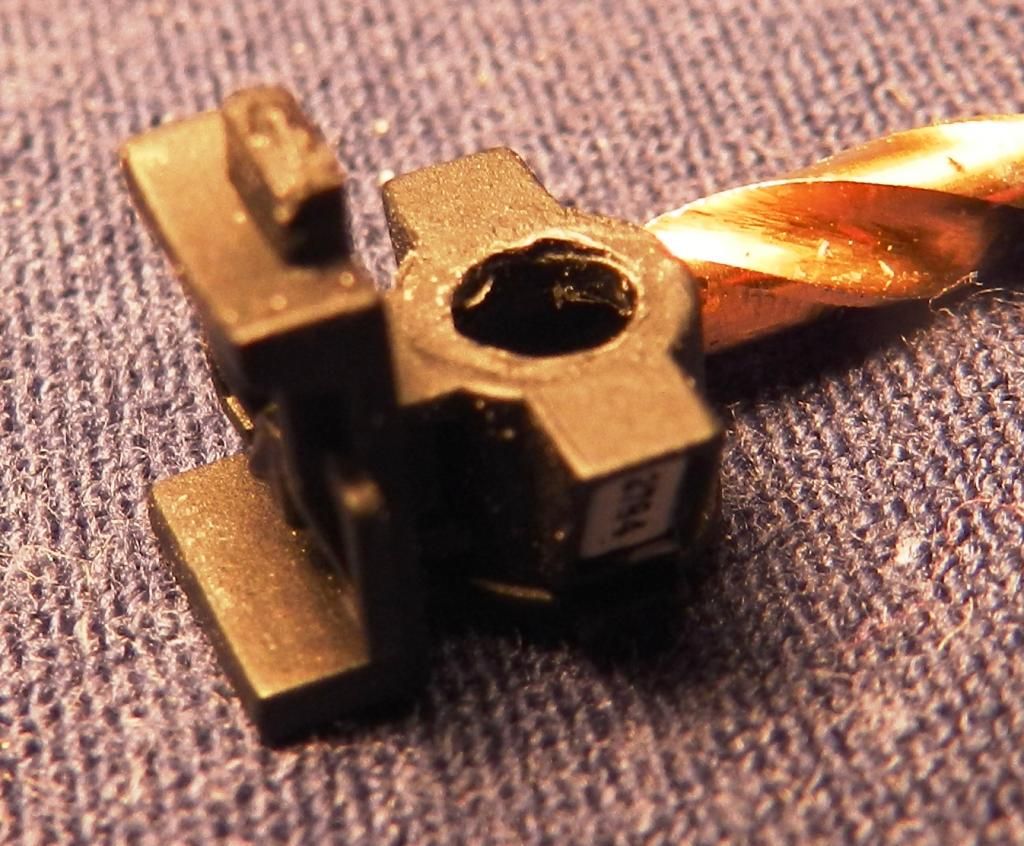
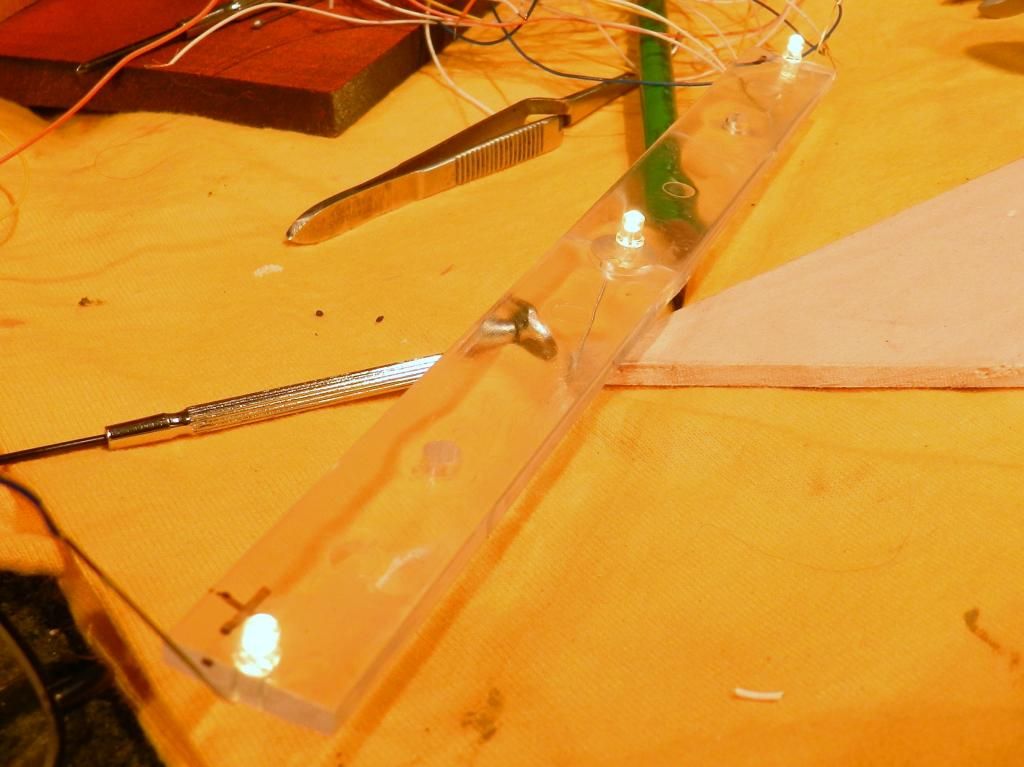
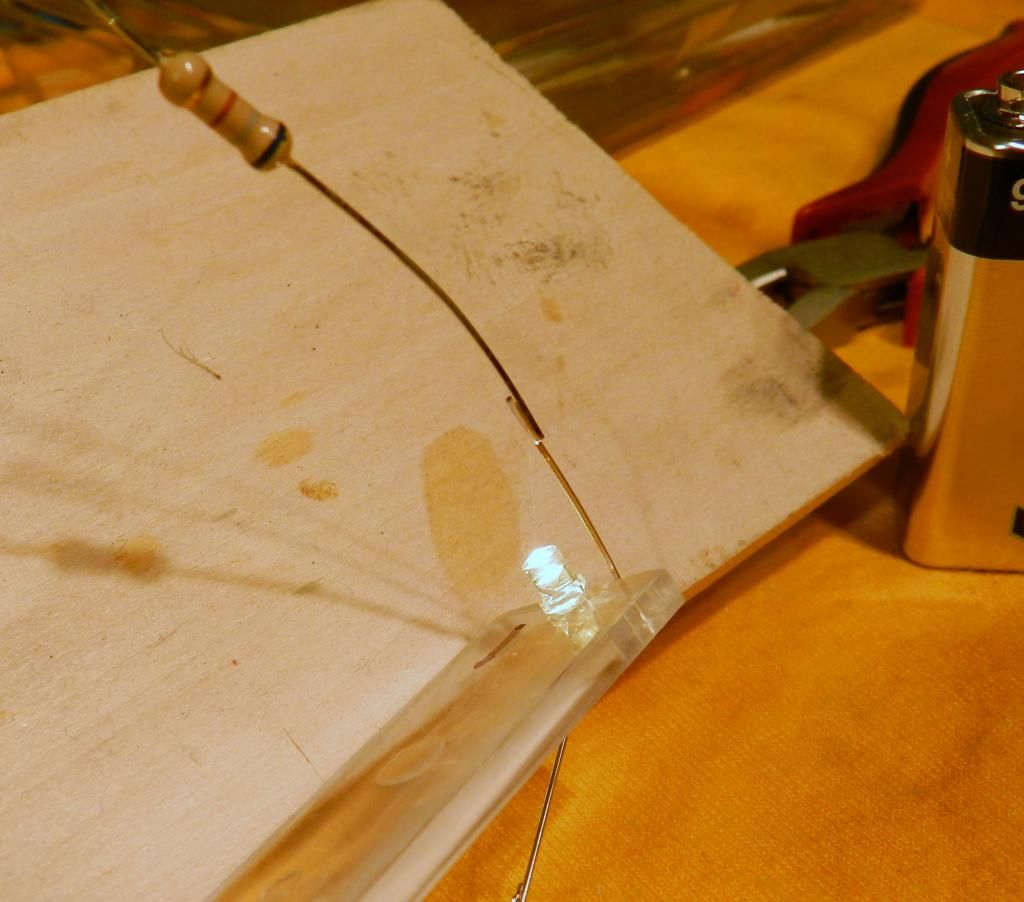
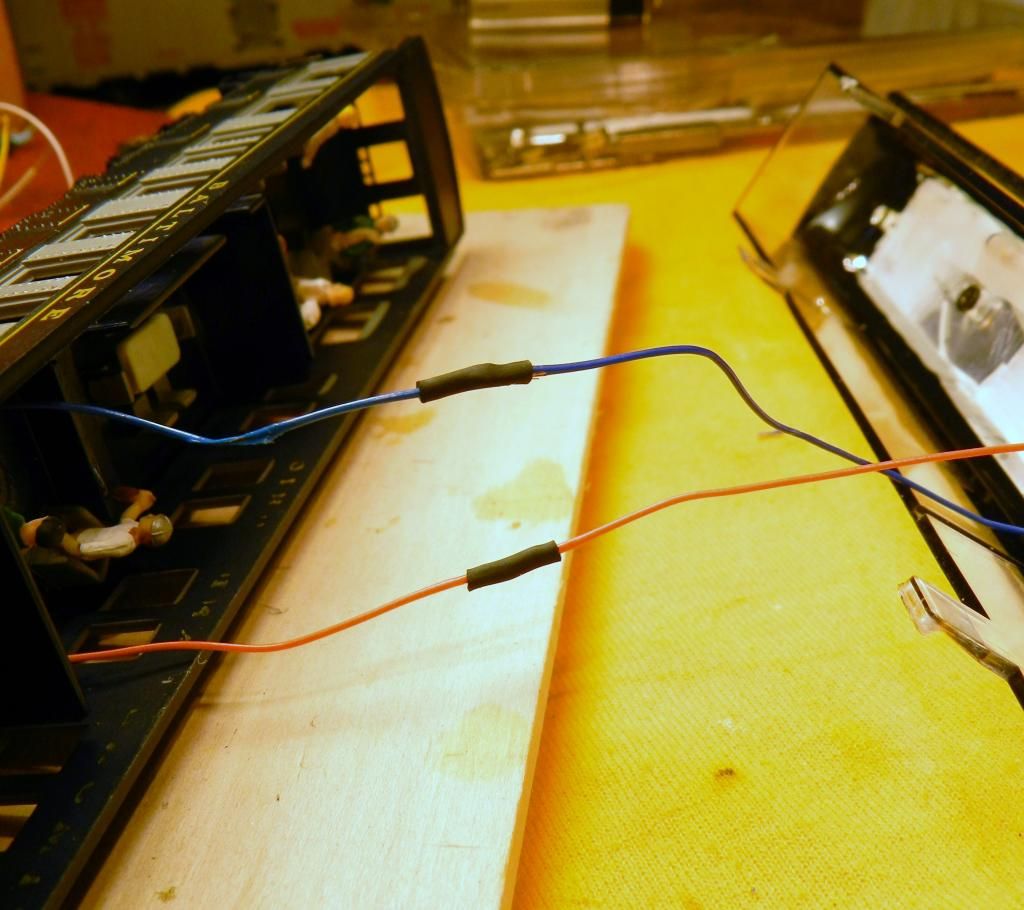
 I run all my LED lighting to a bus run by a 9V power supply, leftover from God knows what...