News:

Please read the Forum Code of Conduct   >>Click Here <<

Main Menu
Menu

Show posts

This section allows you to view all posts made by this member. Note that you can only see posts made in areas you currently have access to.

Show posts Menu

Topics - jonathan

#101
General Discussion / 'Tis the Season...
December 12, 2010, 05:42:29 AM
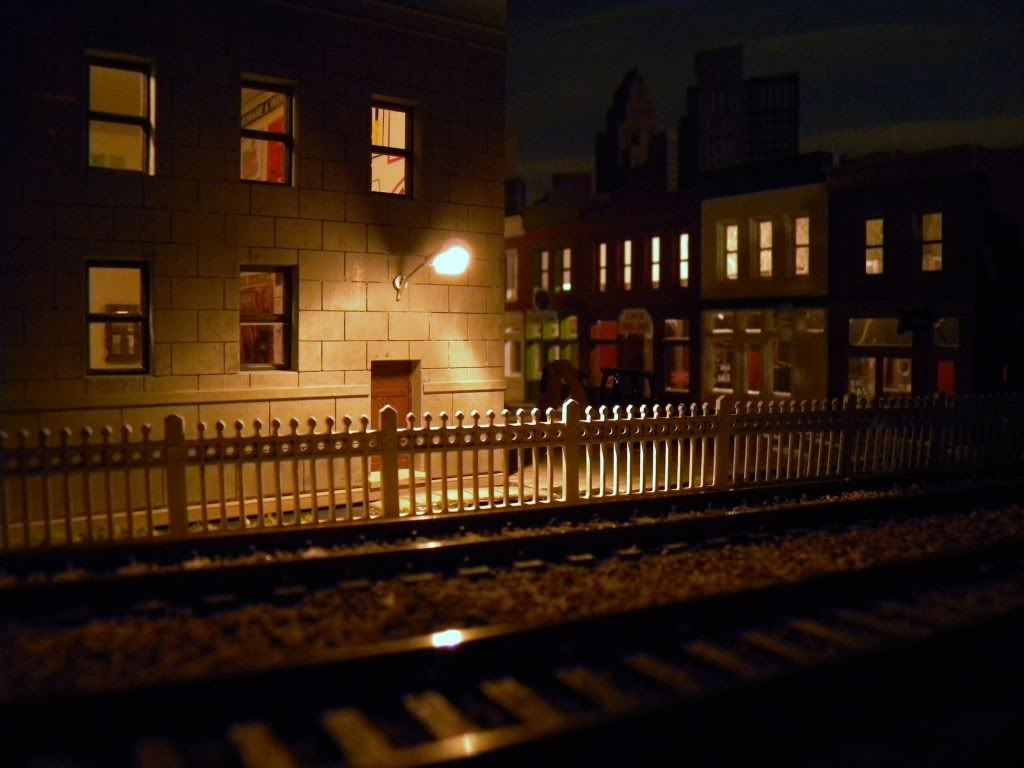
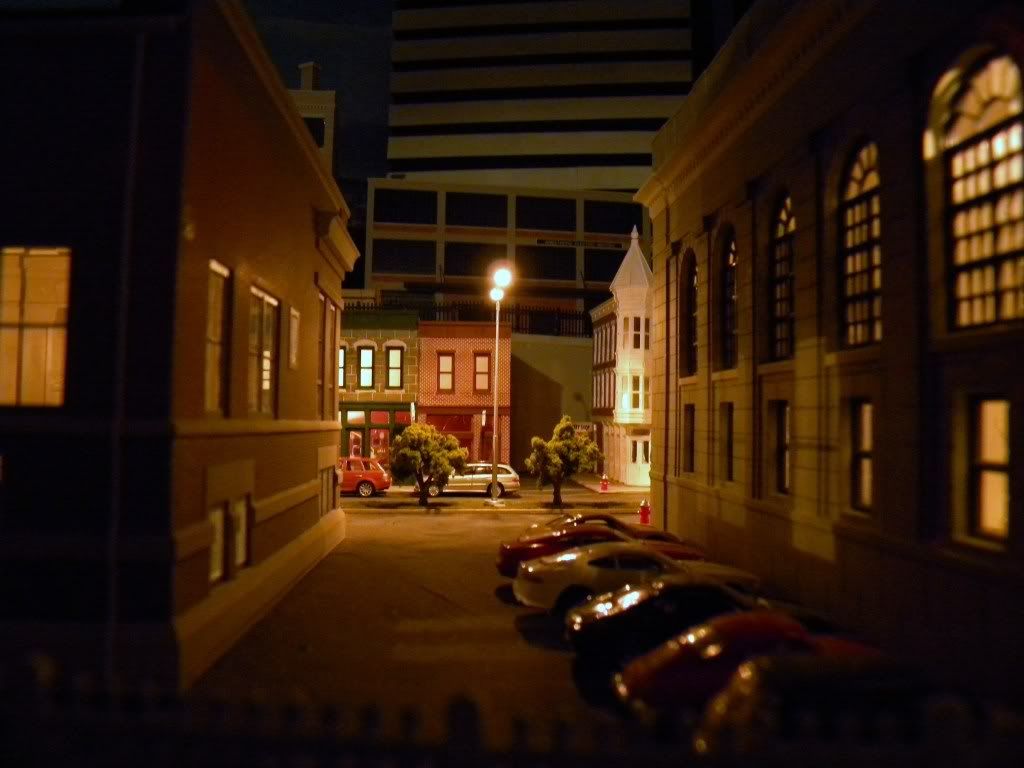
This weekend, our RR club set up a modular layout in our local county library.  I went along to help set up the display and to run a train I brought along.  Didn't expect much of a turnout (pun intended).  Just thought there would be us old guys, playing with our trains, in the corner of the library.

Was I ever wrong...

The place was very busy with parents and young children, all excited to watch the trains goin' round.

We had a few stools, so the little kids could get up real close.  How close?  We had some mysterious uncoupling and derailments (from little fingers).  Plus, one of our truss bridges lost a few I-beams from some 4-year-old Godzilla.  All fixable stuff.

Be that as it may, I now know that feeling when you're running trains, and there are lots of folks watching and getting excited about it.

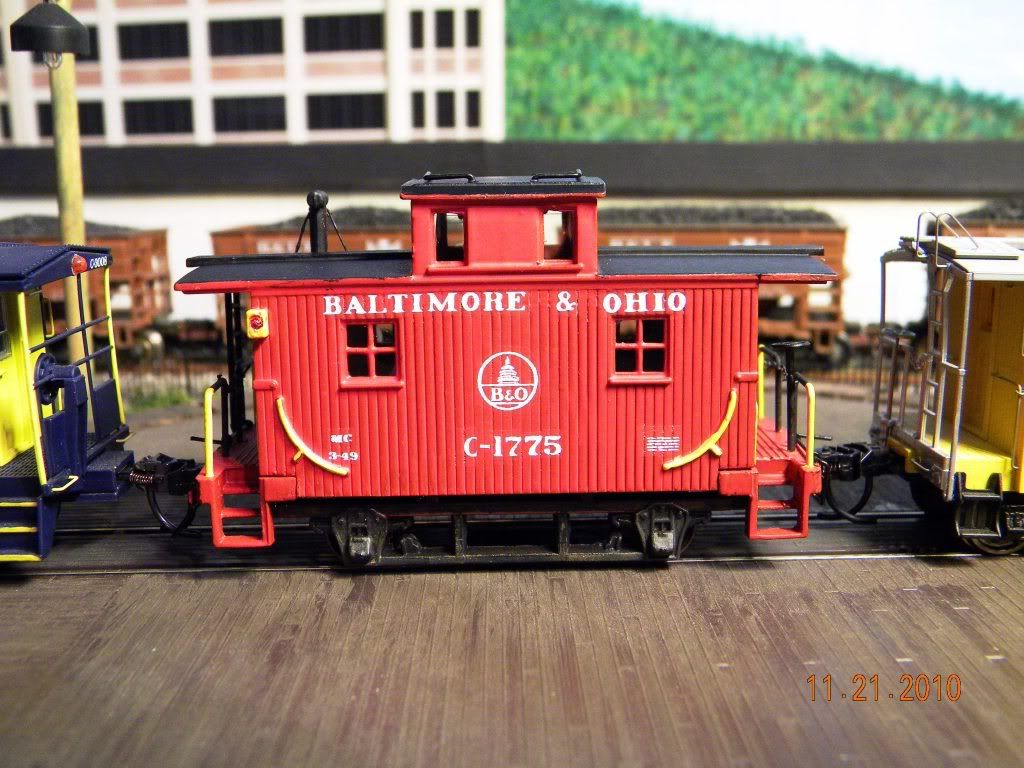
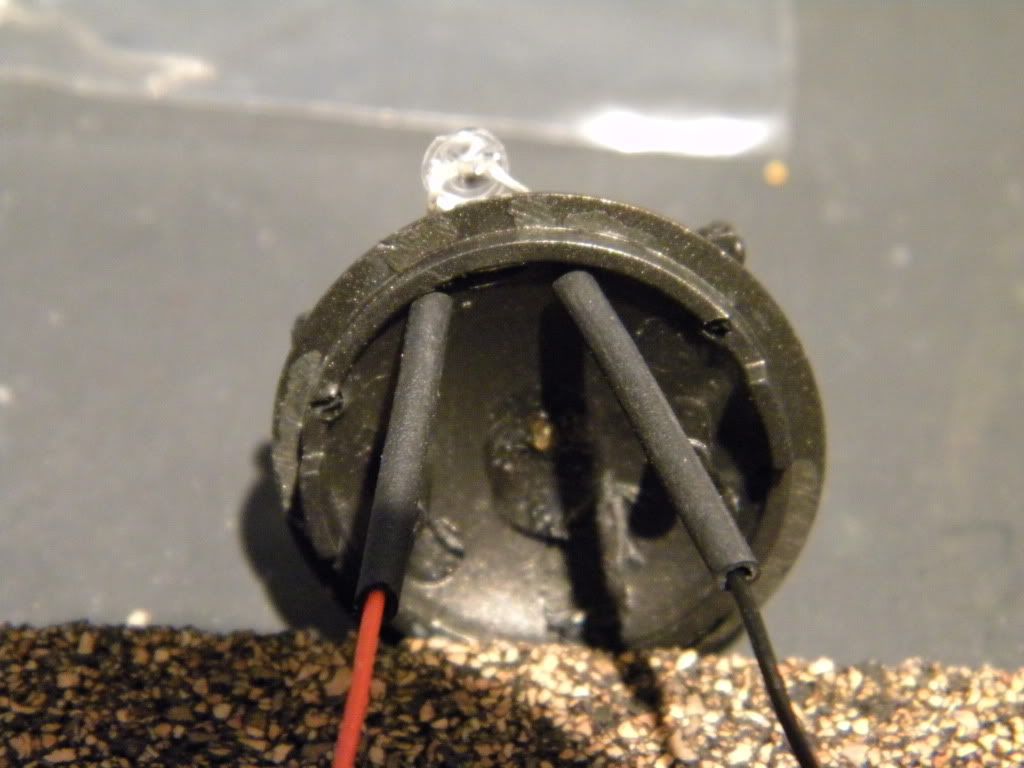
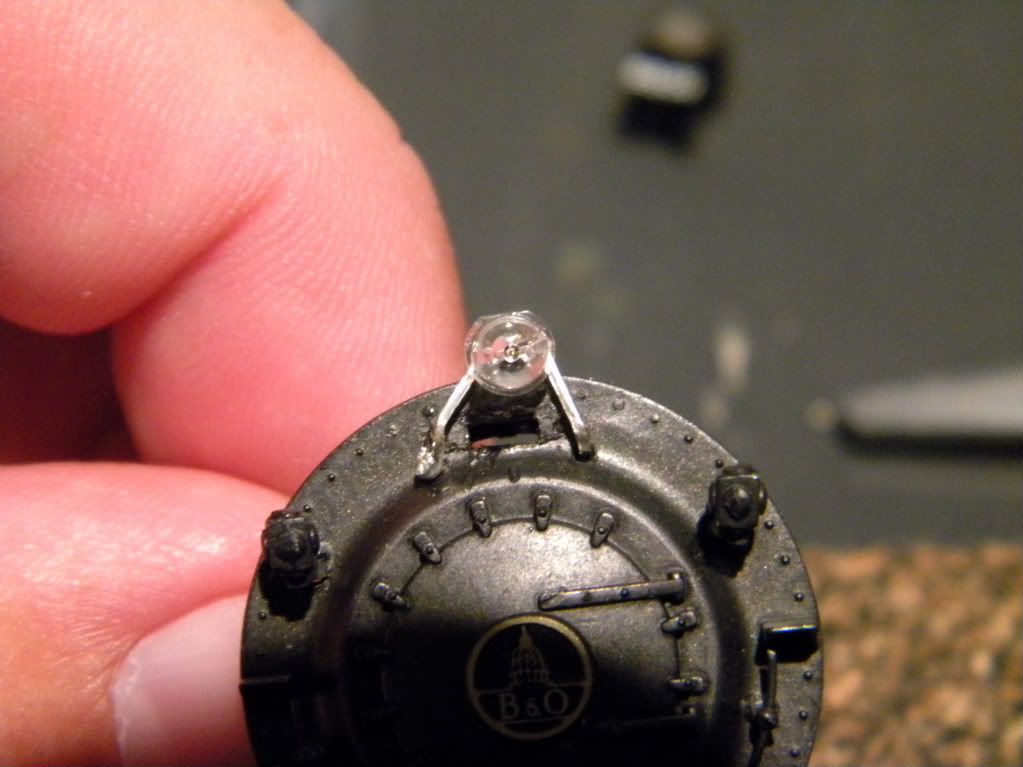
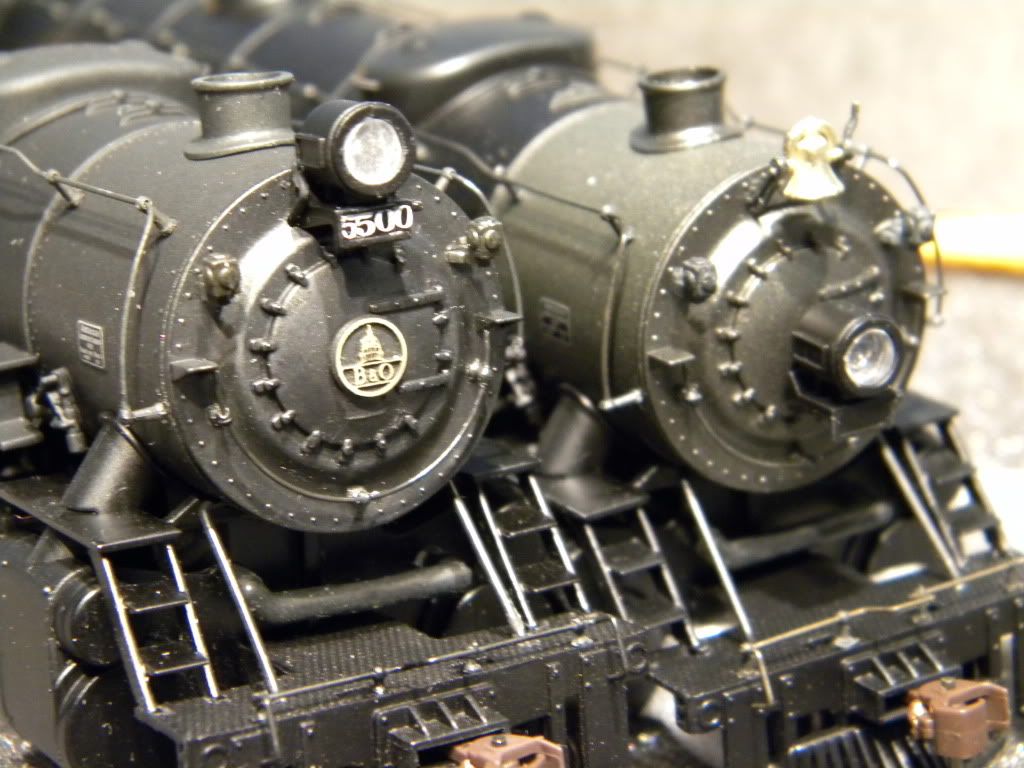
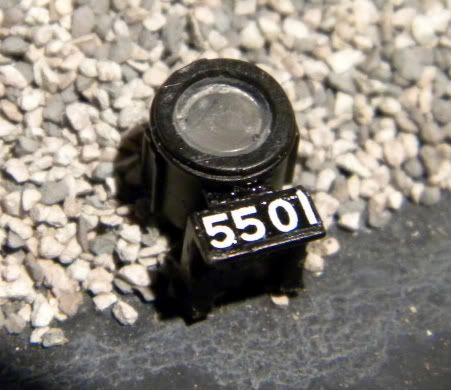
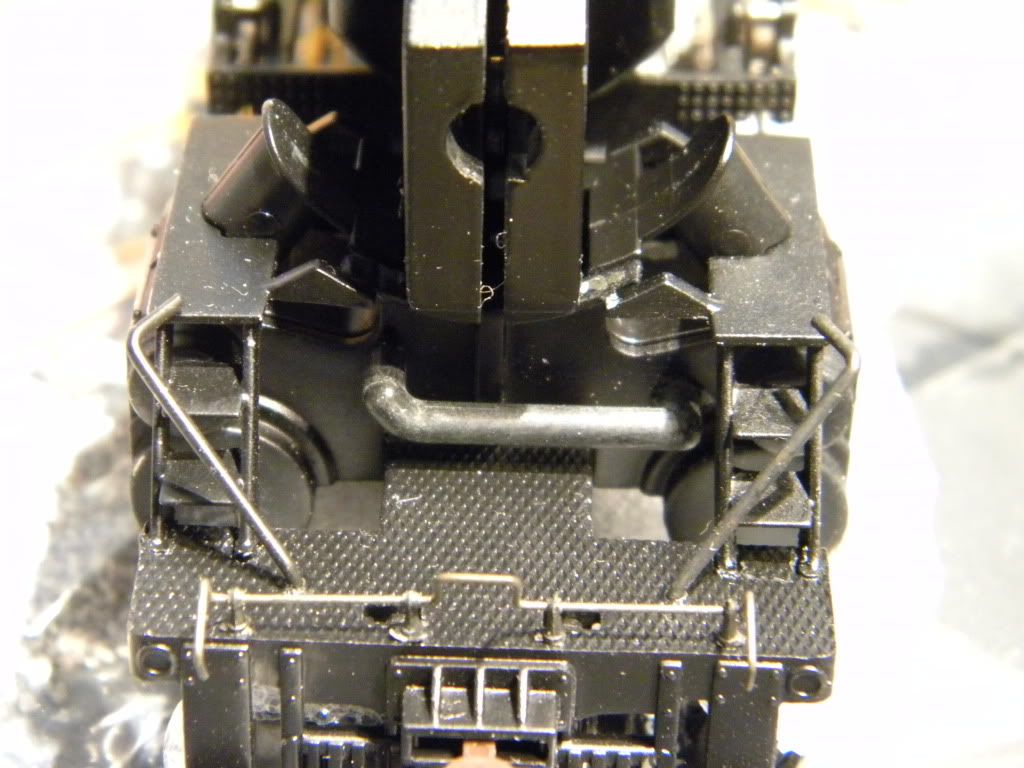
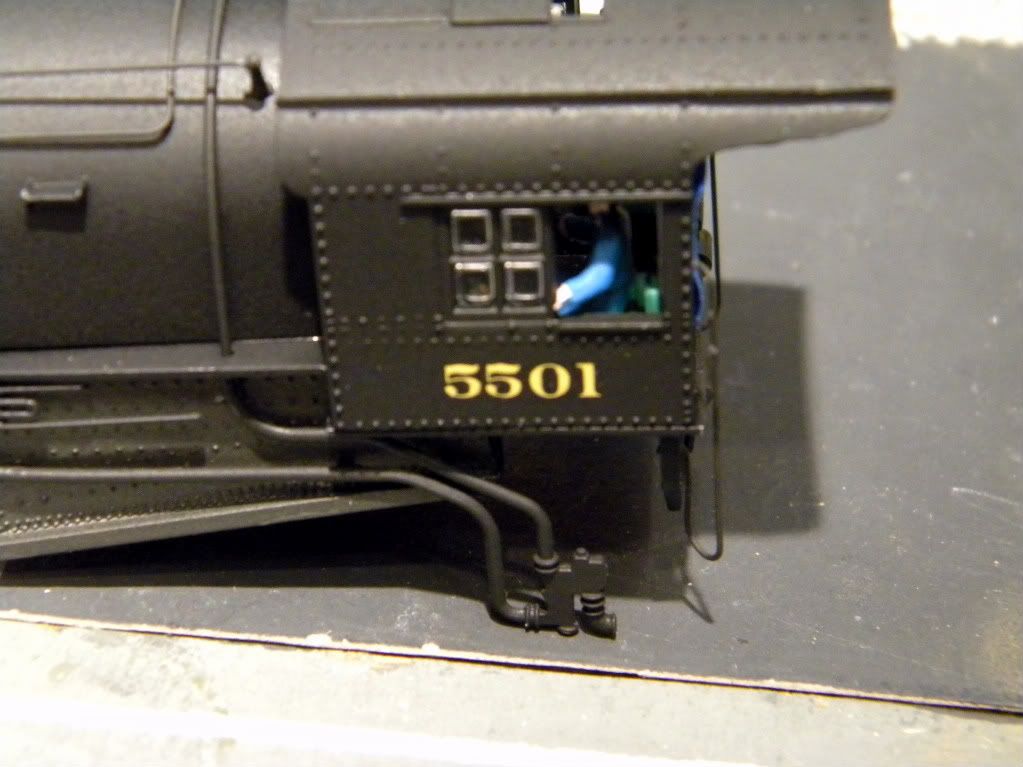
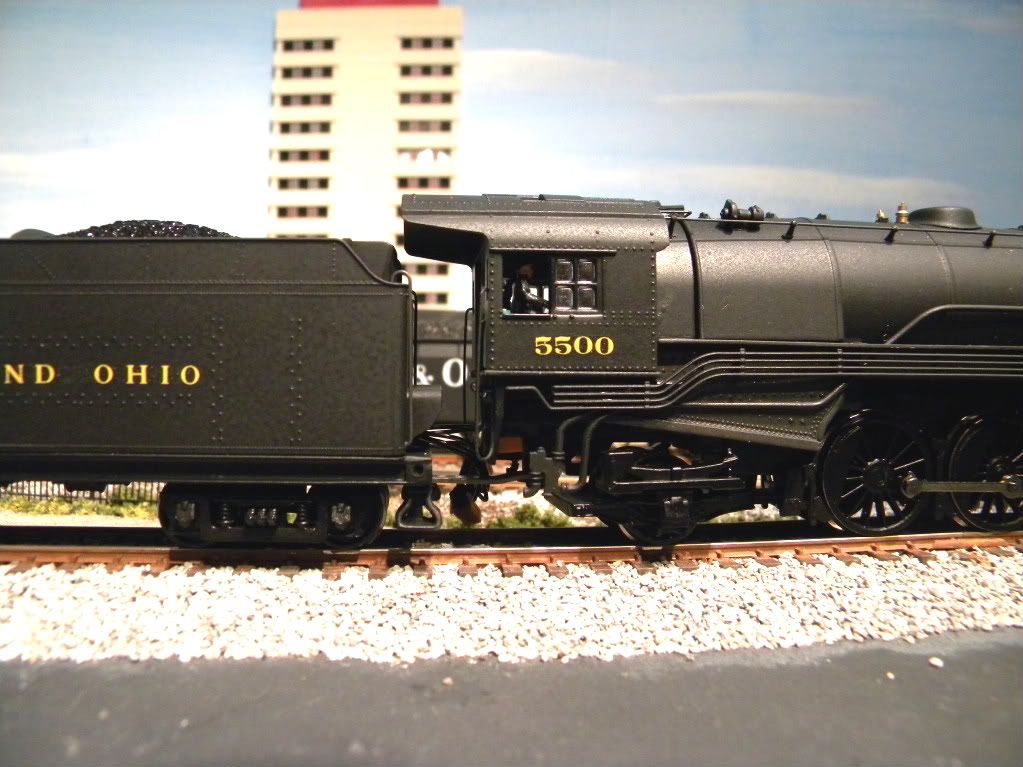
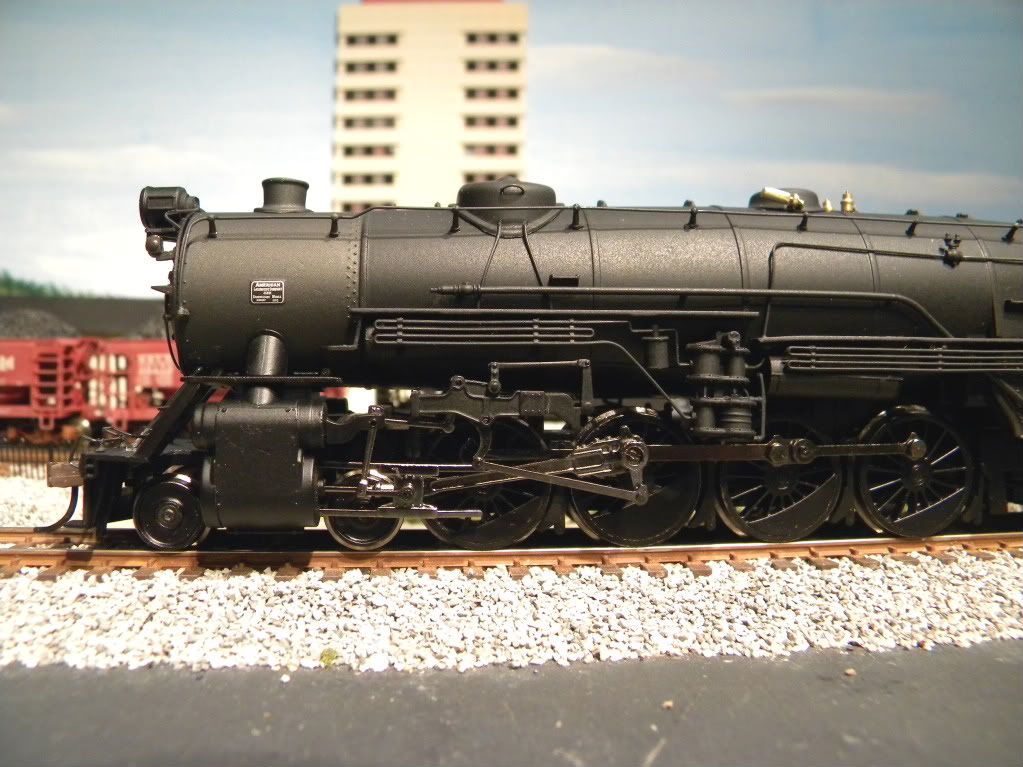
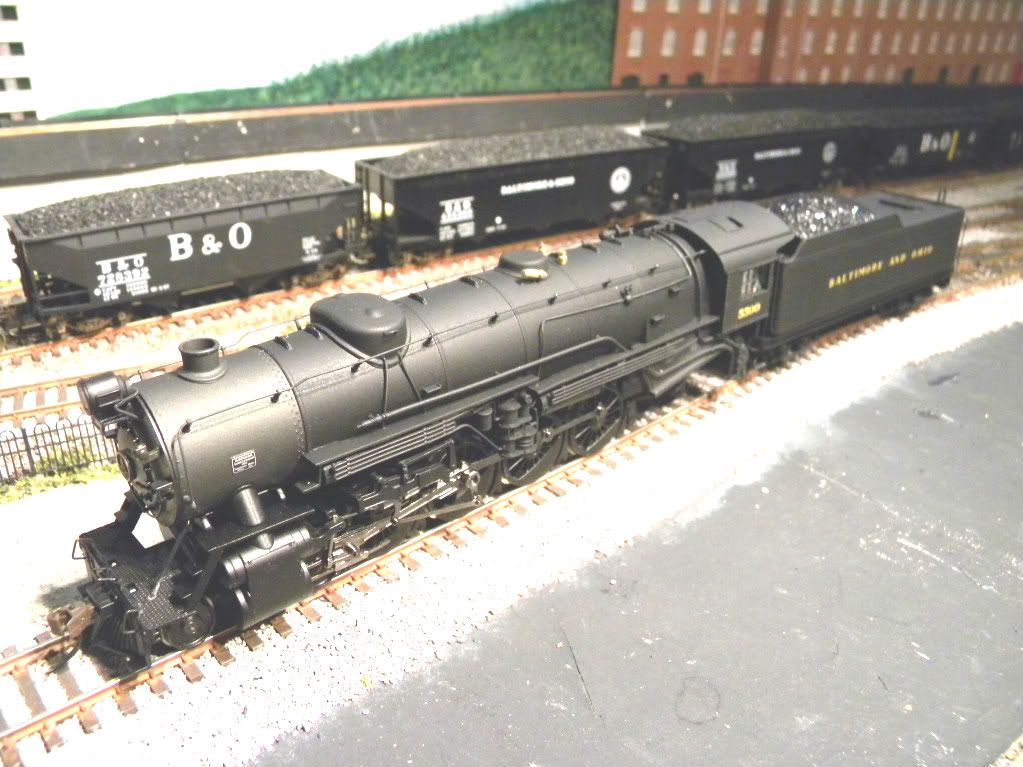
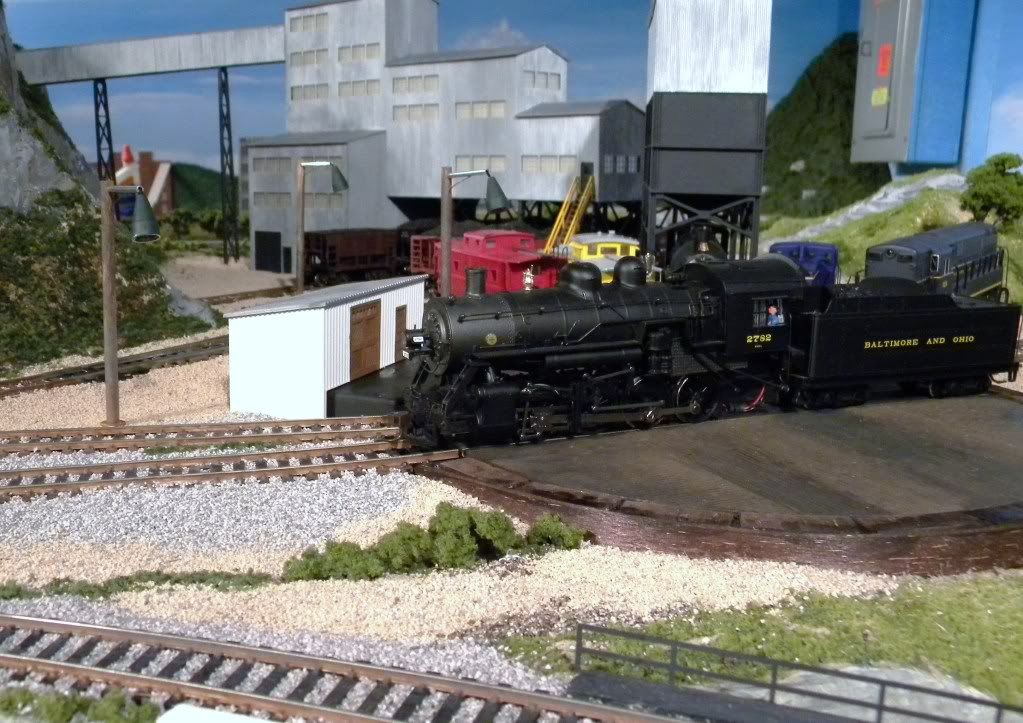
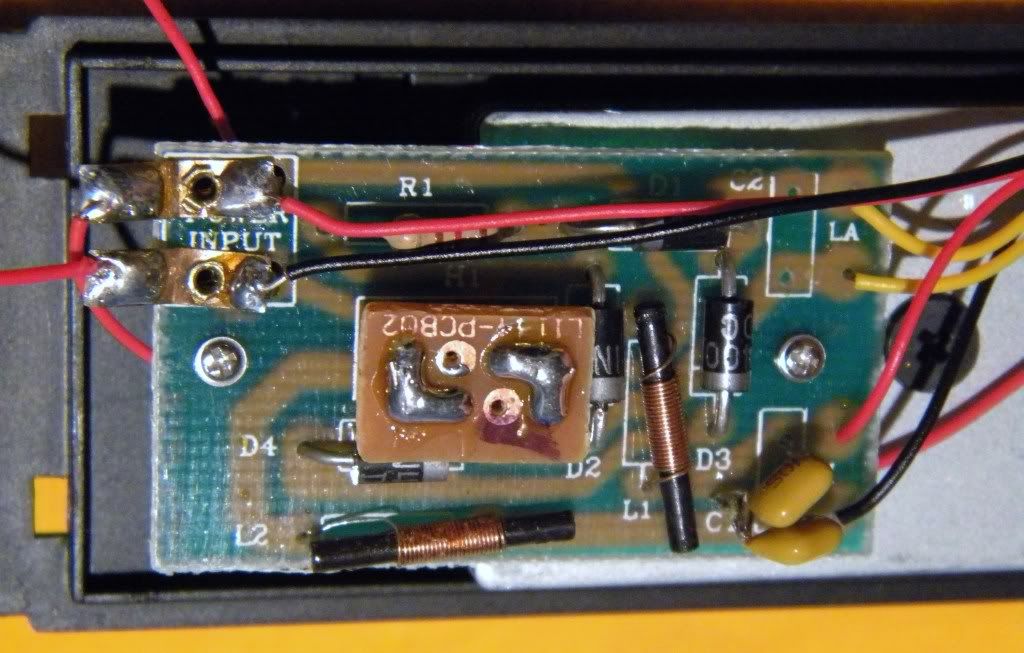
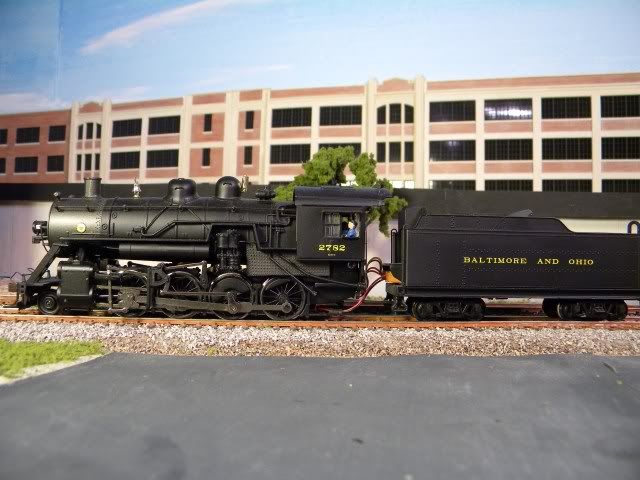
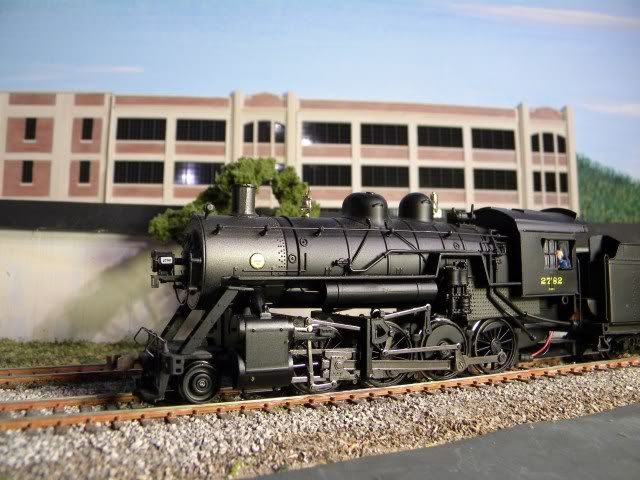
Kudos again to the folks at Bachmann.  I double-headed my Connies, with a 20-car coal train, for most of the day without a lick of trouble.  Well... for some reason, I can't get the headlights to come ON on our Digitraxx system.  That's OK, they still work at home on my layout.  Motors didn't even get warm.  They will getting a good going over at home this week (clean and lube).

Just thought I'd spread a little Christmas cheer.

Regards,

Jonathan
#102
General Discussion / Kanawha County
November 29, 2010, 09:04:33 AM
For Thanksgiving we travelled from Virginia to Kentucky to visit family (yes, too long a drive).  The highlight of the trip, for me, was the drive on I-64 through West Virginia.  It was railfan heaven.

Many features to spot, especially through Kanawha County.  We crossed the Kanawha River at least three times over those great, green truss bridges, and saw many complex rail bridges, some still operational.  In fact, I saw the name "Kanawha" so many times, I expected to see a 2-8-4 parked somewhere along the route... no such luck.  However, there were large CSX yards, with enough rolling stock to leave me with the perspective that coal is still king. 

A far distance from the highway, I spotted a round, concrete coaling tower.  I believe Walthers still offers that structure in HO. While not operational of course, it looked like someone is still maintaining the structure as a historical site.  Couldn't get close enough for a photo (too bad).

I can see why so many choose to model this area, as there seemed to be more railroad than highway everywhere along WV.

I also found the exit for the Cass Scenic Railroad.  Gotta start planning that trip for the future.

This is a great drive for folks who are into trains!

Regards,

Jonathan
#103
HO / Leftovers
November 21, 2010, 06:45:36 AM
After building some recent kits, I had some leftover decals, wire, ladders, brakewheels, paint, etc.  Gathered enough parts to modify my bobber caboose, to better suit my B&O theme. C-1775 is parked at the B&O RR Museum.  It proved to be too small for me to get the details just right.  But it came close enough for me:


Here's the prototype:
http://www.northeast.railfan.net/images/boC1775.jpg


All the windows are glazed... doesn't show up in the photos (lighting issue I guess).


I had two red jewels leftover, that I added to the lamps, but I couldn't get the camera to focus up close.

Regards,

Jonathan

#104
HO / For B&O Fans Part 2
November 11, 2010, 04:24:28 PM
Well...

Just spent the past 10 days building two M53 Box Cars from F&C Kits... very hard.  The first one is a little rougher than the second.  When I build a couple more, there will be improvements.

I did some unprototypical stuff:  like replace the perfectly scaled plactic parts with steel wire.  I plan to run these, not display them.  So I did whatever it took to make them tougher--safer to handle.  Likewise, I didn't add  hoses or cut levers (just one more thing to break).  Perhaps, when I've built up a fleet of these cars, I'll super detail a few for display.

Enjoy.


Added lead sinkers to get them up to NMRA standards.  The resin shells are a little heavier than the typical stuff:


Undercarriage was, well, hard:


Still have some adjustments to make, but they're essentially done.  The camera makes them look day-glo orange for some reason (bad lighting, cheap camera).

Regards,

Jonathan
#105
I am ready to start changing out my Atlas switch machines for the Tortoise machines.  I have one to start for learning purposes.

I believe I have figured out the assembly and wiring of the switching portion.  However, I am a little confused on the other wiring tabs.  I understand tabs 1 and 8 are for the motor.  I can use a DPDT to change direction/polarity.

I want to connect alternating lights to tabs 2 thru 7 so I can tell which way the switch is thrown at a distance.  The included diagram is over my head.  It appears tabs 2-4 and 5-7 somehow interact with each other.

Can anyone give me a clue?  

Regards,

Jonathan
#106
HO / Pilgrimage to Timonium?
October 29, 2010, 08:07:27 AM
Anyone heading to Timonium on Saturday?

I'll be the guy frantically looking for nice B&O rolling stock.

Our club will also have a modular display; PWMRC.

Regards,

Jonathan
#107
HO / Drive Belt under parts, universal?
October 06, 2010, 06:41:08 AM
Just discovered the drive belt is frayed (almost broken) on one of my 2-8-0 Consolidations.  Not surprising since I run this loco constantly.

Discovered the bad belt when I heard a funny noise.  Hard to describe.  It was running a little louder than my other Connie. When I examined the belt, it looked as if the belt had a small cut, or split, like it was defective when assembled.  Loco is a few years old, so I'm not concerned about warranty for a 3-dollar part.

Under the parts section, the only drive belt listed is for the 2-10-0.  Is this the same belt as in all the steam locomotives?(#817XX-00036, 30 teeth)

I want to make sure I'm ordering the right part before submitting the order.

Thanks,

Jonathan

P.S. If my belt exchange goes well, I will post pics to help others in need of a new belt. jev
#108
HO / It's Been a Slow Day
September 30, 2010, 08:02:55 PM
Not much action on the forum today. 

Here's something to look at just for fun. ;D

Click for moving action
#109
HO / Swapping Tenders
September 23, 2010, 09:55:50 AM
I write this as a record for those of us modelers who are somewhere in the novice range of modeling skill.

I just swapped out two tenders on my USRA Heavy Mountains (4-8-2).  I found switching out pc boards to be the easiest method for swapping tenders.  The only tools required are jeweller's screwdrivers (flat and phillips) and a needle nose pliers.  A little locktite is the only chemical involved.

I pull the tender plugs from the locomotive using two small screwdrivers, to avoid putting unnecessary pressure on the plugs.  The plugs are the weak link in the chain.  I am extra careful with them.

Once you've opened the tenders to be swapped, you must hold the nut that holds the truck screw while releasing the screw (needle nose).  This will release the truck pick up wires.  Next, you can remove the screw that holds the pc board.  On the Vandy Tender, the plugs will take a little manipulation to push them through the gap between the tender and screw bracket.  Be gentle, please.  Also on the long Vandy, you will have to remove the center wheels to get at the truck screw.  I also removed the led bulb, as I chose to replace it with a standard bulb (I like the color better).

The steps are similar (and easier) when removing the pc board from the standard tender.  On both tenders, the pick up wheels are oriented the same way, so the wires can be reattached in the same orientation: black wire to the rear truck, red wire to the front truck.  Just work backwards from the pc board removal and all will be well.  The loctite is for the nut on the truck screw, once you have replaced the wires.  Then things won't loosen up on you six months down the road.

Putting in that tiny screw that holds the pc board to the Vandy Tender will take some extra time (hard to see and not much room to work).  If I can do it, anybody can.  Re threading the locomotive connecting wires should be done slowly.  Again, it can be done.  

I chose to connect the reverse light to the the dummy plug as I am a DC guy.  A diode will make the light come on only in reverse.  A pair of diodes can be had for 99 cents at radio shack.

I read tons of posts about swapping tenders on this forum.  Lots of great info on how to switch wiring to make your original boards compatible.  

With my mediocre skills, swapping pc boards was by far the easiest method to handle.  While it has been written that the long Vandy Tender is compatible with the Heavy Mountain, I found the running characteristics unacceptable when testing.  With the original pc board, the loco would jump start at about 40% power.  It would run smoothly after that.  I lost all the slow running capability until I switched pc boards.  Loco ran perfectly after the swap.  I don't know why...

It took about 2 1/2 hours to swap pc boards, apply decals, apply micro sol and dullcote, connect tender to loco, and test run.  That was my second attempt.  The first attempt took much longer as you can imagine.

With all that has been written, it seems many modelers want to swap tenders to make their locos more prototypical for their individual pikes.  I'm hoping this info will be helpful, and not just another two cents for the pile.

Regards,

Jonathan
#110
HO / Spectrum Mountain to a B&O T Class (with video!)
September 08, 2010, 05:37:30 AM
For my fellow B&O enthusiasts:

I read a B&O Modeler article about making a B&O T Class loco from a Bachmann Heavy USRA Mountain.  It got me motivated for some reason.  Hoping to find an Undecorated Heavy Mountain at the next train show, imagine my surprise when I found two!  And let's just say they were a bargain.  I couldn't let them go.

I had to decide which 4-8-2 I was going to model.  I have nothing against the T-3 or T-4. Yardbird carries the shielded compressors for the front.  I didn't want to have to deal with the handrails.  Looks like you'd have to be pretty precise with bending.  Don't think I have the tools for that.  Therefore,  I went with the first two 4-8-2's delivered.

To modify the Spectrum, I need to move the headlight high on the smoke box, install a brass herald,  move the bell to the side of the headlight, add a tool box to the pilot... OK enough lists.  I'll just dive right in with the progress so far.

Smoke box


The parts on the first Mountain were pretty easy to remove, not so on the second.  Anyway, I really wanted a working headlight.  So I clipped the LED from the front of the frame, mounted a metal sleeve inside the original plastic headlight, inserted the LED and done.  Actually not that easy... had to drill through the smokebox to insert the LED stiff wire.


Once the wires are painted, it looks OK, but certainly a little unprototypical.  Well I wanted the light to work afterall.

Here's a kind of before-and-after shot of one loco modified and one not modified:


On both locos, the fireman side window glazing had fallen out.  Had to put 'em back:


Well, that's all the progress for now.  The brass parts should arrive tomorrow.  Then I'll install the pop valves, bells, tool box, etc.  Here's a few extra shots.  Will update as I make progress.

Regards,

Jonathan


#111
HO / Extra trucks in a Spectrum Box?
September 05, 2010, 07:49:16 PM
Been working on a couple of unlettered Spectrum Mountains.

There were extra tender trucks (no wheels) in the box.  Are they to change the style of trucks depending and the roadname you choose?

Regards,

Jonathan
#112
HO / Electrical Issue with my 2-8-4?
August 27, 2010, 06:42:42 AM
Running my 2-8-4 (C&O Kanawha) this morning I noticed a slight hesitation that occurs every once in a while. 

I was able to get down close when the hesitation happened.  The reverse light flickers during the hesitation.  Strange, since the reverse light shouldn't come on when running forward. 

Forward light does not flicker at all.

Hesitation only happens on straight track, not curves.

The loco is DCC, but I have unplugged the decoder and put in the bypass plugs (I'm still DC).  Would restoring the decoder cure my little hiccup?


Thanks a million!

Jonathan
#113
HO / Layout Progress
August 02, 2010, 05:43:23 AM
The basic elements of my mining facility are now installed.  Just need the little details, people, vehicles barrels, bits of junk, etc.  The 0-8-0 will even turn on the table... tight fit though.


Bad photo, but you can see it lights up, too.  The yard lights are made of pen pieces, glued to dowels that came from those cookies-on-a-stick that people send instead of flowers sometimes.  They're secured to the benchwork with plastic anchors used for screwing into cement.


Just felt like sharing.

Regards,

Jonathan
#114
HO / Coal Loading Dock
July 30, 2010, 08:52:05 AM
Recent discussion of scratchbuilding scenery elements got my inspirational juices flowing.

There is a great photograph in the most recent issue of MR.  The photo is of a B&O coal loading dock.  The upper level of trackage is where the hoppers unload coal into bins below the track.  The lower level is where steamers can pull up and fill their tenders. 

I have a couple of places on my layout where an upper and lower level of track run parallel to each other.  I have too much track for my space.  How many of us fall prey to the spaghetti bowl effect? 

This scenery element could create a credible excuse for two levels of track running parallel to each other.  The beauty of it is you only need to build one wall from balsa or basswood, stain it, install it and your done.  Looks like a $5 project with the potential for nice results, especially if one adds a few overhead work lights to complete the scene (I like lights).

The fact that's it a real piece of B&O history really fired me up.

Regards,

Jonathan 
#115
HO / Wiring a Light Question
July 24, 2010, 08:23:14 PM
I always tend to show my ignorance in all things electrical.  But someone always comes along and rescues me.  So here we are again.

The following pics show the bulb I've inserted into my reverse light can in a former Connie tender (now an 0-8-0).  Also, a couple of pics of the board in the tender.  Where do I tap in to make the light work?

The two tabs marked "input" look promising.  I could always add a diode to make it reverse only.  I'm guessing, of course.  I was also wondering about soldering to the DCC dummy plug, or inserting the wires into the right holes, and pushing the dummy plug back in, to hold the wires?

Thanks, yet again.

Regards,

Jonathan


#116
Took the kids to Busch Gardens for a couple days.  Of course, Daddy had to check out the train ride.  They ran some kind of 4-4-0s, decorated to look like European trains.  Didn't have a measuring tape, but appeared to be 3' guage track.  Locos ran on propane.

Regards,

Jonathan


#117
HO / Converting a 2-8-0 to an 0-8-0?
July 17, 2010, 02:48:56 PM
I have been considering taking the pony truck off one of my Spectrum Connies, making it an 0-8-0 switcher.  While it sounds simple at first, I am wondering what else I might need to do to get it more prototypical.

Will I need to shorten the pilot in some fashion?  The current pilot will look a bit too long, I think, if I put the loco back on the track without the lead truck.

Anyone ever done this?

I'm sure the loco will run well, just wondering how funky it will look.

The real advantage to the modification being I can use it on the point-to-point part of my layout.  It will work on the 9" turntables without the pony truck.  

I notice the steps to the boiler walkway come off pretty easily, too.  Hmmm

Regards,

Jonathan

P.S. The other difference appears to be the headlight.  The 0-8-0s on NE Rails have headlights moved near the top of the smoke box.

Ooh, I just found a former 2-8-0, converted to a B&O 0-8-0, with the headlight in the center of the smoke box, steps still attached, AAAND being used as late as 1957!

http://www.rr-fallenflags.org/bo/bo-s1704.jpg

Things are looking up.


#118
HO / Spectrum Saddle Tank Switcher
July 01, 2010, 12:43:46 PM
I am considering the Spectrum 0-6-0T for my mining operation.

I've done a search and found only one thread about its overall running capabilities.  Someone had two and one was stopping intermittently.  Any other owners have any thoughts on how you like it?  I'm more concerned about smooth running than pulling ability (it's a little loco after all).

I've been very happy with my Spectrums and want to keep my run of good luck.

Thanks.

Regards,

Jonathan
#119
HO / Street and Structure Lighting
June 08, 2010, 05:41:02 AM
In the "learn-by-doing" style, I have been lighting up streets and structures.  And as usual, I have a few questions.  First the fun part.

This is my Olde Towne, tourist trap area.


This is the turntable as part of my junction.


The yard lights are scratch built from leftover stuff.


The technical part:  
I've attached bus wires to the DC side of a Tyco power pack.  It's max output is 6 volts (yes, it's old).  Figured the bulbs would last longer with less juice.  I soldered feeder wires to the bus wire which connect to the bulb wires.  I'm using traditional 12 volt GOW bulbs.  Lights are connected in parallel.

Questions:

Can these bulbs melt plastic structures?  I can feel heat (warm to the touch) on the roofs and tops of street lights.  I tried to keep the bulbs about an inch away from any part of the structures.

Can I burn out the power pack easily?  I have to turn up the power all the way for the bulbs to shine with any brightness.  In this case, I think replacing the power source would be easier, and cheaper, than bulb replacement.

Is it better to solder the bulb wires to the feeder wires?  In some cases, I have not soldered the bulb wires to the feeder wires, thinking it would be easier to replace the bulb, if and when it becomes necessary.

Finally, what is the limit of bulbs I can connect to the bus wire?  I have 15 bulbs connected so far.  My guess is things will start to look a little dim, if I connect too many bulbs.  I still have a few more structures I would like to light from this power source.

Originally, I wanted to get a rheostat and connect to the AC accessory side (18V).  Turns out small rheostats are hard to find.  Even Radio Shack doesn't carry 'em anymore.  I wanted to control the brightness, rather than mess with resistors.  I'm weird like that.

Thanks for reading.

Regards,

Jonathan  
#120
HO / Turntable Motor
May 19, 2010, 01:53:10 PM
I have the Atlas 9" turntable.  I also picked up the accompanying motor unit. 

The instructions suggest a DPDT switch to control the motor with the power pack.  I do not like this option.

I was thinking of this:

I have two wall warts: ones output is 9V at 150mA; the other is 9V at 300mA.  Can I set up a momentary switch to operate the motor with one of these power sources?  I believe it is a 12V motor.  Will this be enough juice to turn the table?  I understand I won't be able to control the speed. 

I've mentioned before I'm challenged in the electronics department.  It seems like a logical set up.  Just don't want to burn the house down.

Thanks.

Regards,

Jonathan